Self-Host your own Private Search Engine - Alternative to Google, Bing.
In this blog we going to see how to set our own private search engine called SearXNG , without wasting time lets get into topic. in this ill share 2 methods to deploy searxng.
why we need private search engine - Searxng?
1
2
3
4
5
 - Self Hosted & our searches will stay private
 - to get rid of user tracking and profiling
- customisable privacy settings like disable cookies, set stricter privacy preferences, and tweaks
 - escape from ad tracking like meta, google ads.
 - meta search approach - it aggregates results from various search engines without sharing your personal data with them, keeping your identity shielded.
Method 1 - Installing in AWS
- At first Login to AWS console
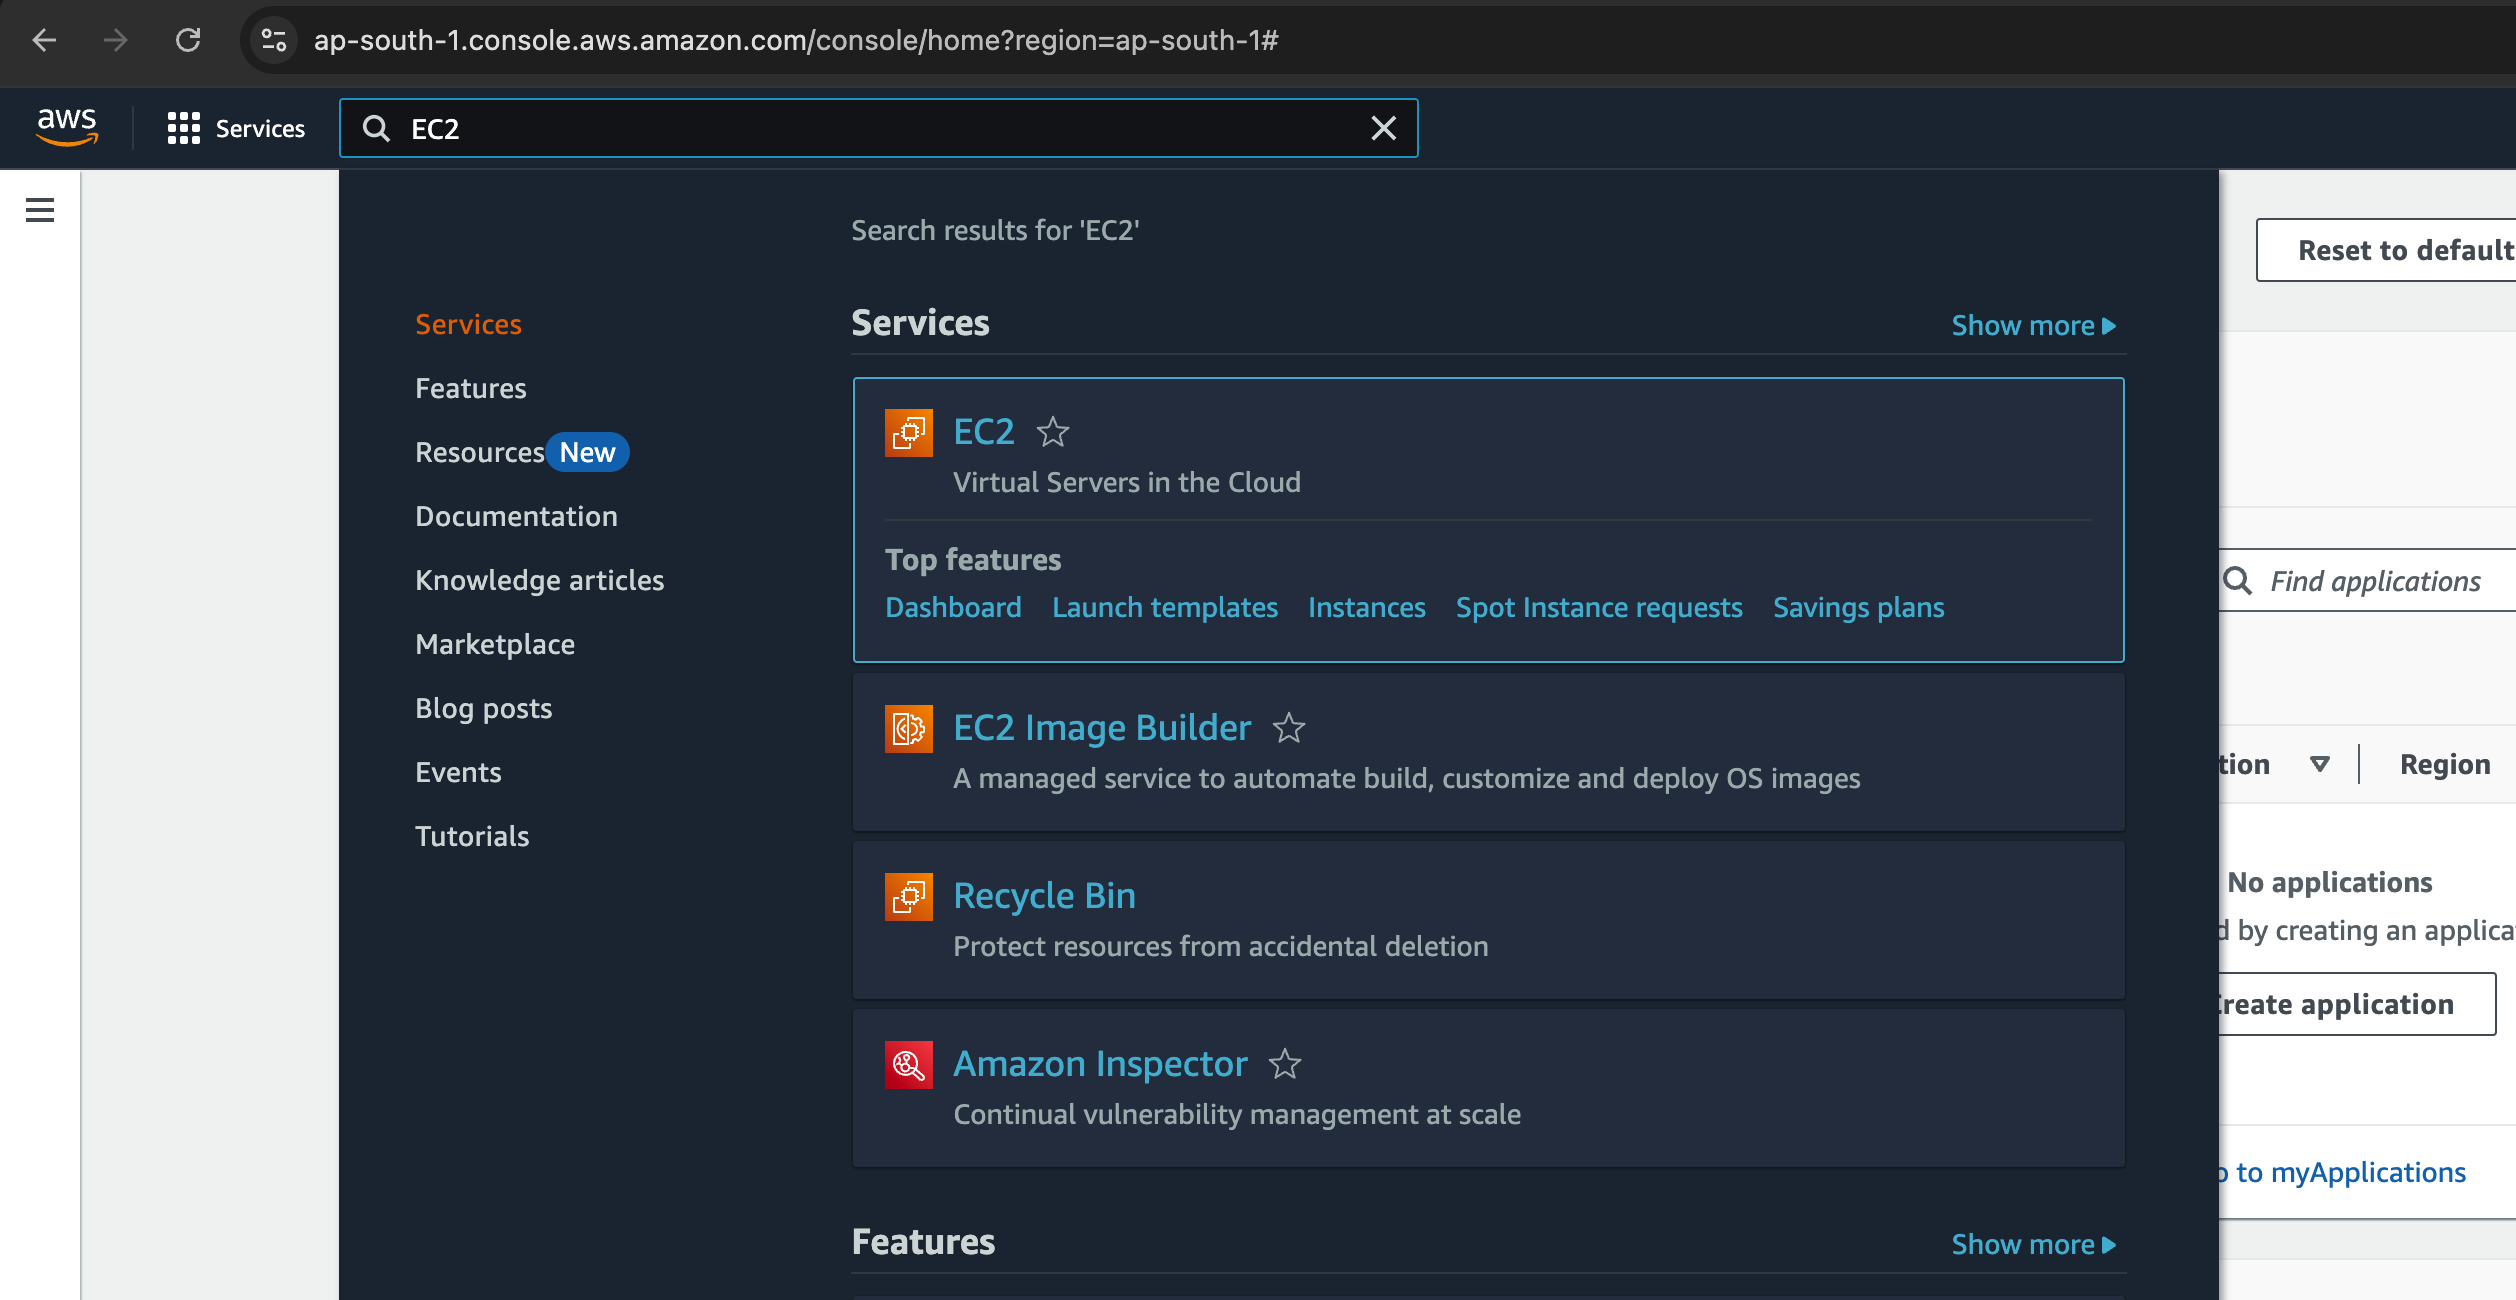
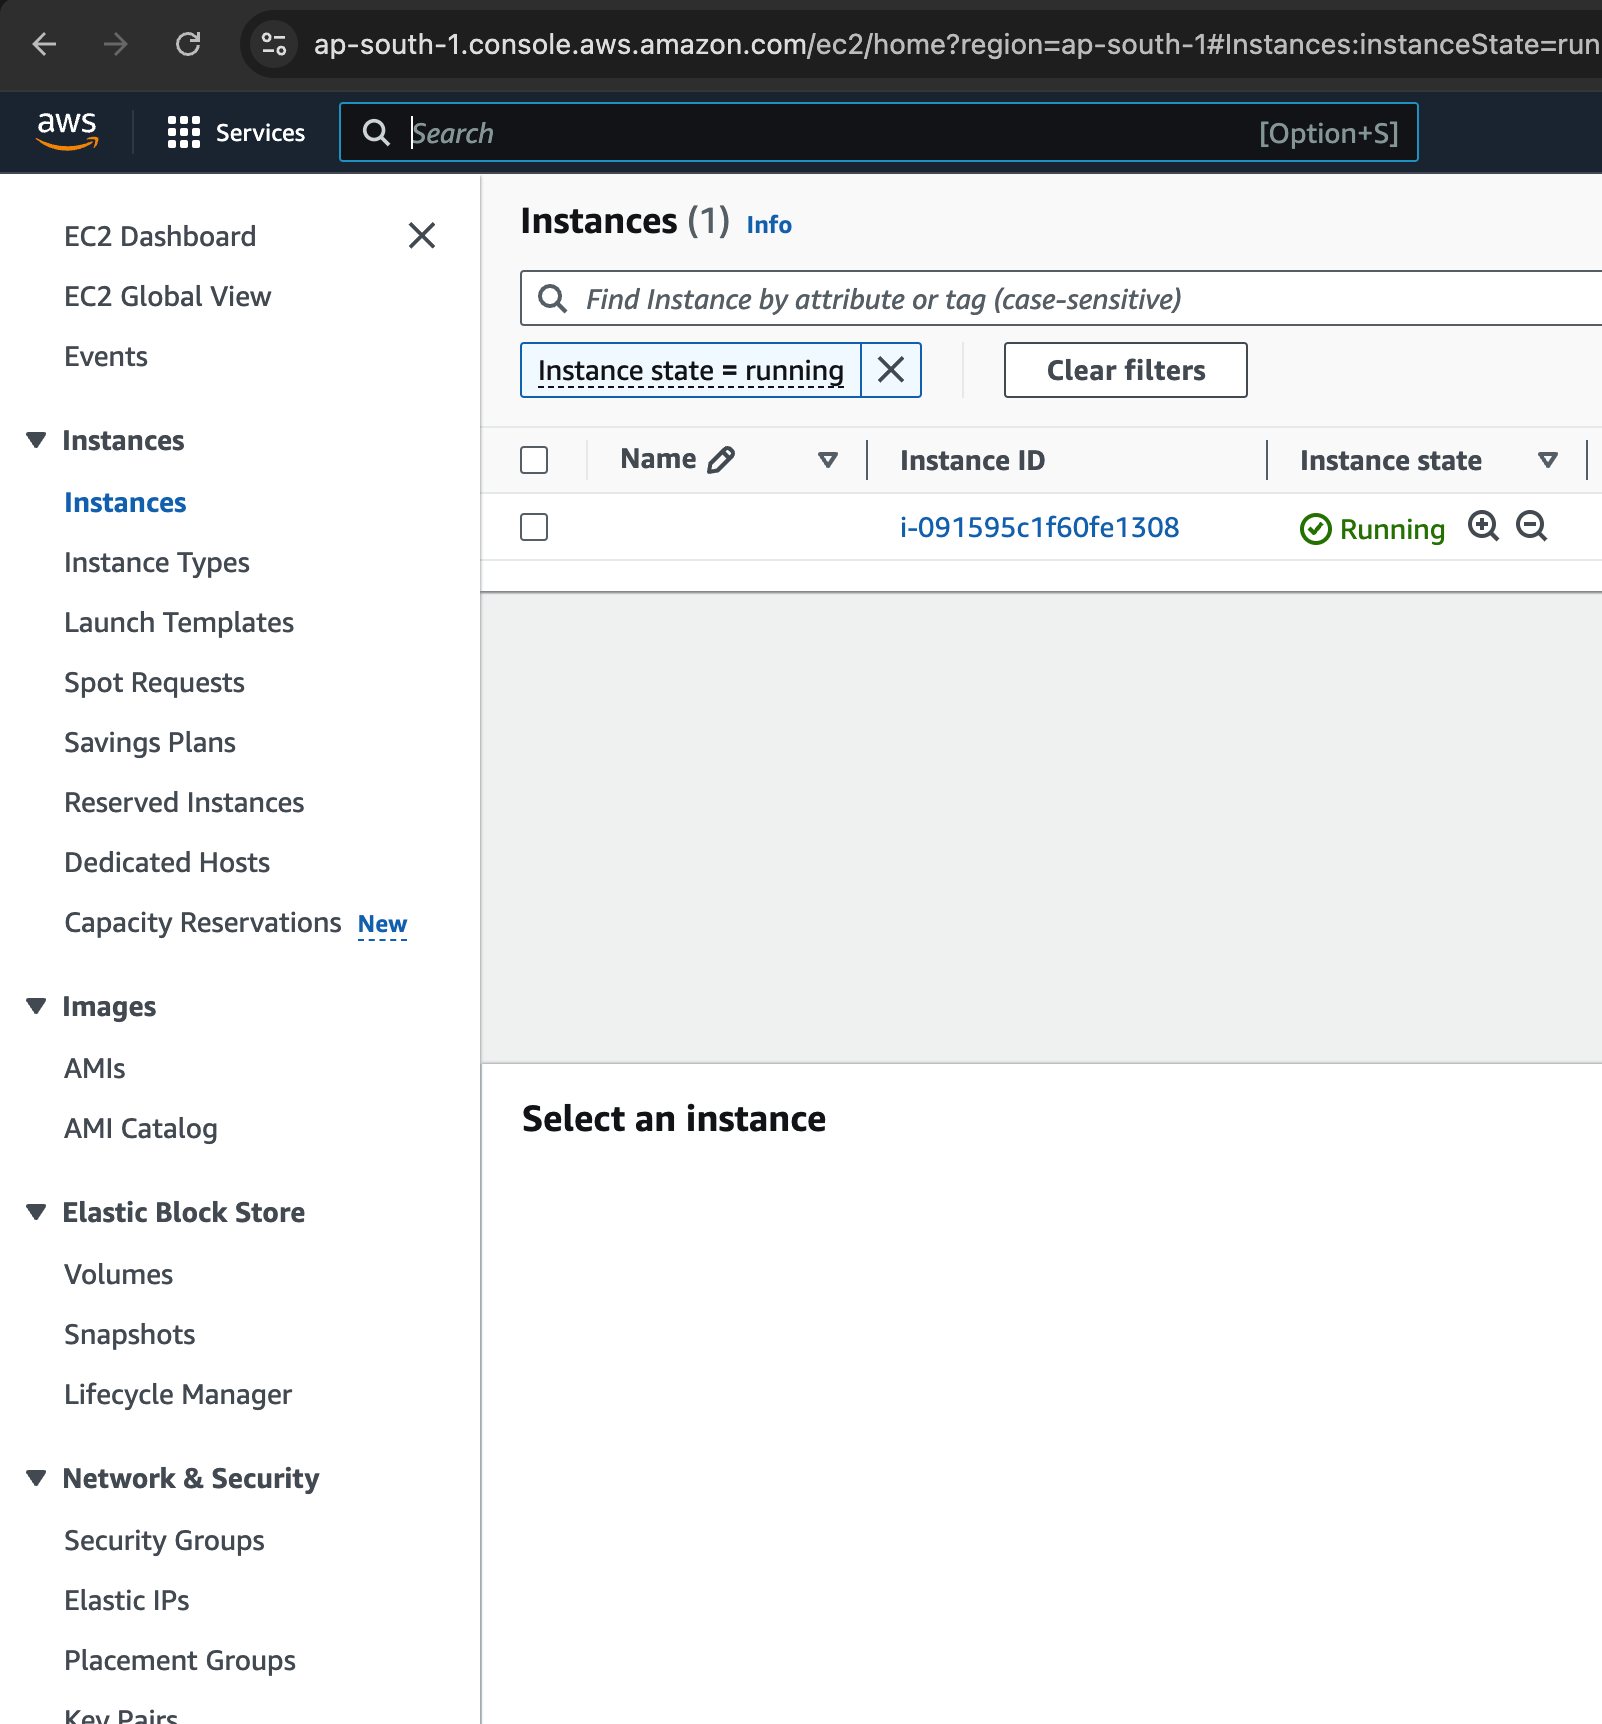
- Search EC2 & Go to EC2 Dashboard
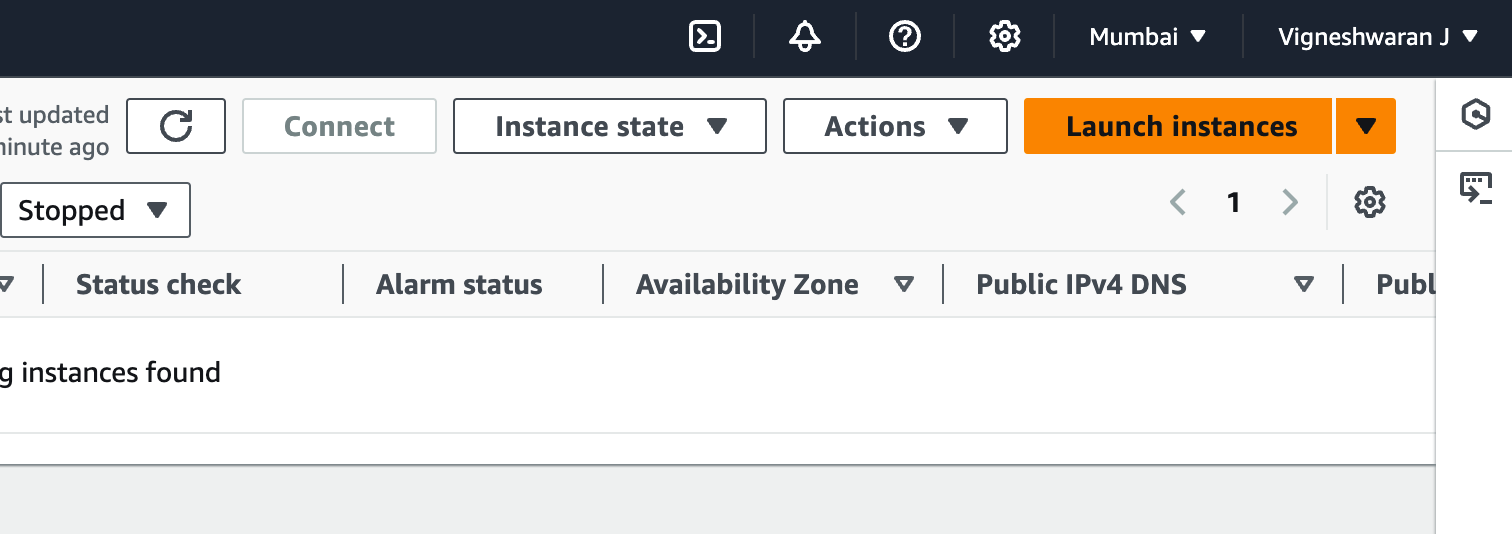
- Go to instances page, and click launch instance
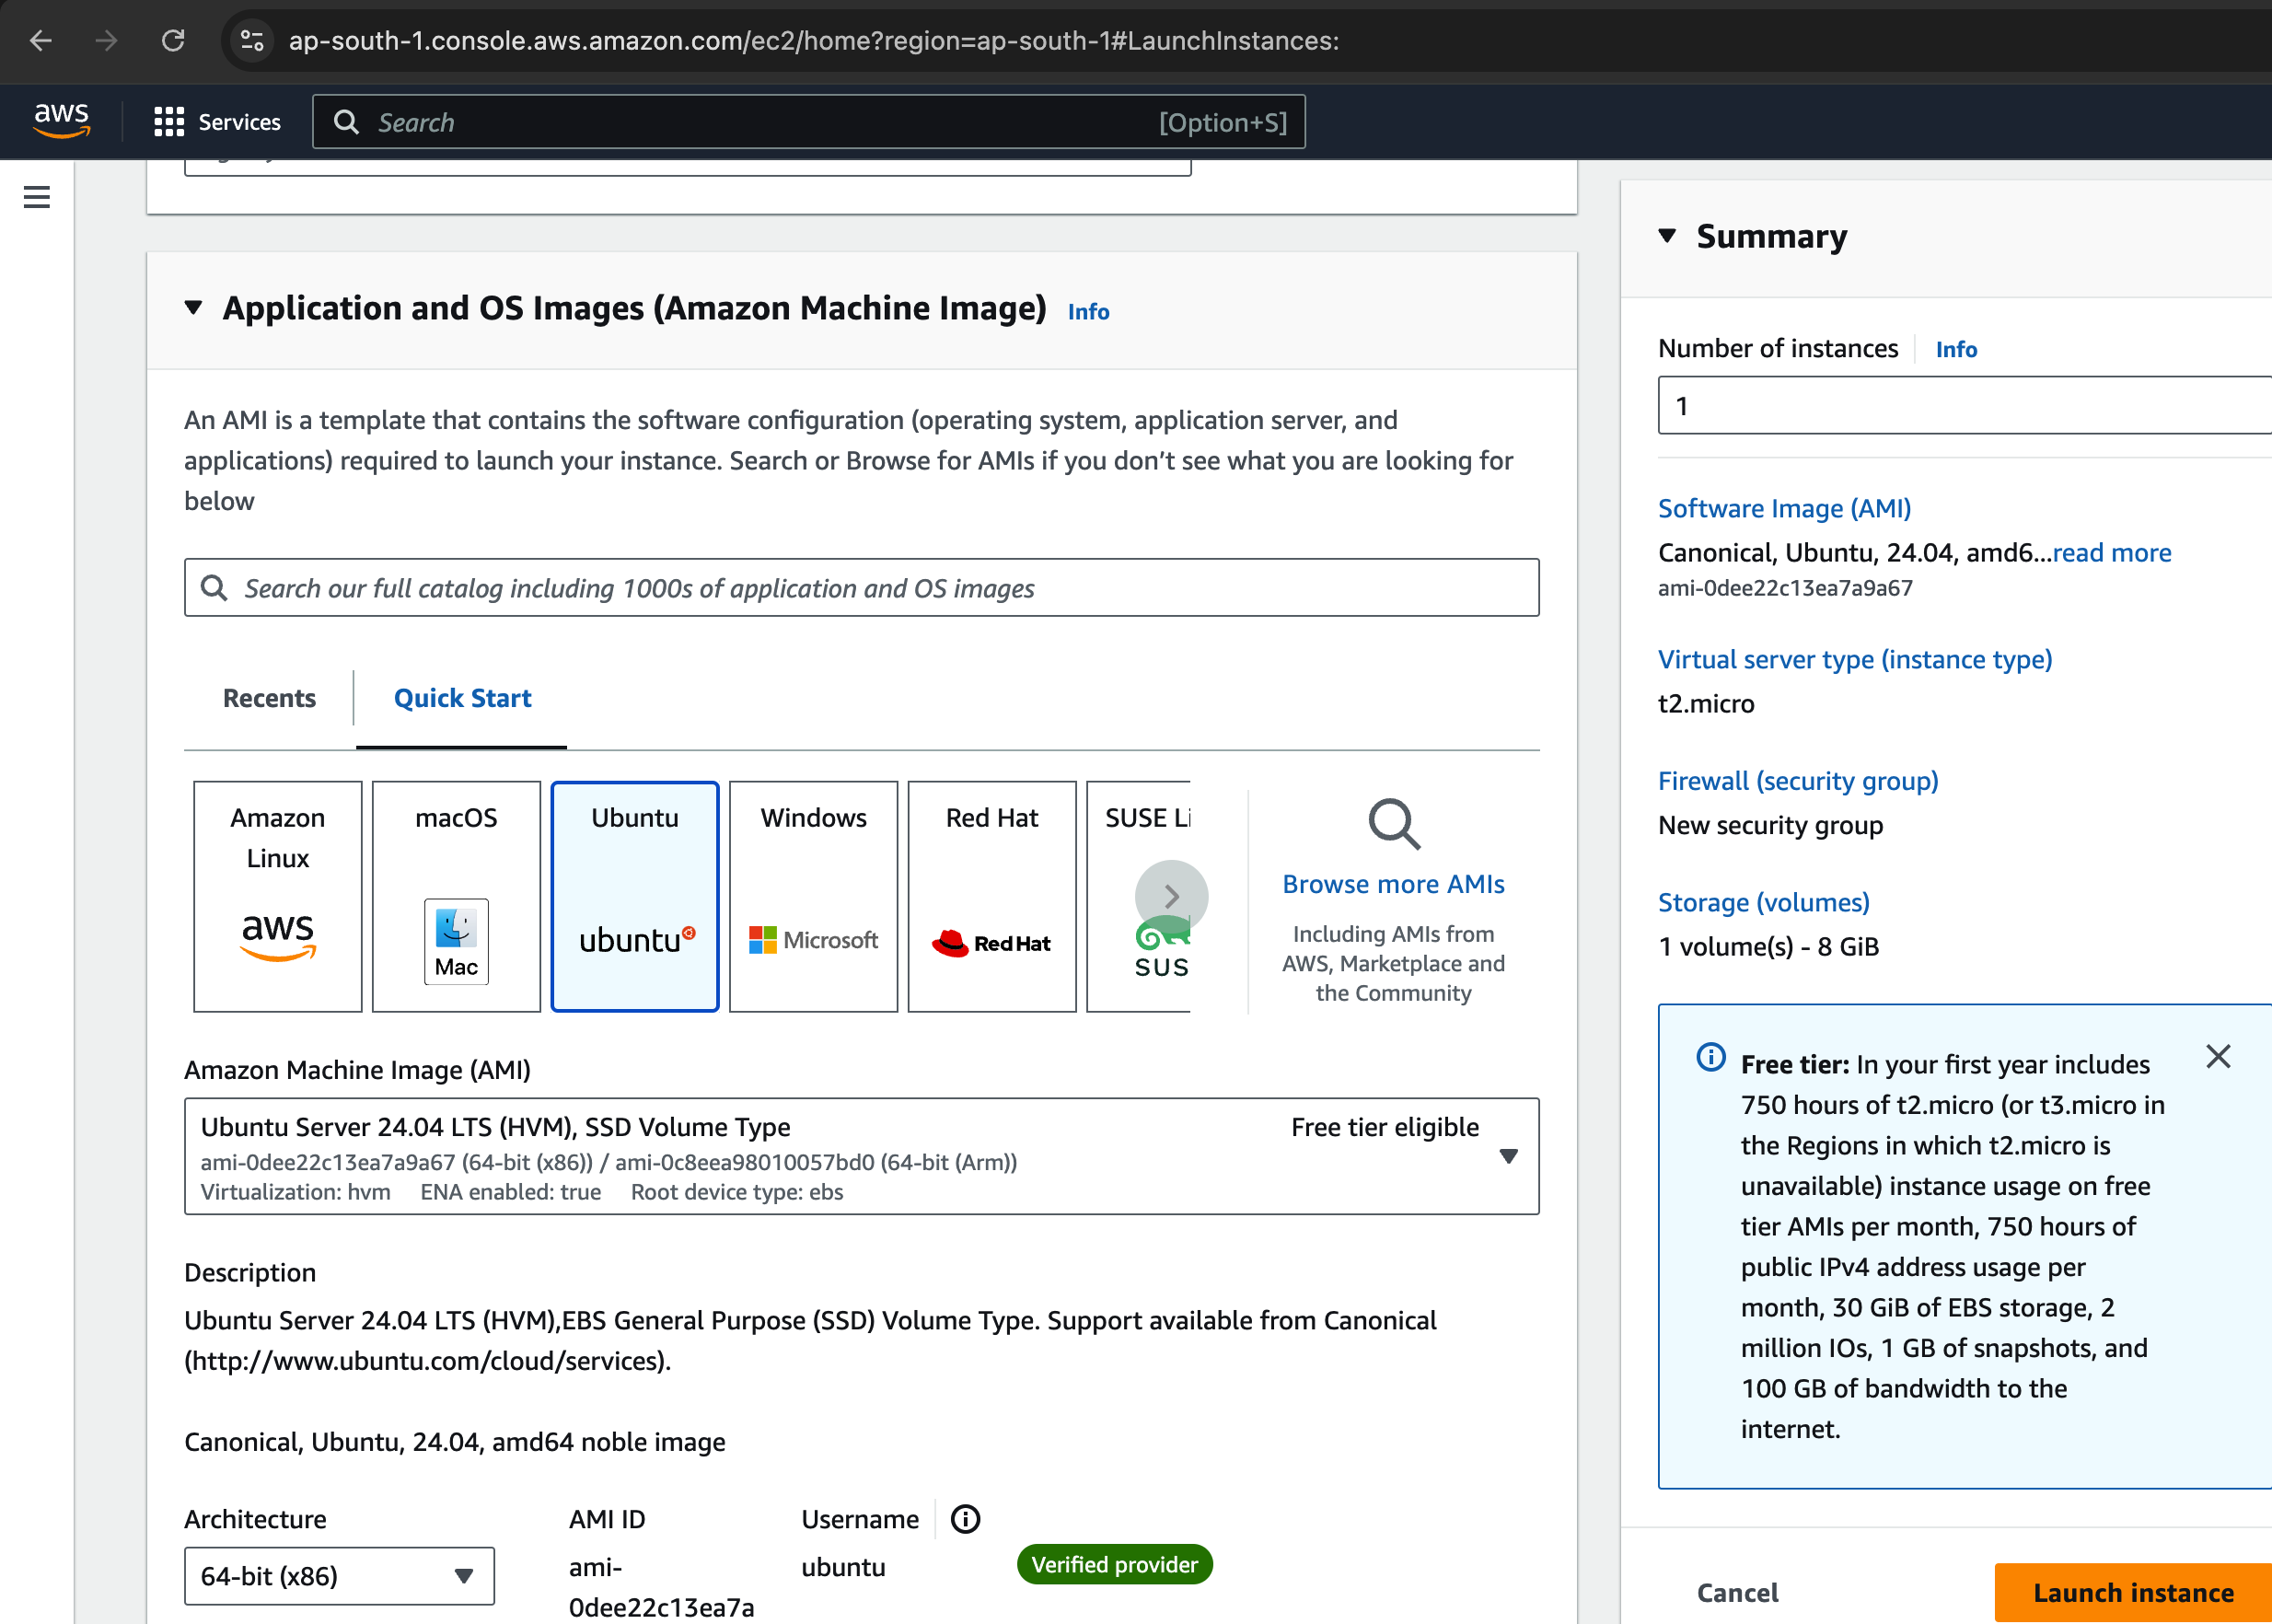
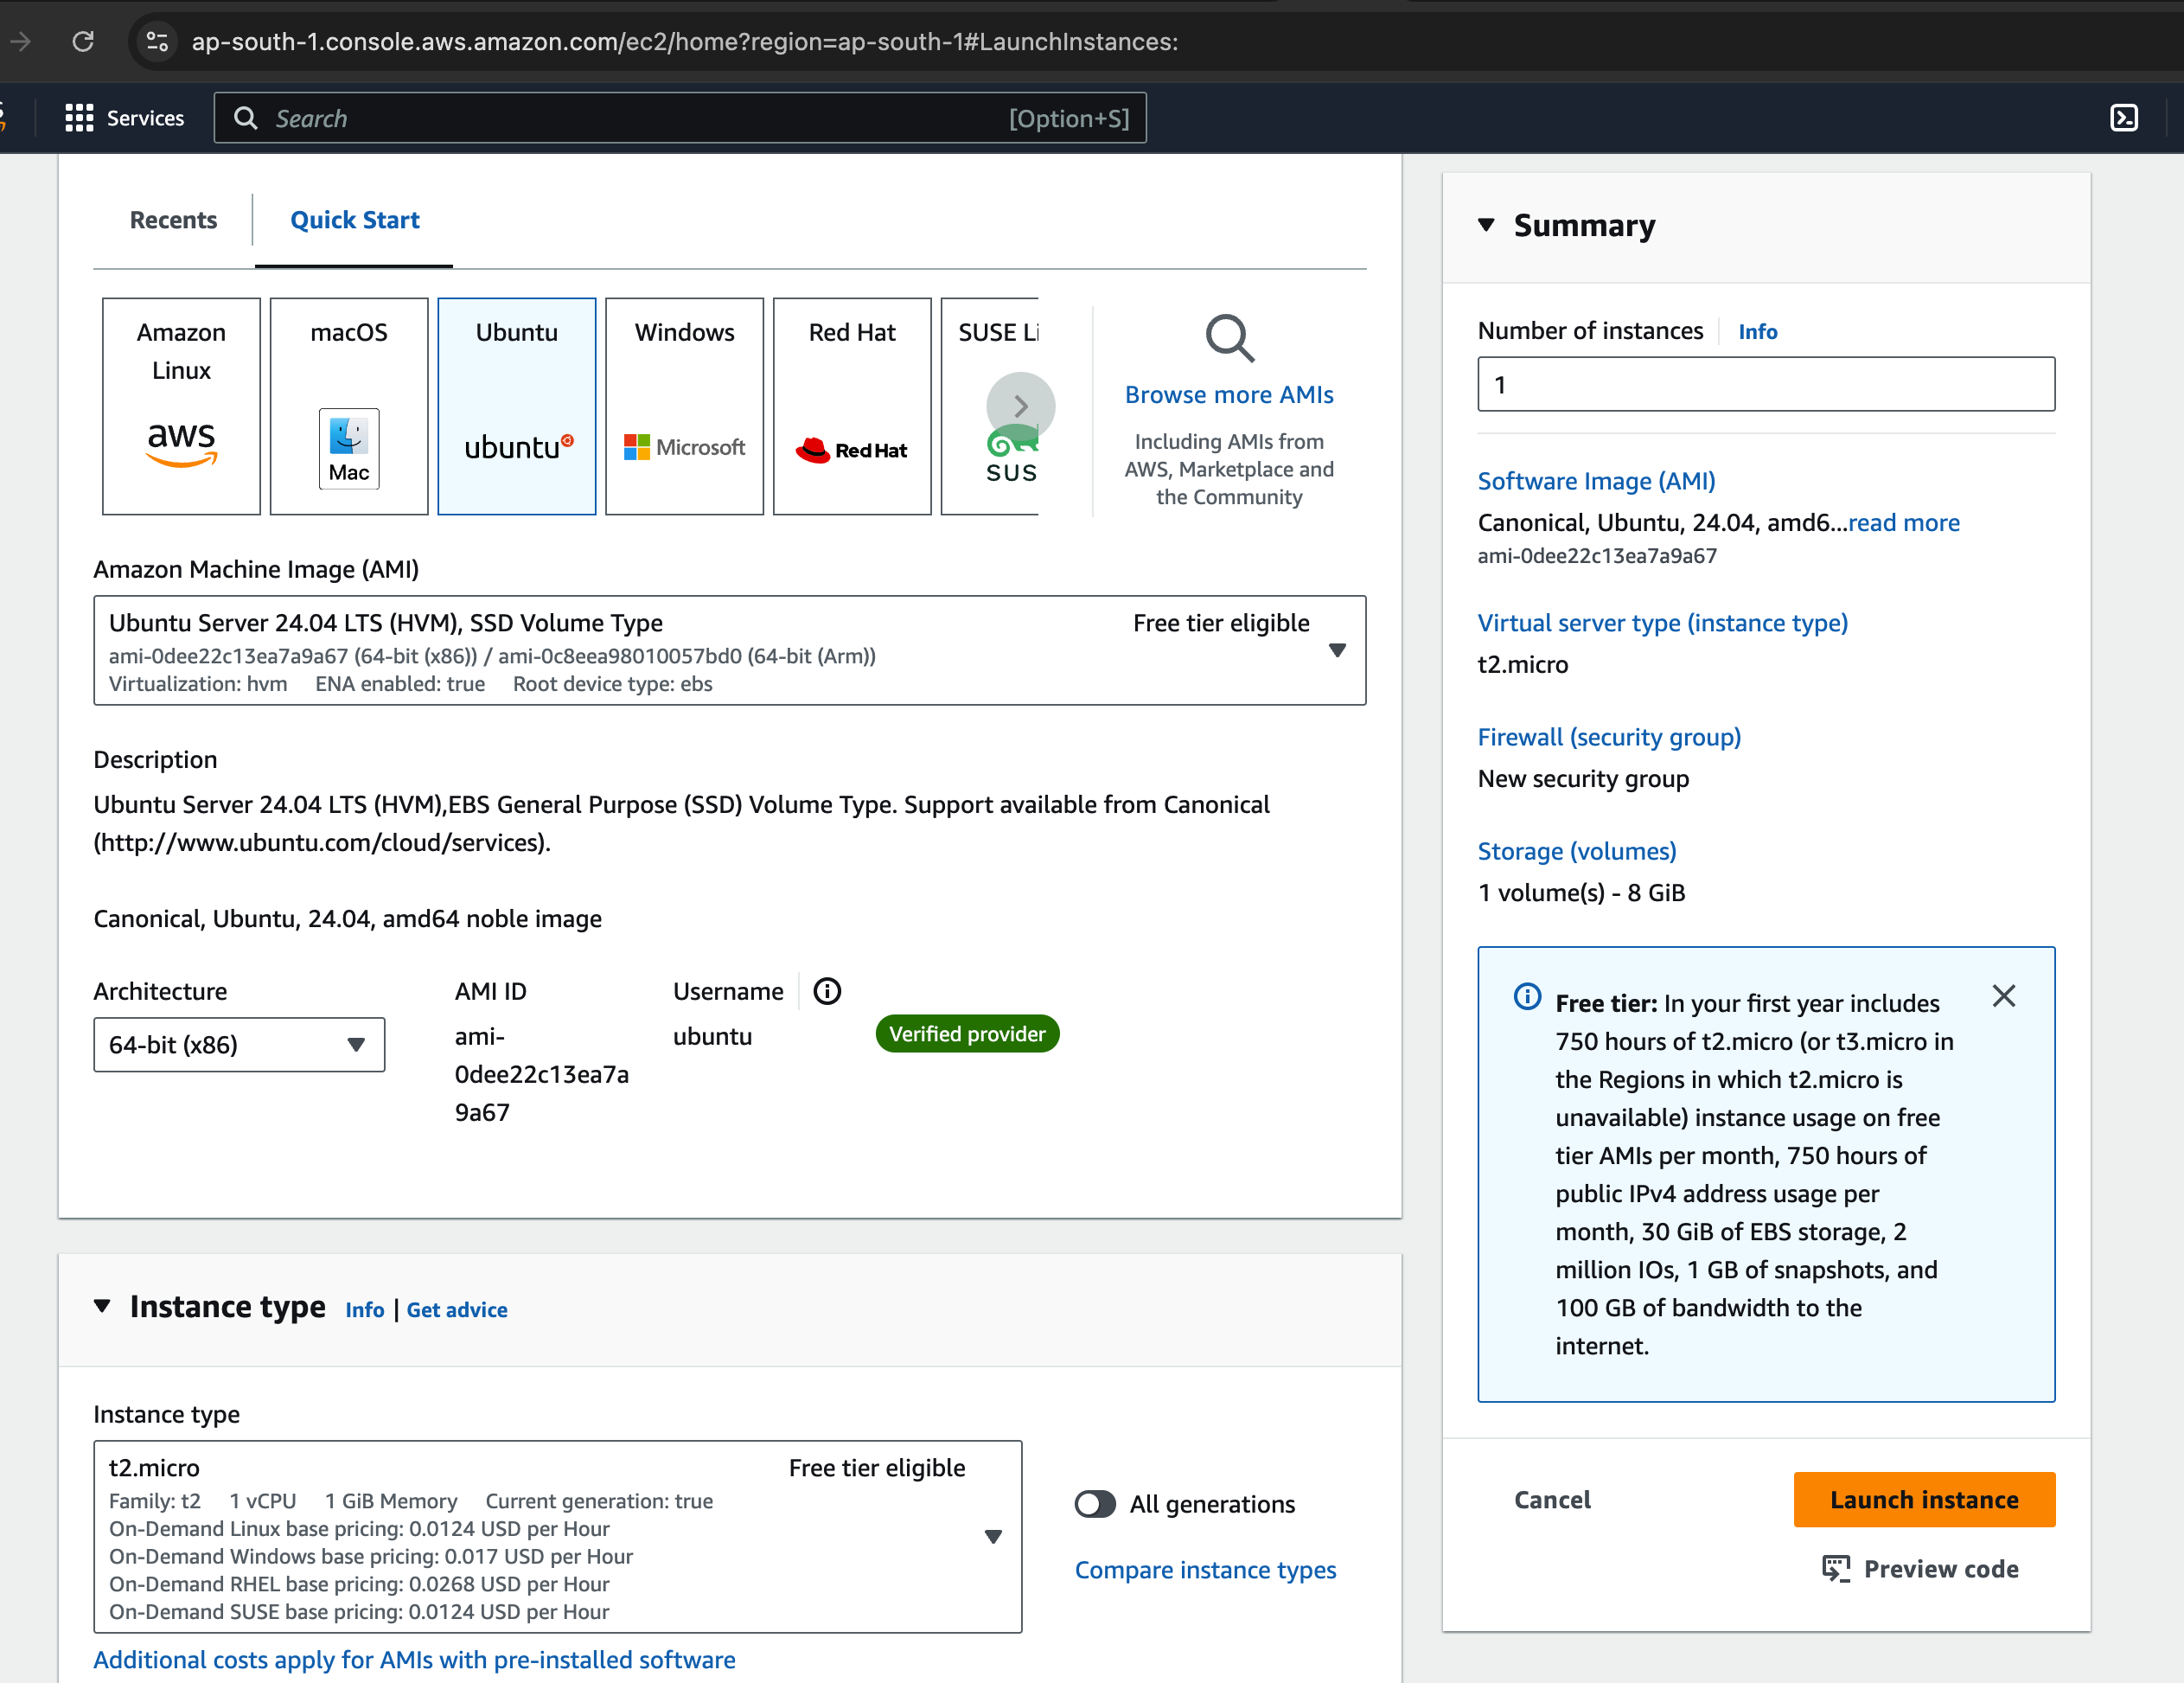
Choose Ubuntu 24.04 or whichever latest, and select t2.micro instance, because its elgibile for free tier, and you won’t get charges. It is Advised to refer AWS charges.
Choose the private key for your instance or create new one if required.
And click launch instance.
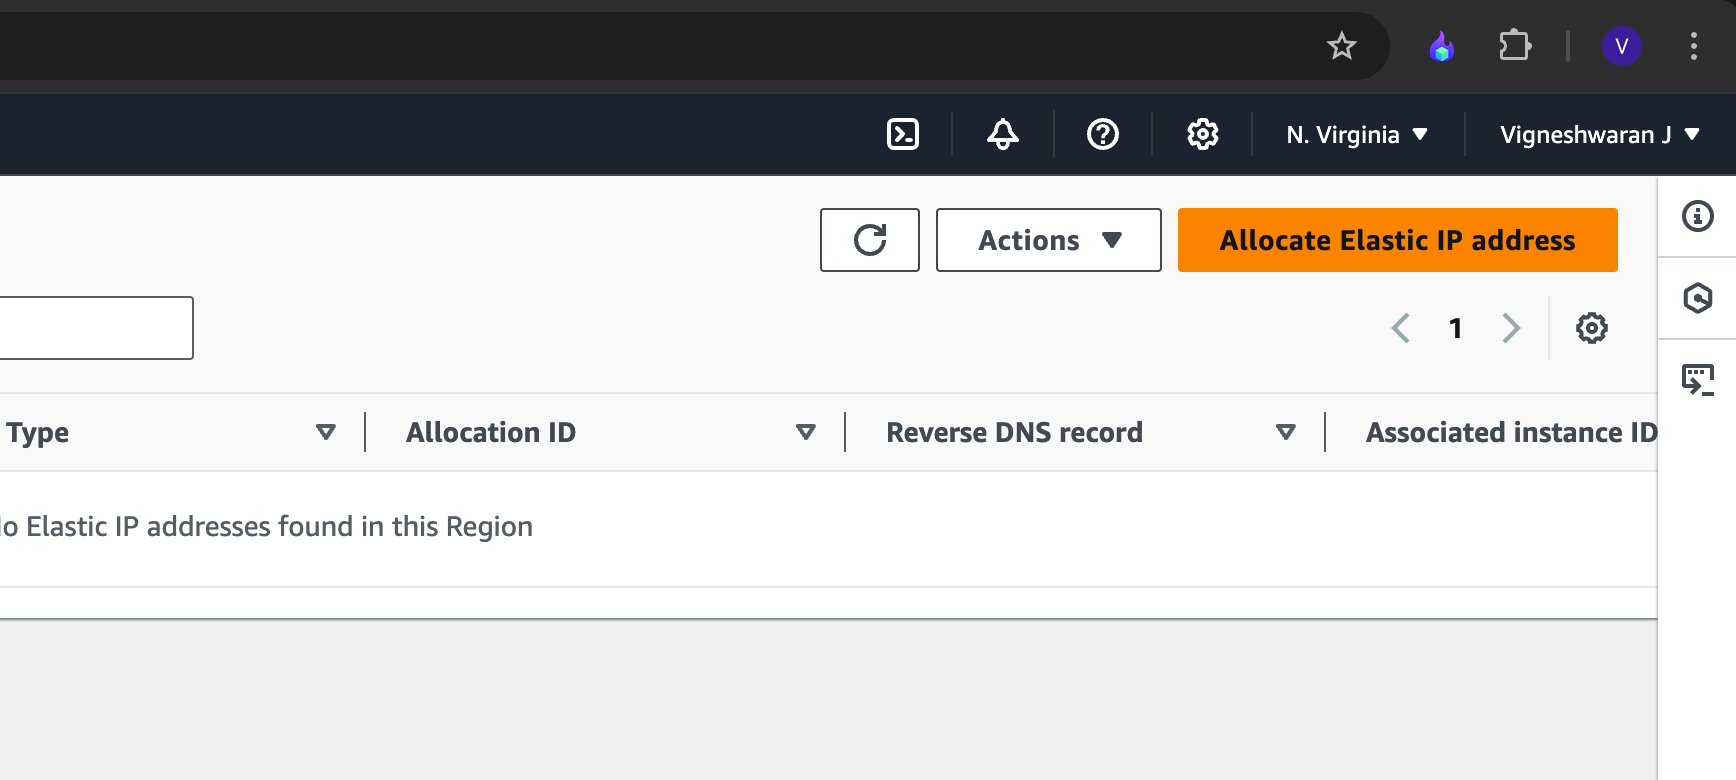
- Go to Elastic IP, on side menu
- Click Allocate Elastic IP, on the next screen choose the region and click allocate.
- Now click the allocated IP, and in next screen click associate Address
- here choose the instance and choose the private address and click associate,
Now the public IP is assigned to the EC2 Instance
Now login to the machine using private key you created.
- After logged in its always recommended to change root password of the machine
to change type the following commands
1
sudo passwd root
Once you changed the password, go to root user by su command
1
su
after root user, install docker engine by following commands
Add Docker’s official GPG key:
1
2
3
4
5
sudo apt-get update
sudo apt-get install ca-certificates curl
sudo install -m 0755 -d /etc/apt/keyrings
sudo curl -fsSL https://download.docker.com/linux/ubuntu/gpg -o /etc/apt/keyrings/docker.asc
sudo chmod a+r /etc/apt/keyrings/docker.asc
Add the repository to Apt sources:
1
2
3
4
5
echo \
  "deb [arch=$(dpkg --print-architecture) signed-by=/etc/apt/keyrings/docker.asc] https://download.docker.com/linux/ubuntu \
  $(. /etc/os-release && echo "$VERSION_CODENAME") stable" | \
  sudo tee /etc/apt/sources.list.d/docker.list > /dev/null
sudo apt-get update
Install Docker packages:
1
 sudo apt-get install docker-ce docker-ce-cli containerd.io docker-buildx-plugin docker-compose-plugin
to verify docker installed, run demo container by following this command
1
sudo docker run hello-world
After successful installation of Docker Engine, follow the below commands to install & setup Searxng.
1
2
git clone https://github.com/searxng/searxng-docker.git
cd searxng-docker
Edit the .env file to set the hostname and an email, if you using custom domain name comment out and add your hostname and mail, In my case i added hostname find.vkie.pro
Generate the secret key
1
sed -i "s|ultrasecretkey|$(openssl rand -hex 32)|g" searxng/settings.yml`
Edit searxng/settings.yml file according to your needs
After this go to your domain DNS settings and point out your domain to the AWS EC2 Elastic IP, by adding Appropriate A record.
Thats it, Now Run the container
1
docker compose up -d
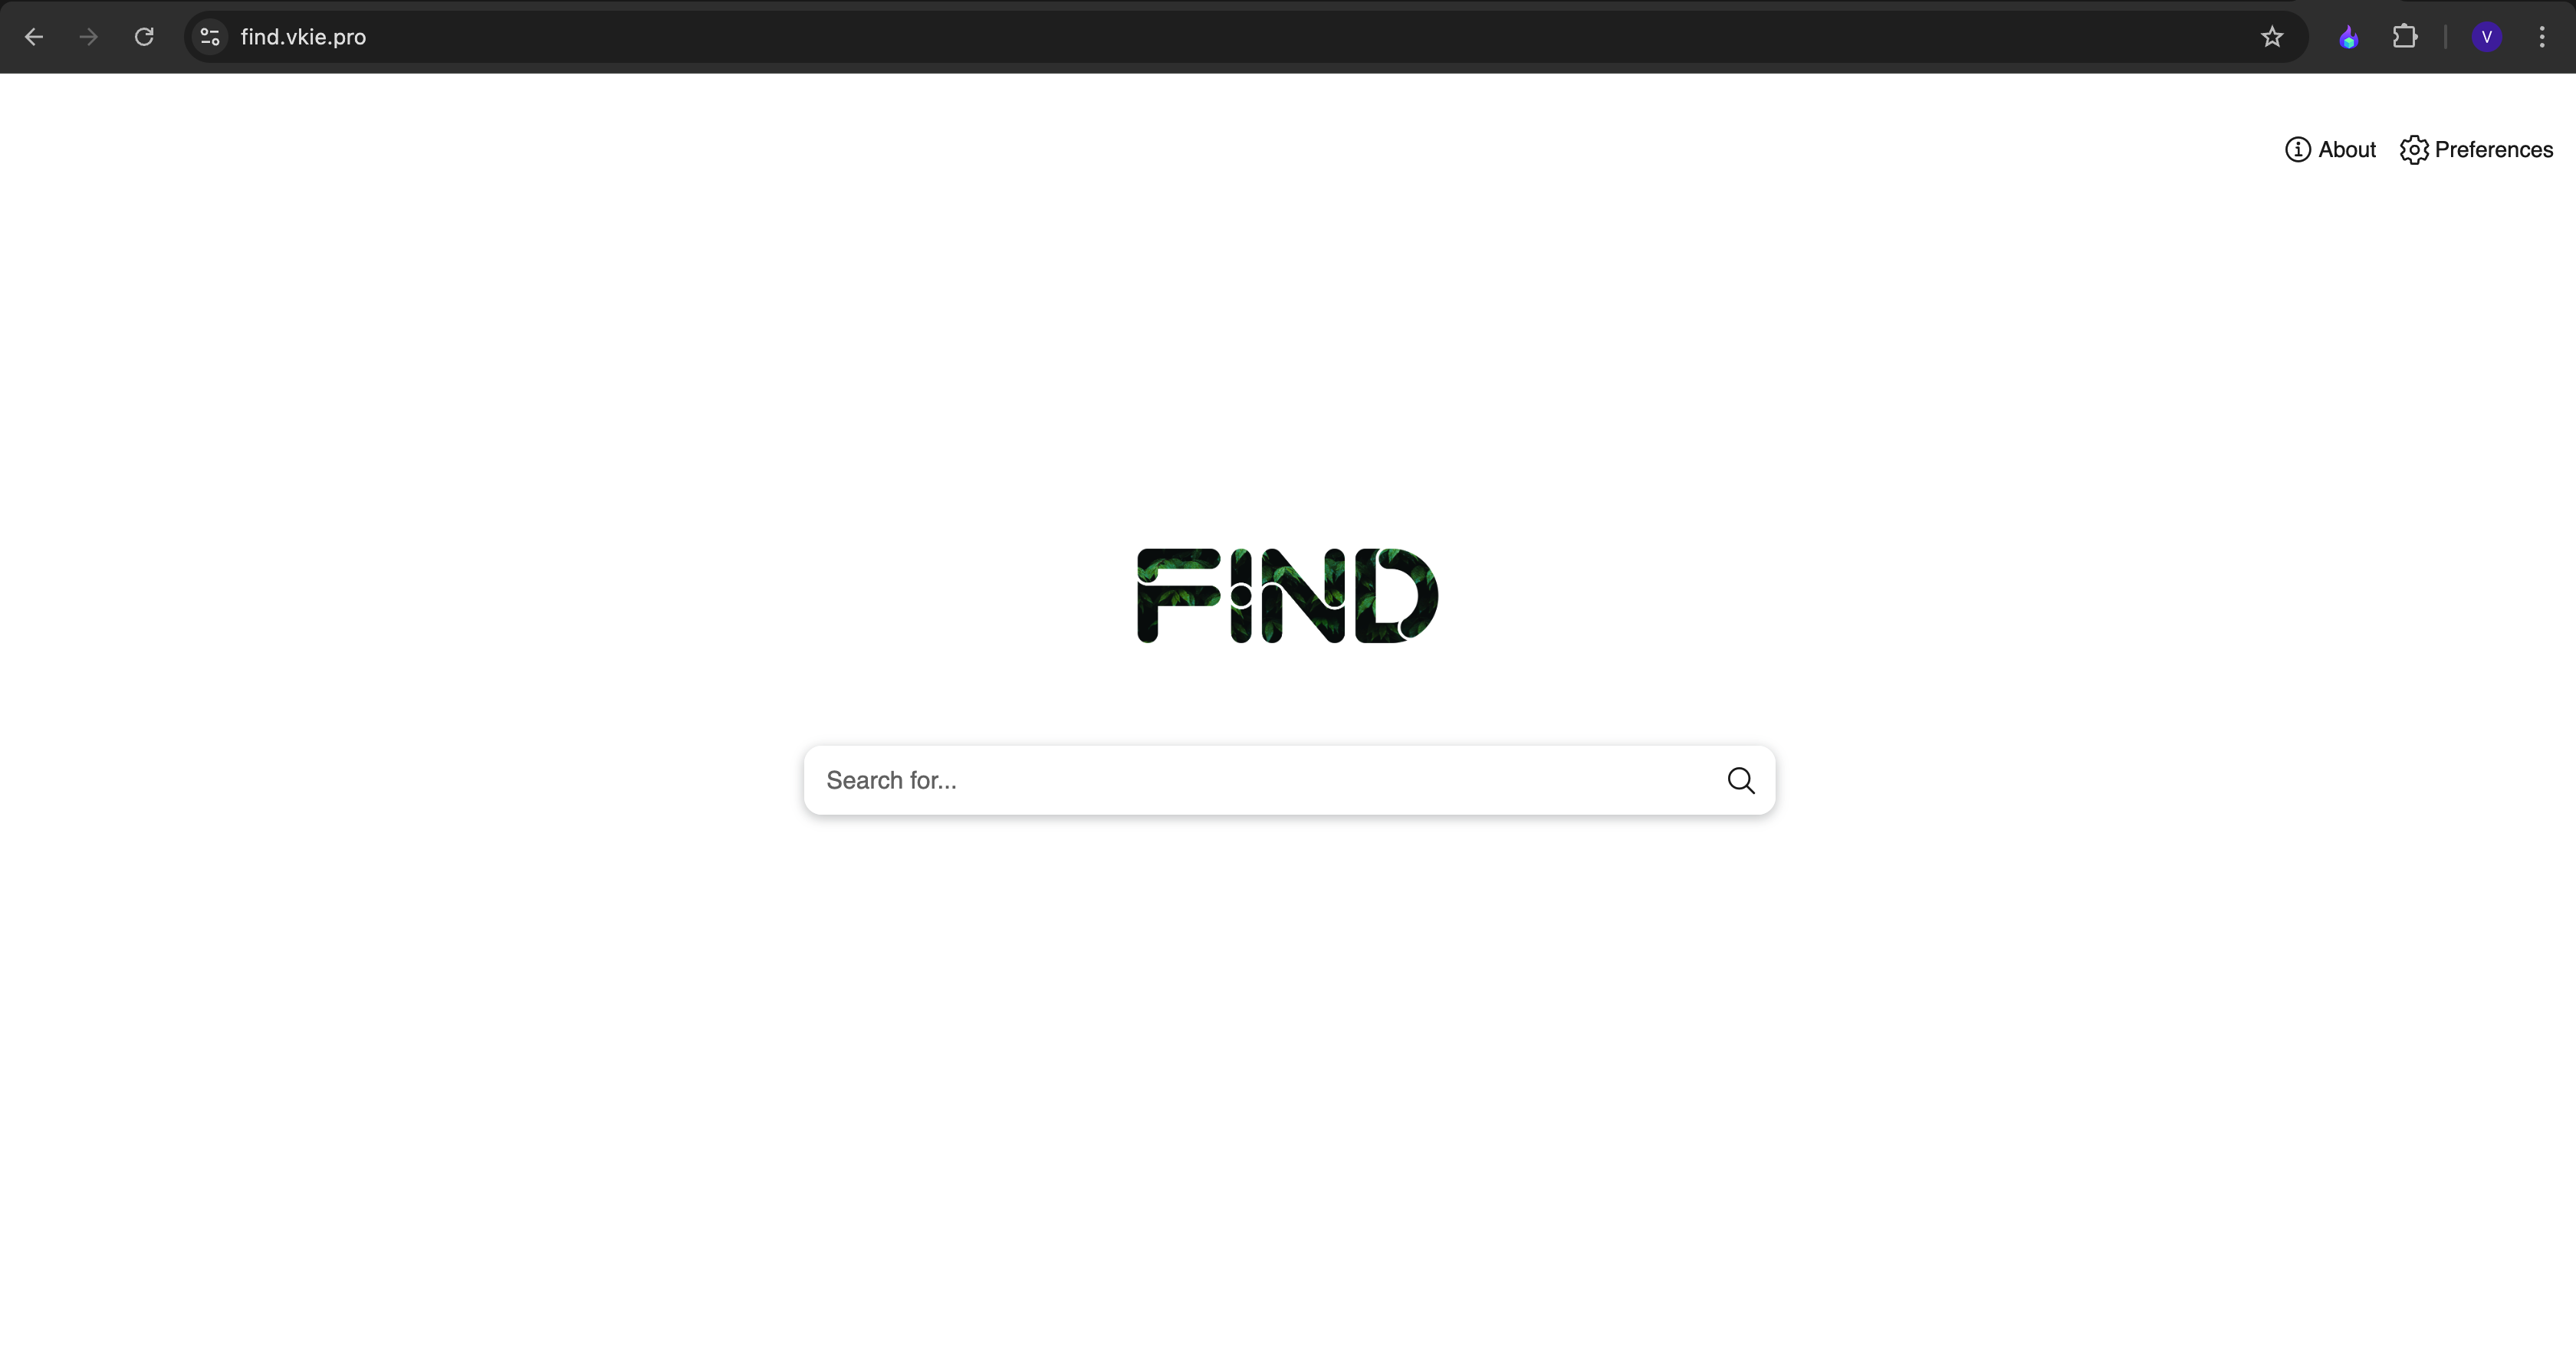
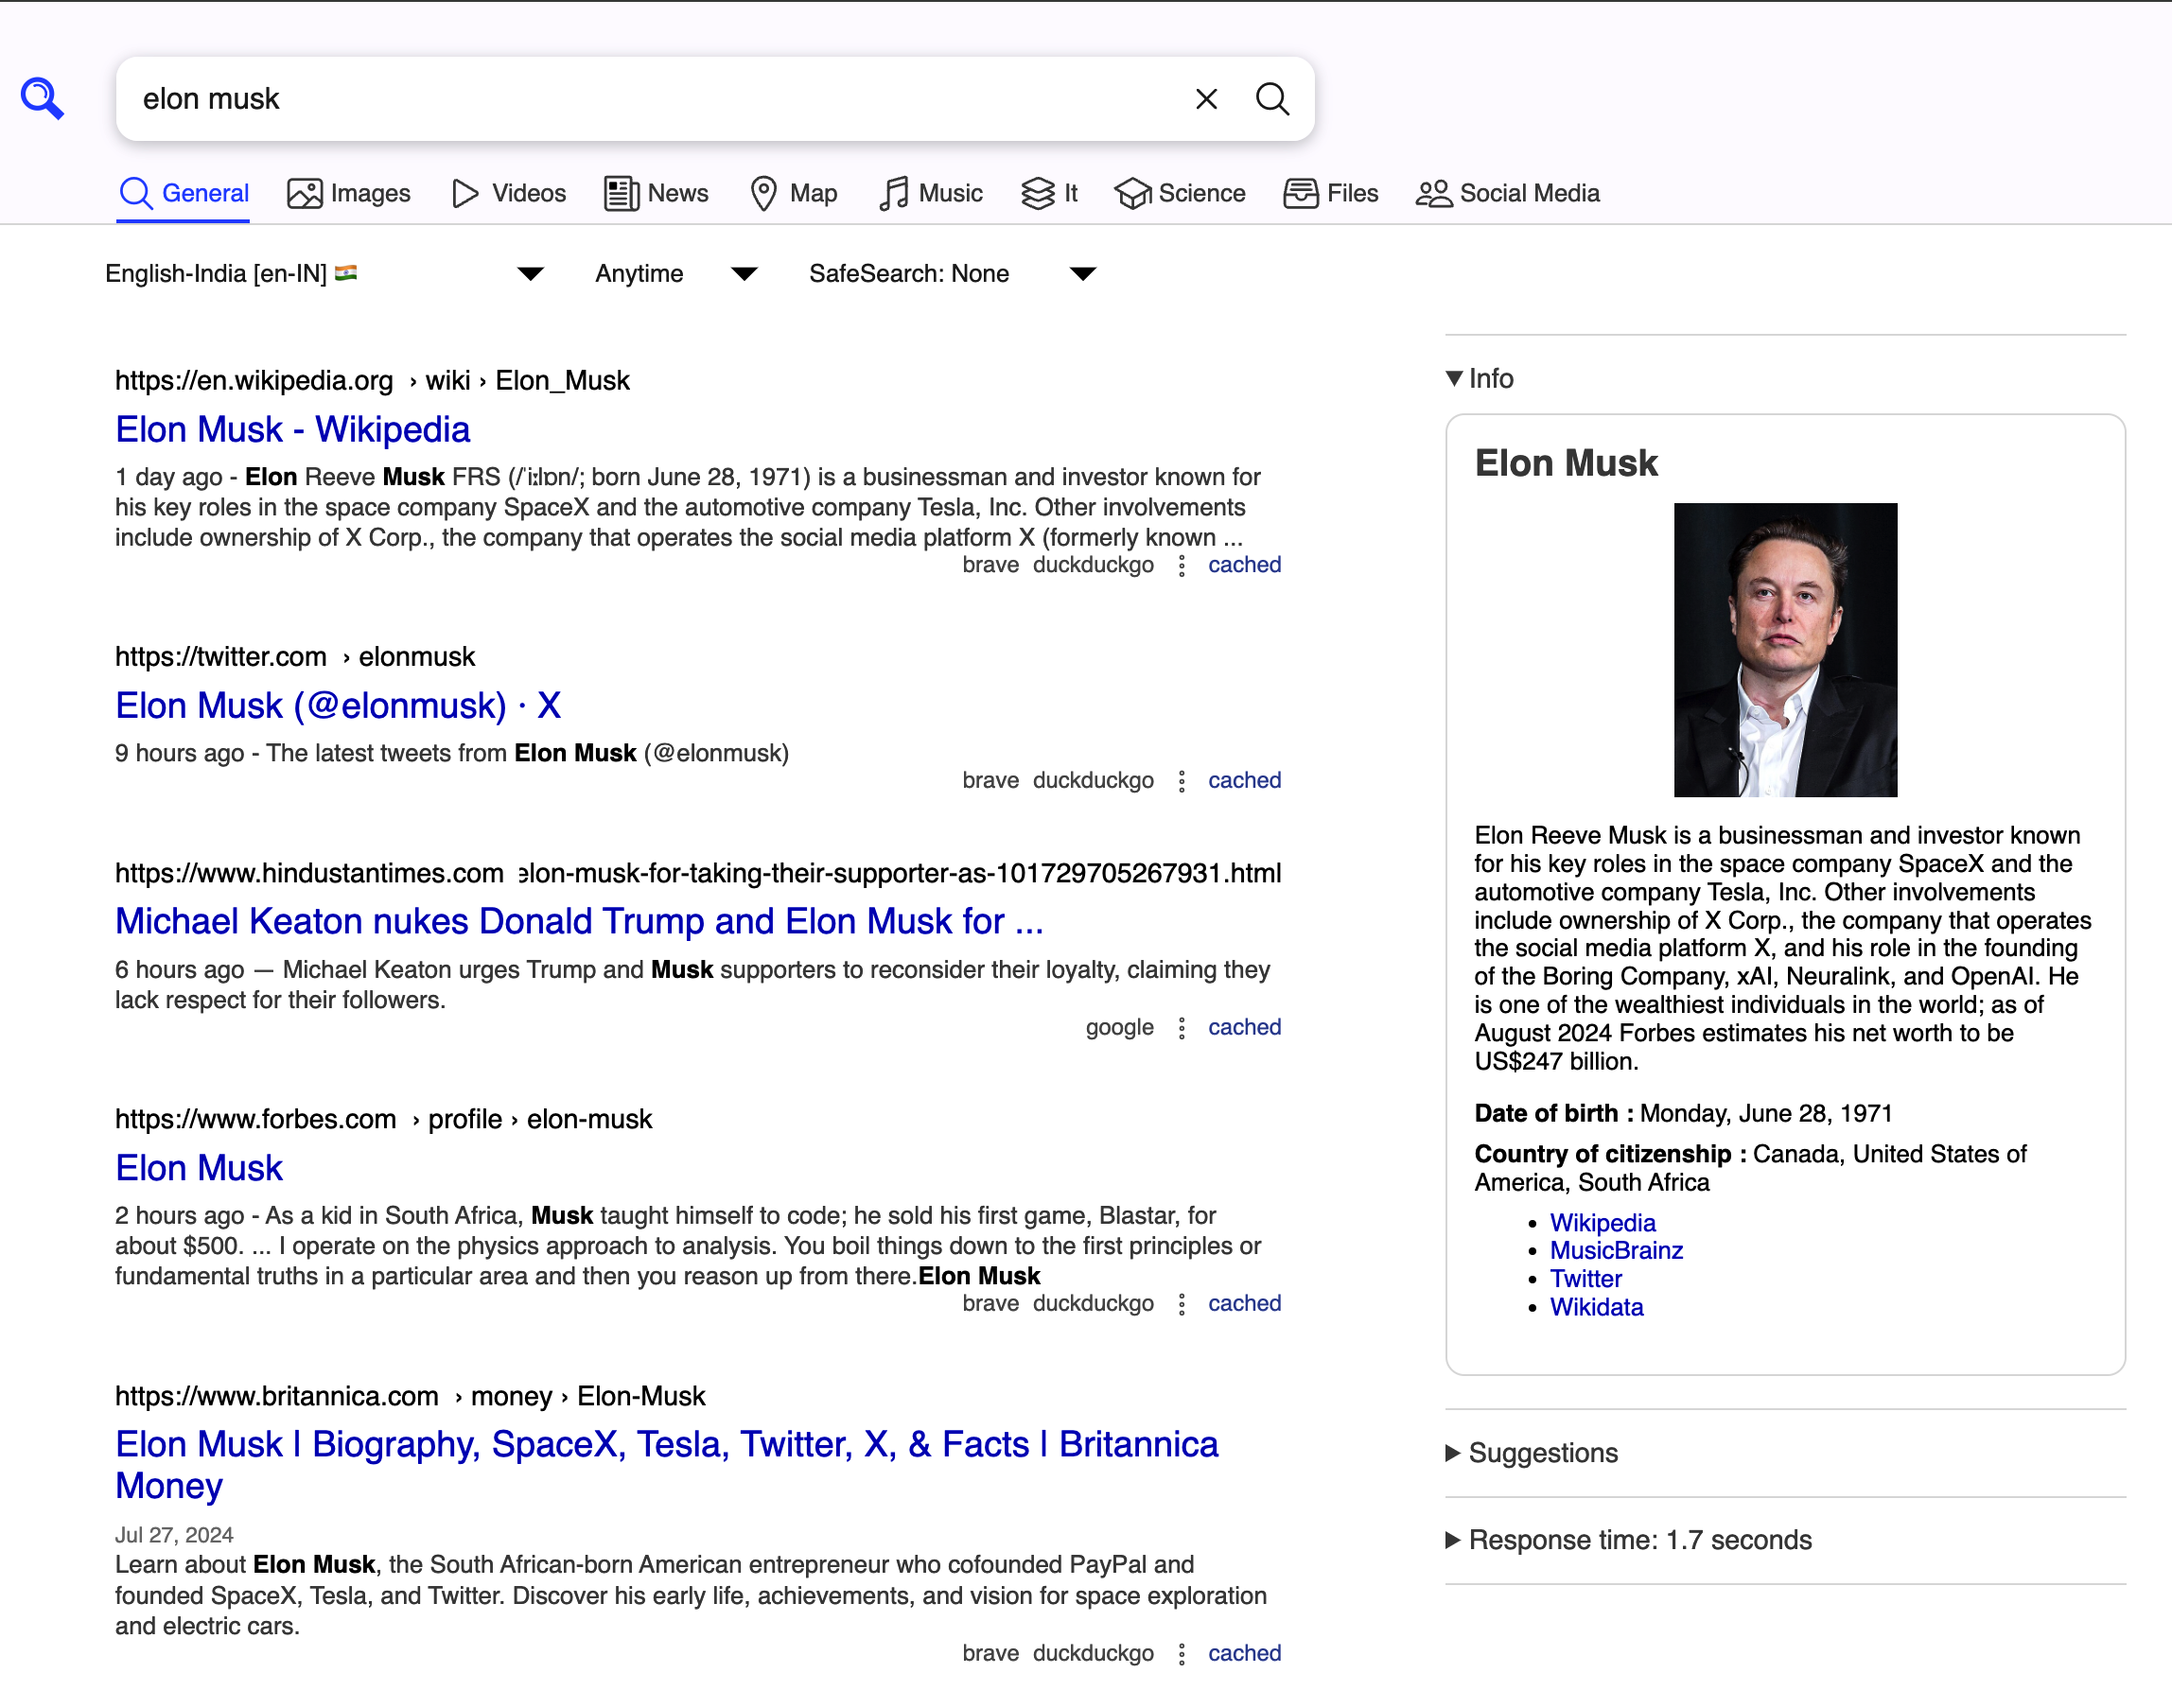
Go to your Domain, You will end up with private searxng site, as shown in below screenshot
Click here -> find.vkie.pro
As you can see in each result, SearXNG fetched data from various search engines and aggregated them.
In some other day, i’ll let you know how to protect this site to make available only to you.
Method 2 - Installing in own machine, (Not AWS)
Those who cant afford AWS and its billings, there is another easiest way we can deploy in own machine using docker
To do so, jus clone the repo and compose it using “docker compose up -d”. access it via localhost and port 8080
Also there are other installation steps also available in SearXNG documentation, But deploying in docker is easiest way.
Thanks for the time, 🤗🤗
