IBM Qradar Installation - (AWS & VMware)
In this blog we will get to know how to install IBM Qradar, in both AWS and in local VM,
Installing in AWS
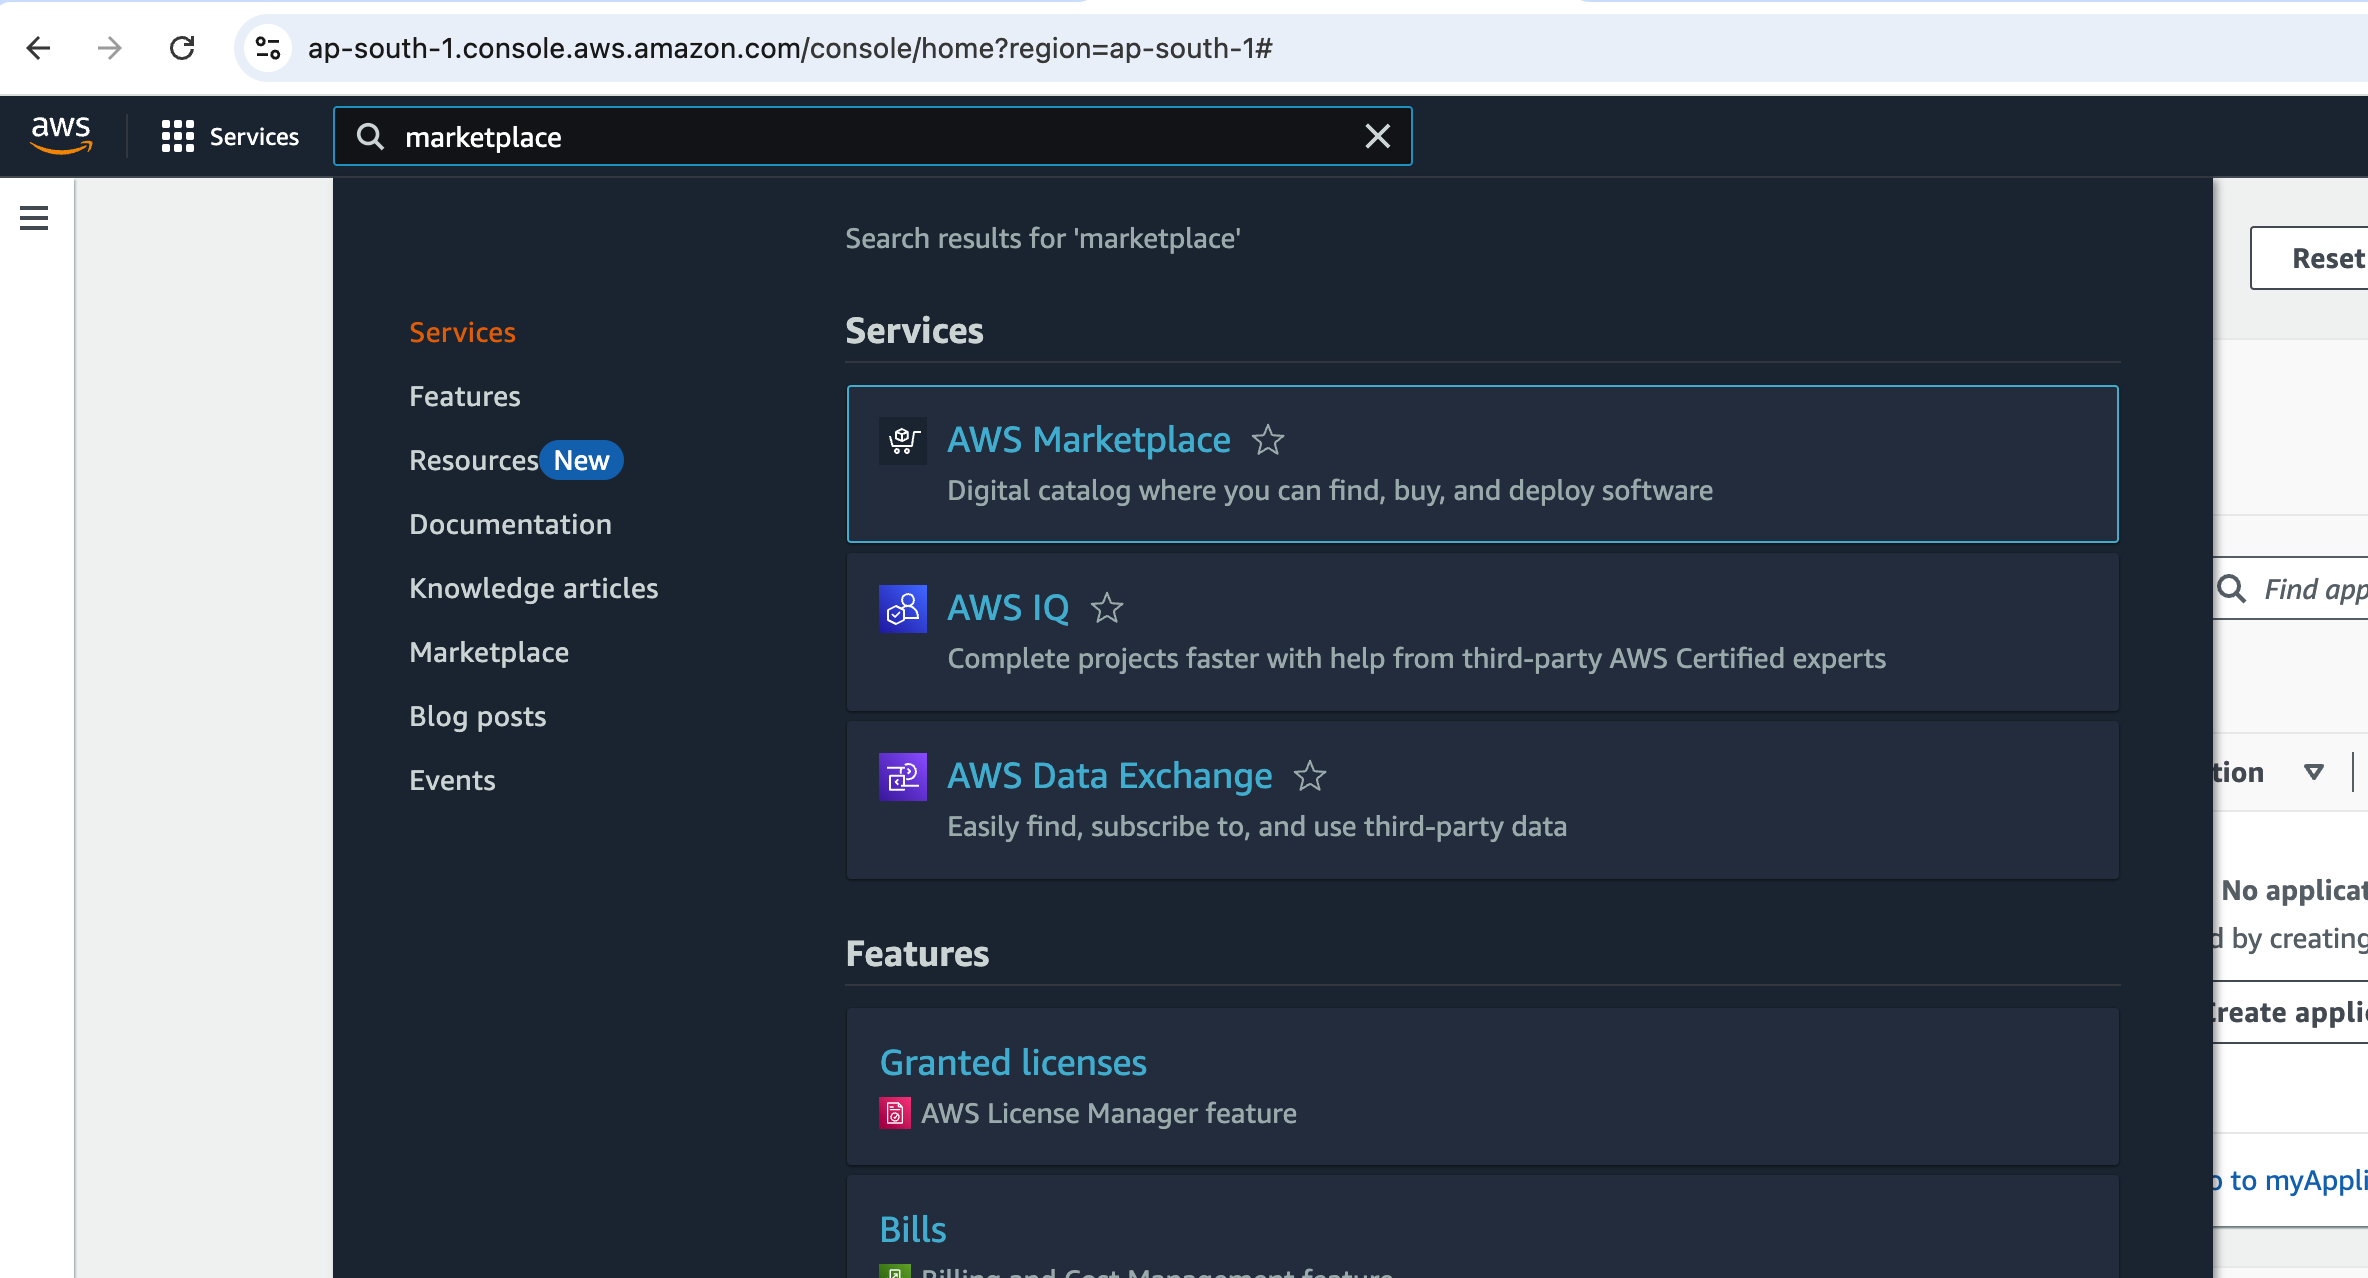
Go AWS console, then in search and go to “Amazon Marketplace”
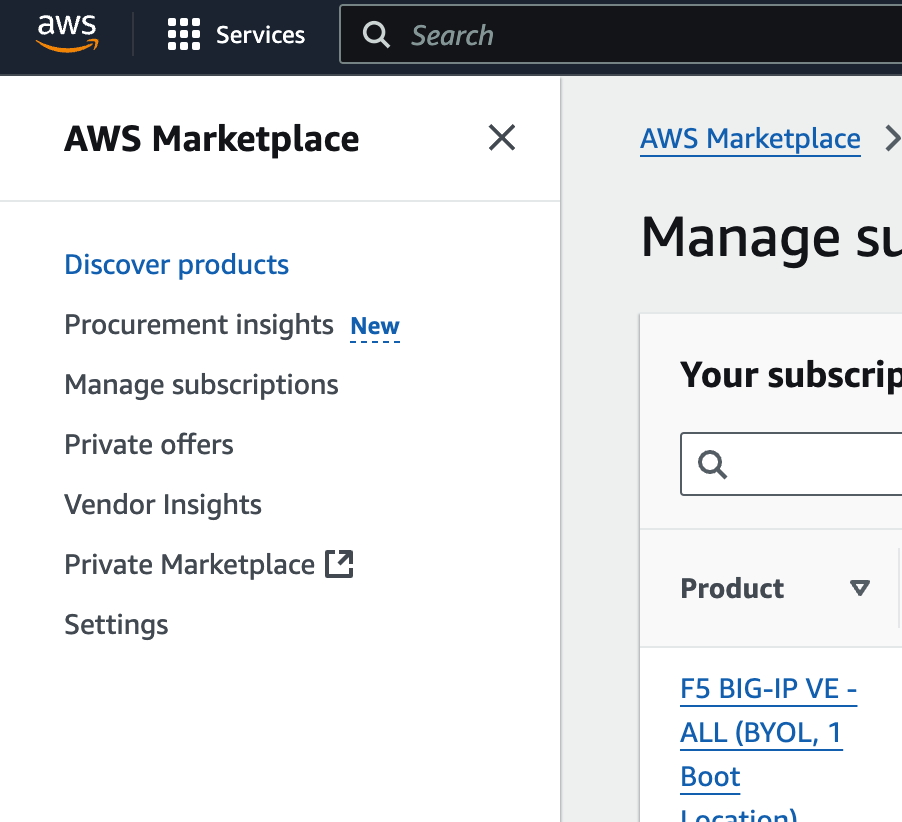
Go to Discover products,
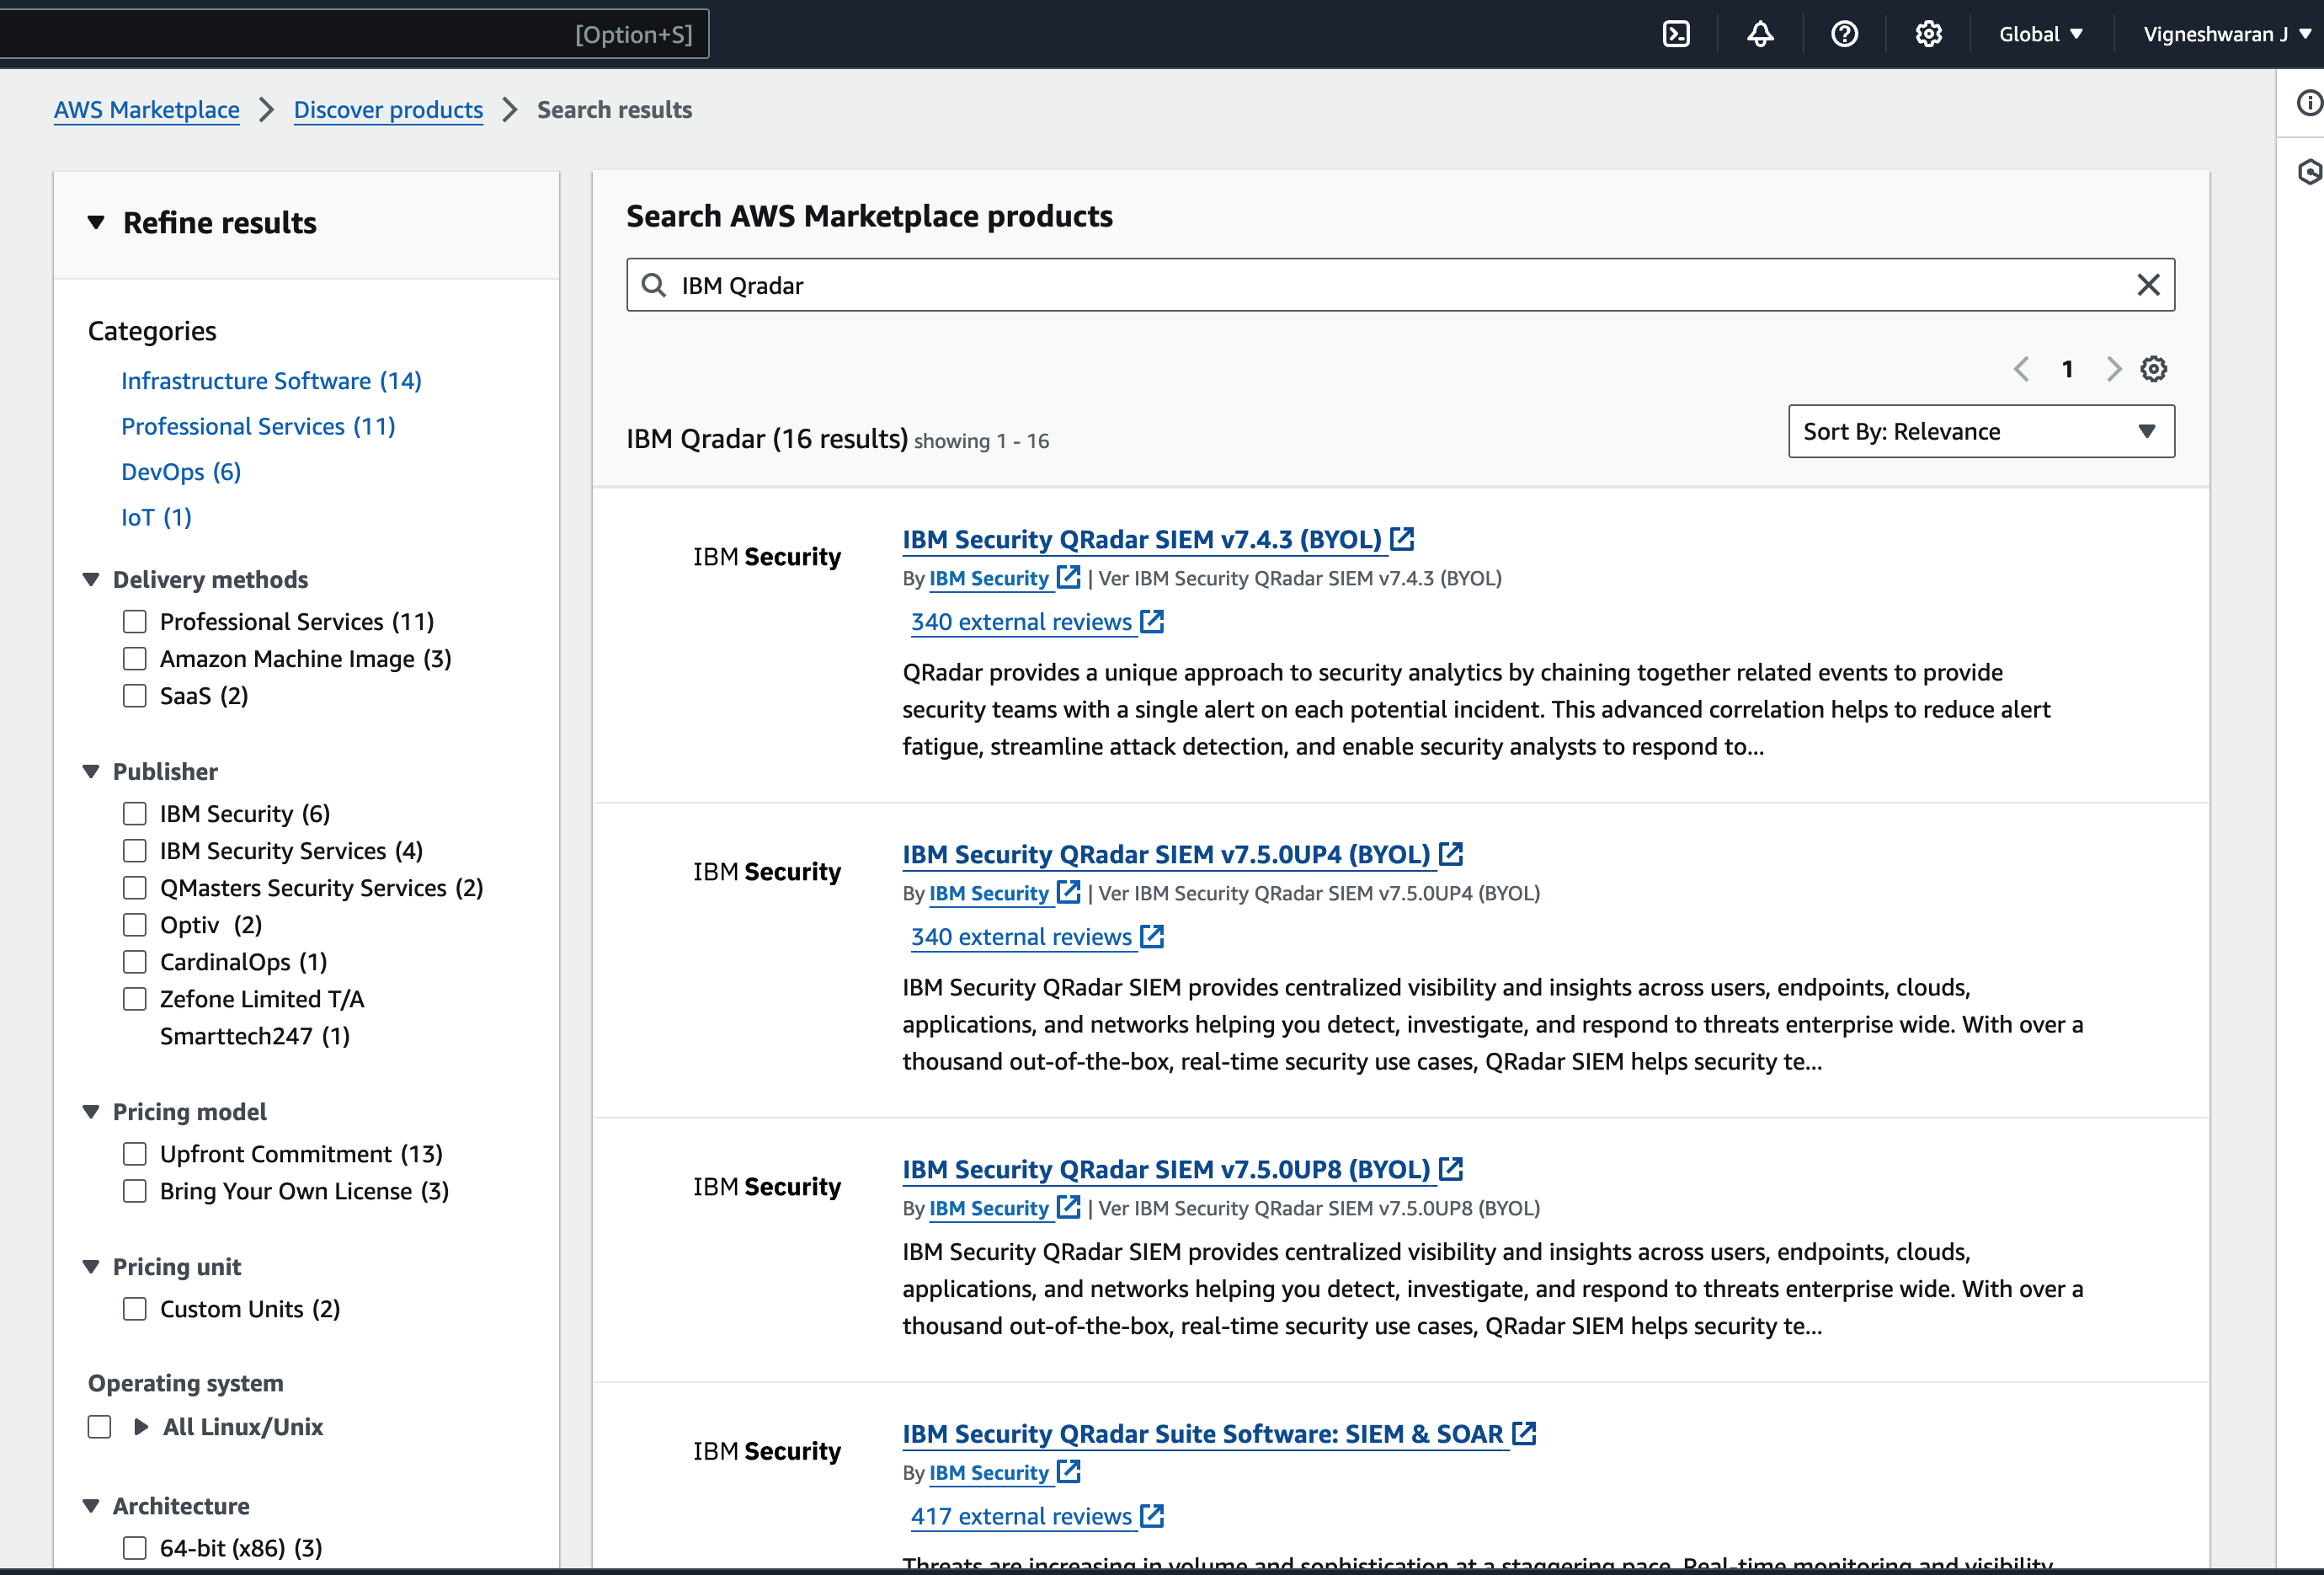
Search for IBM QRadar, Click any one, in this im trying 7.5.0 UP8
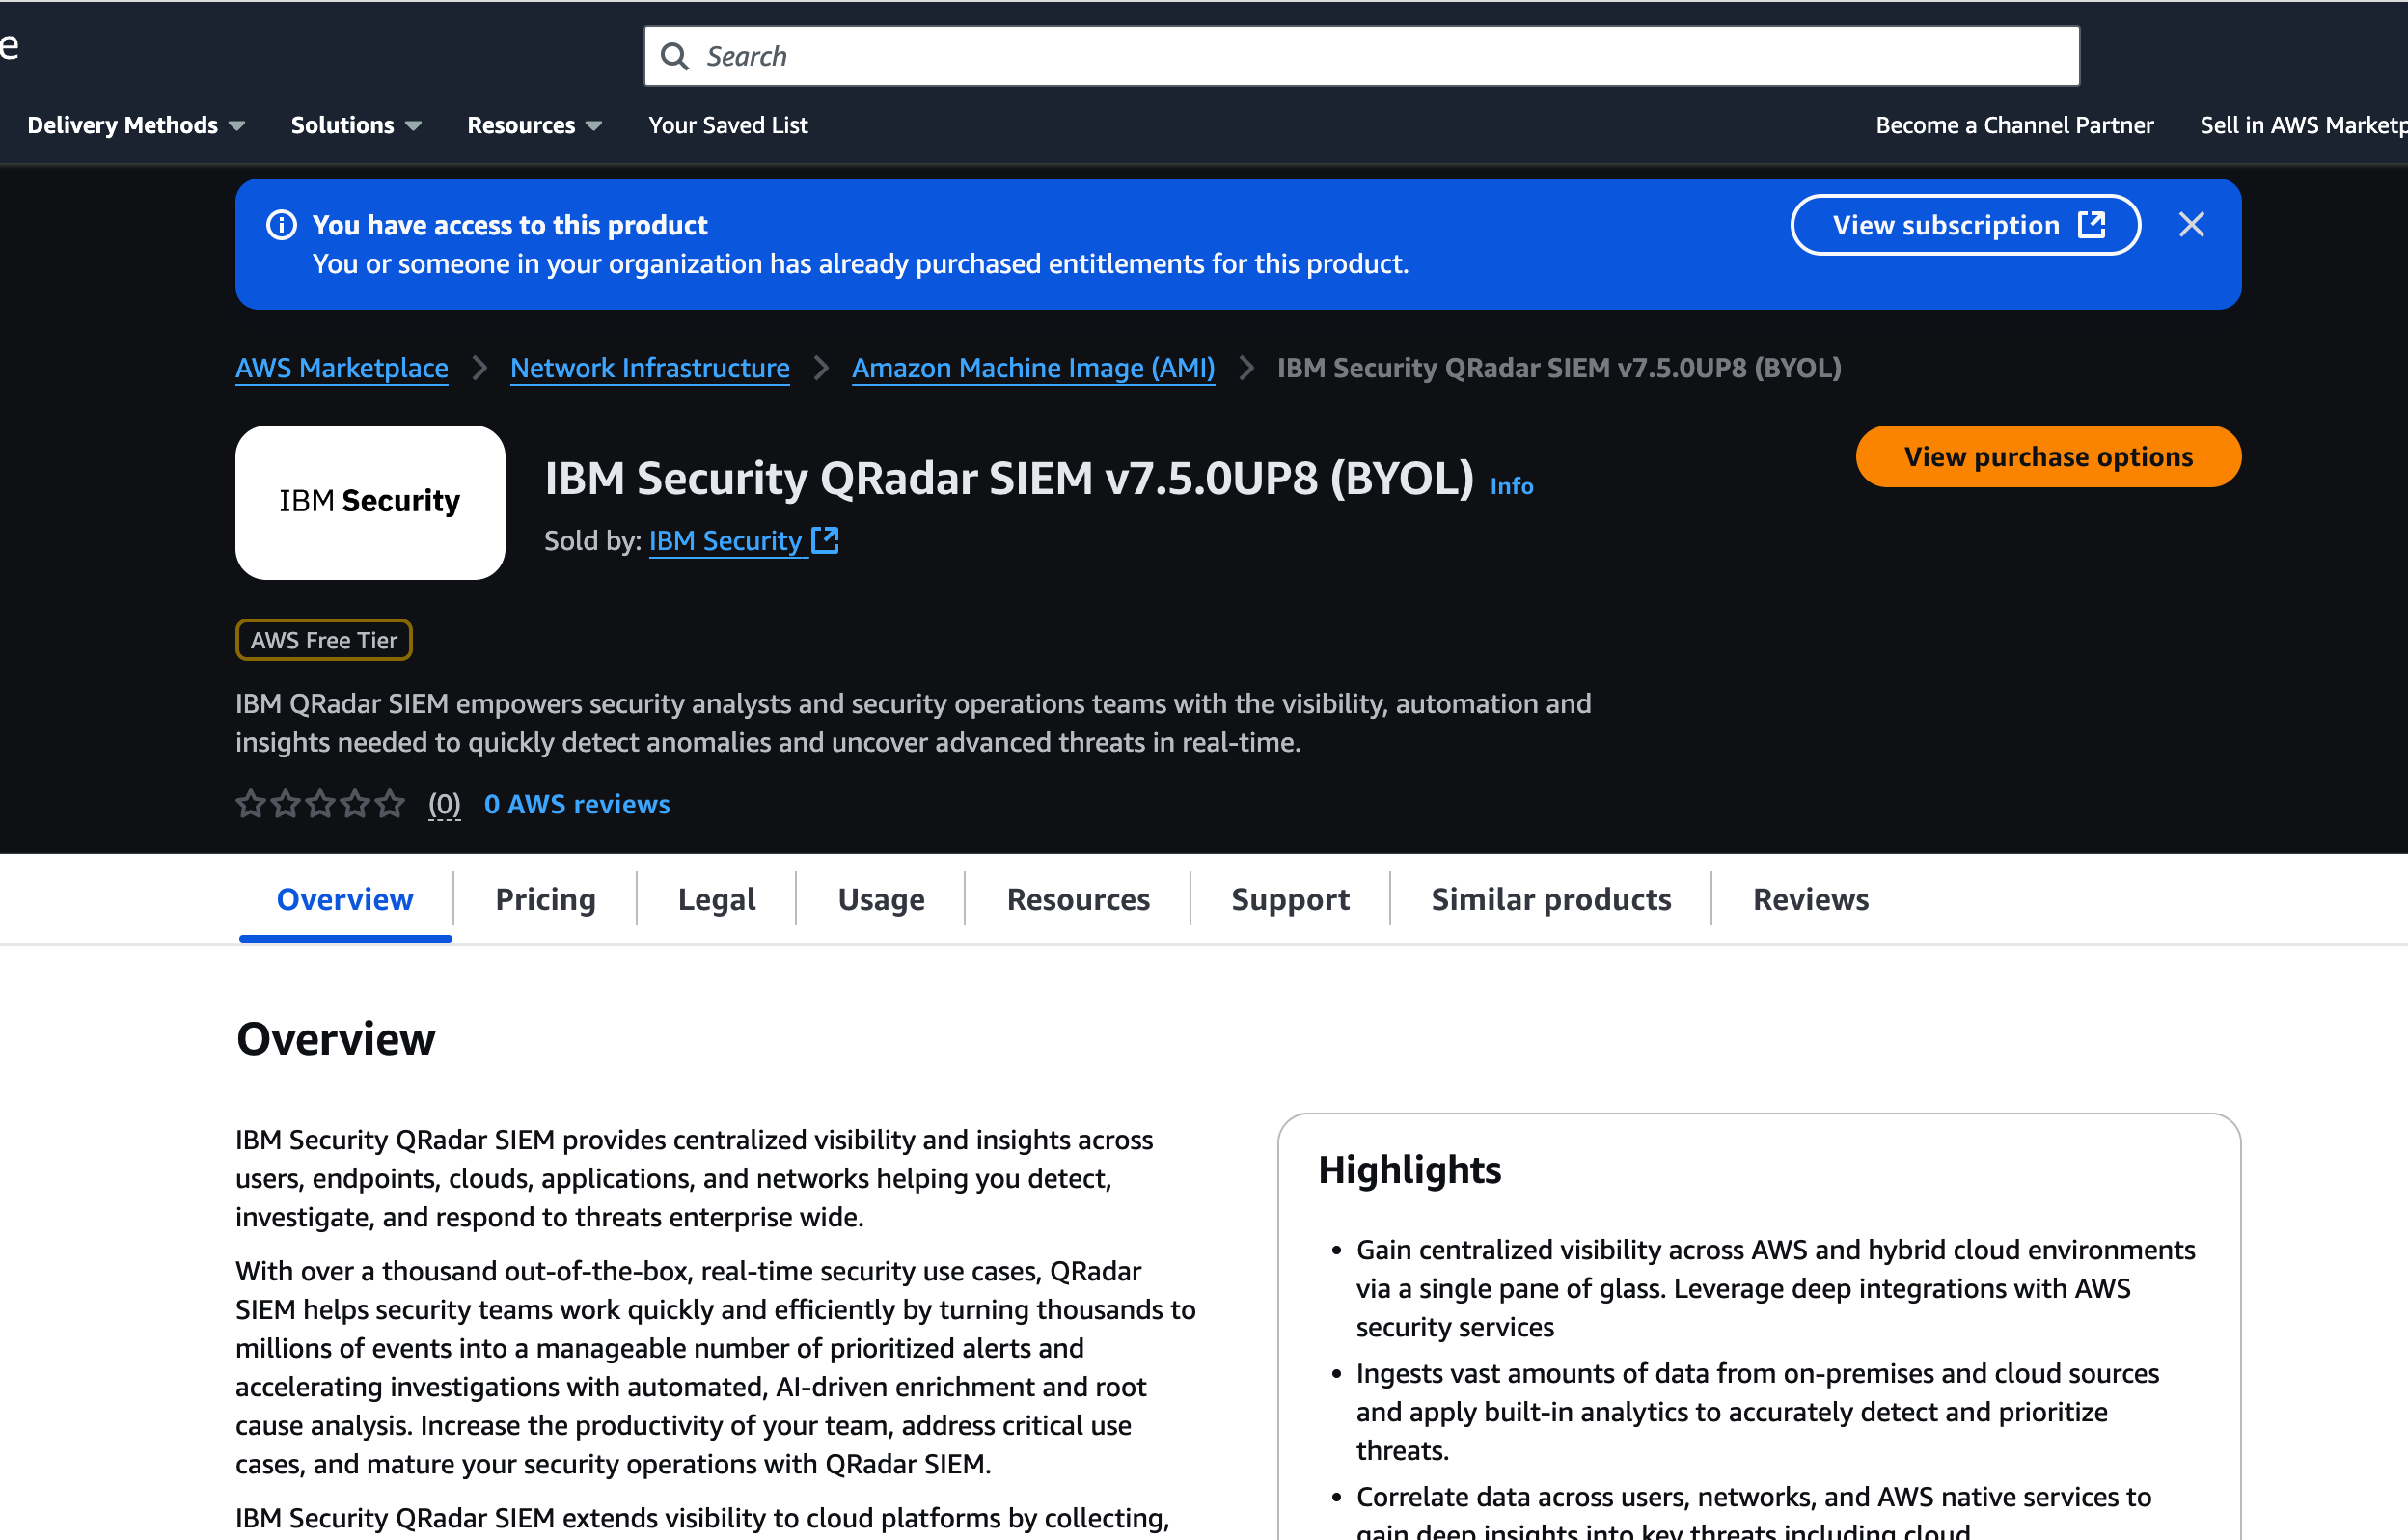
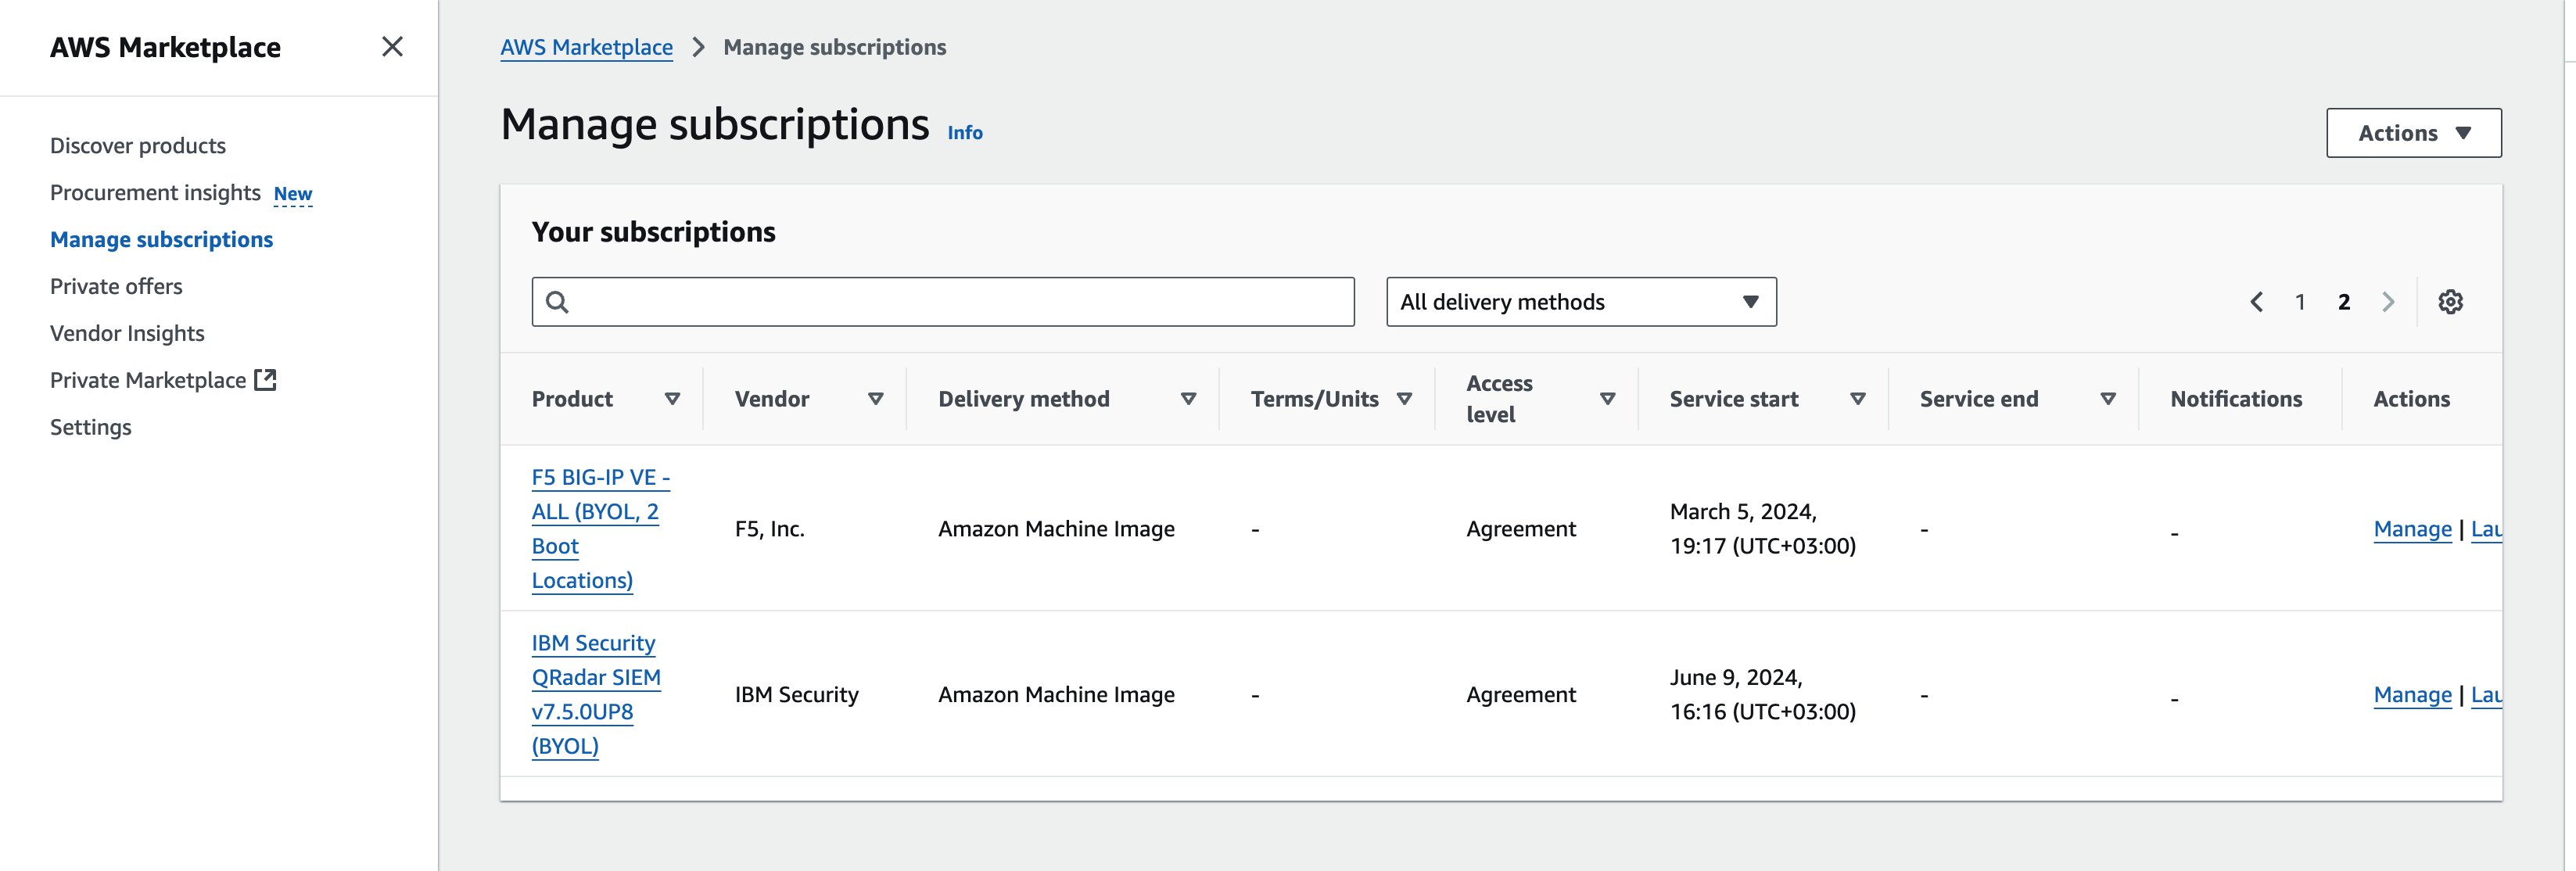
In my case i already subscribed, for New users, click continue to Subscribe, and you can see the image in Manage subscriptions list
Click the subscribed QRadar,
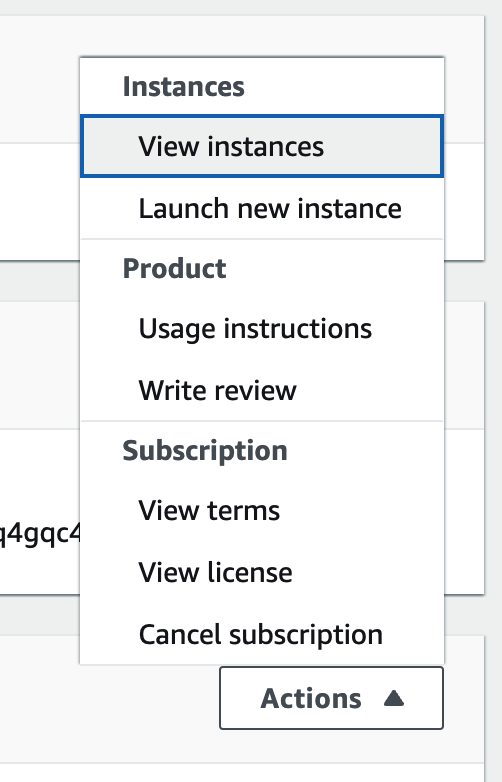
In action button u will see usage instructions, click and open it in new tab and keep it sideway
Click launch new instance
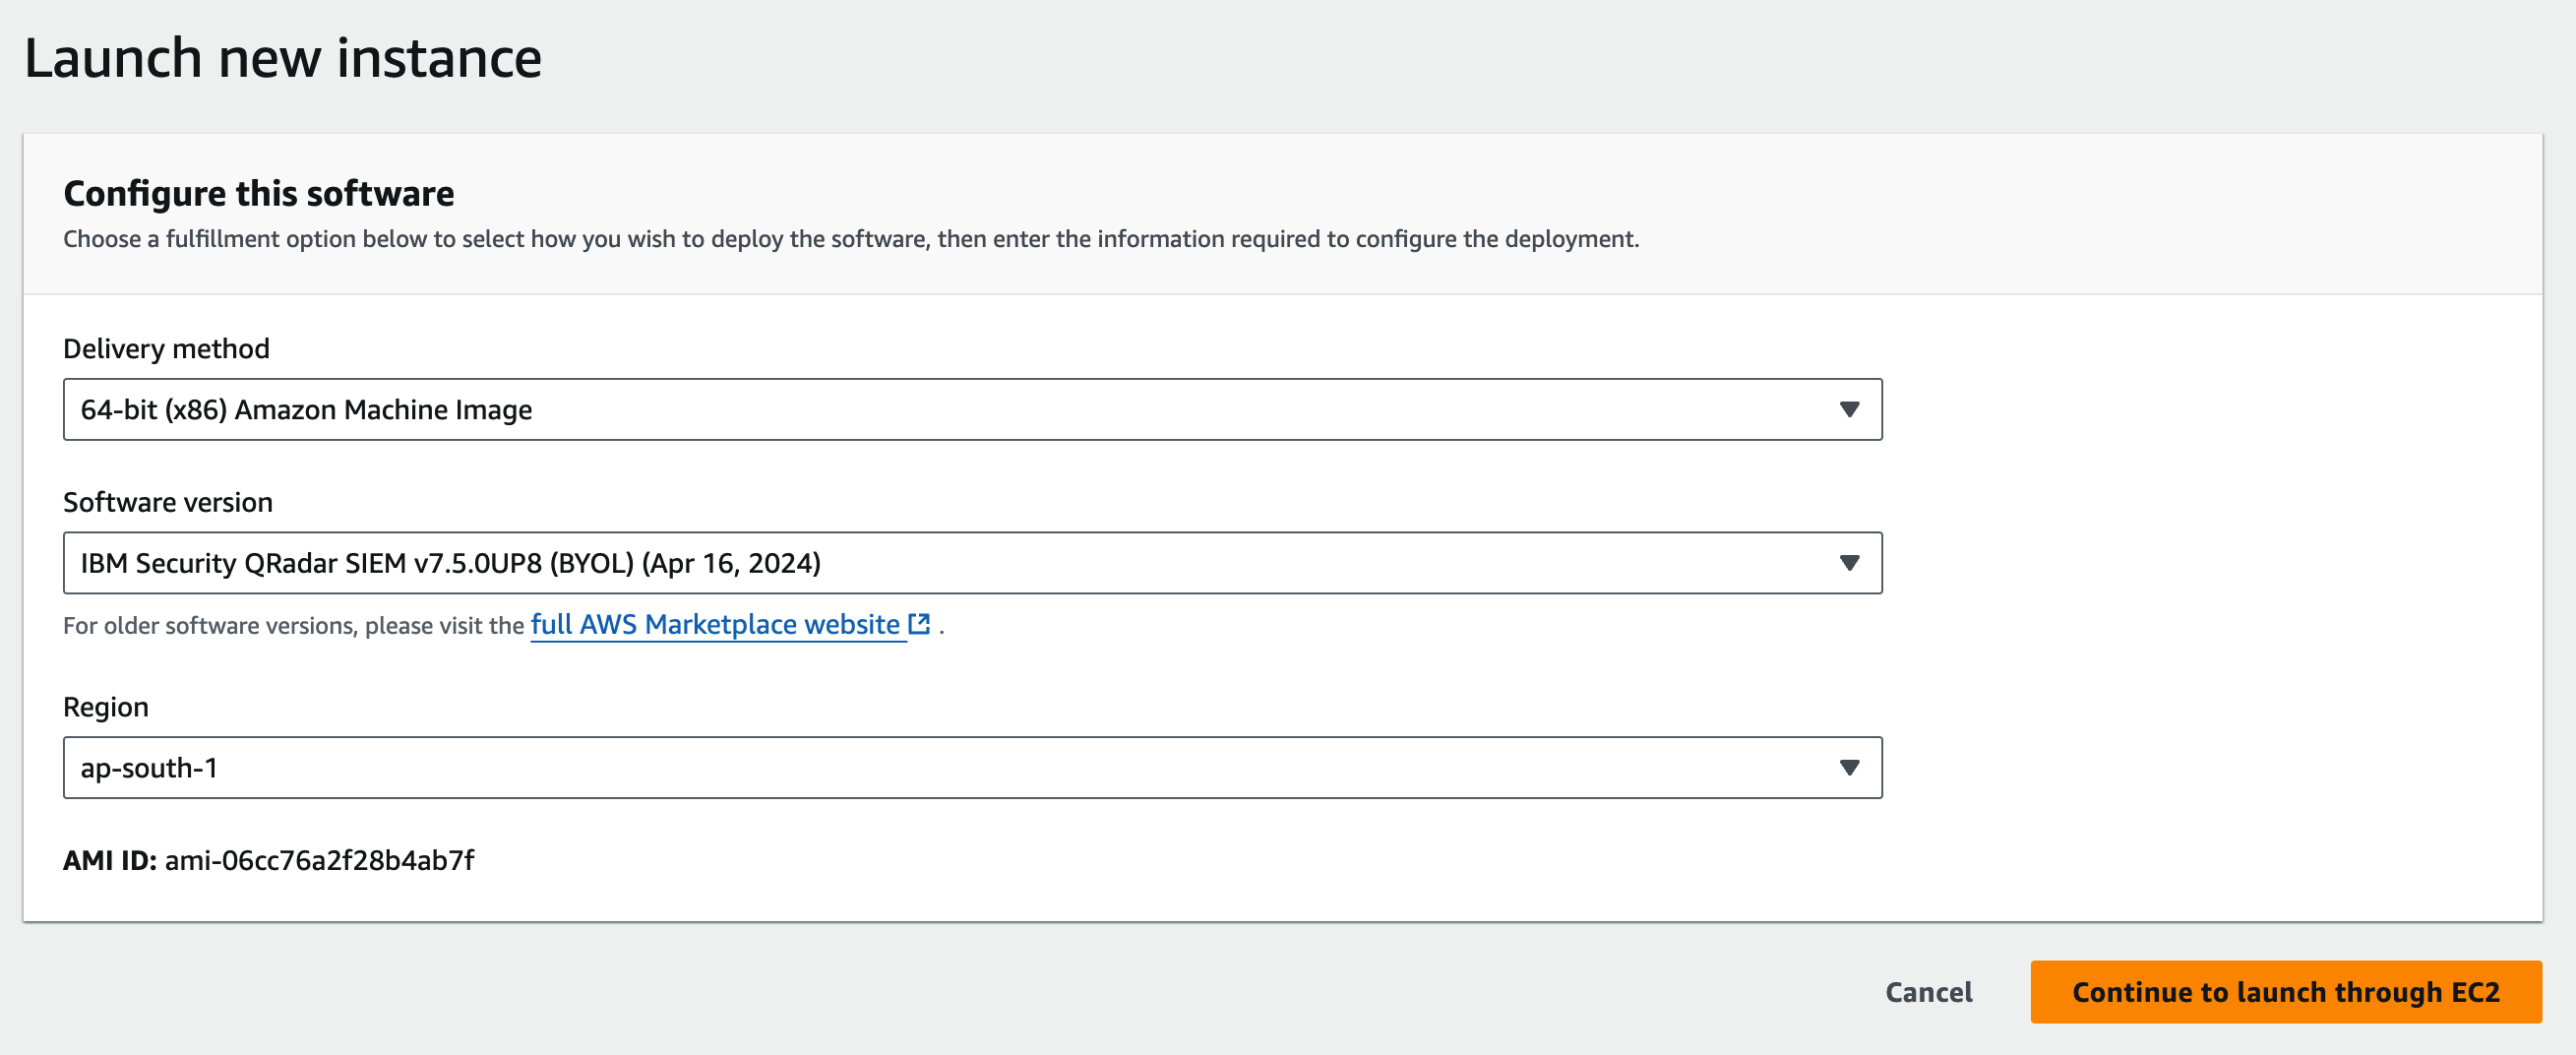
On next screen choose the region, in my case i chose ap-south 1, which is mumbai location, then click continue to launch through EC2
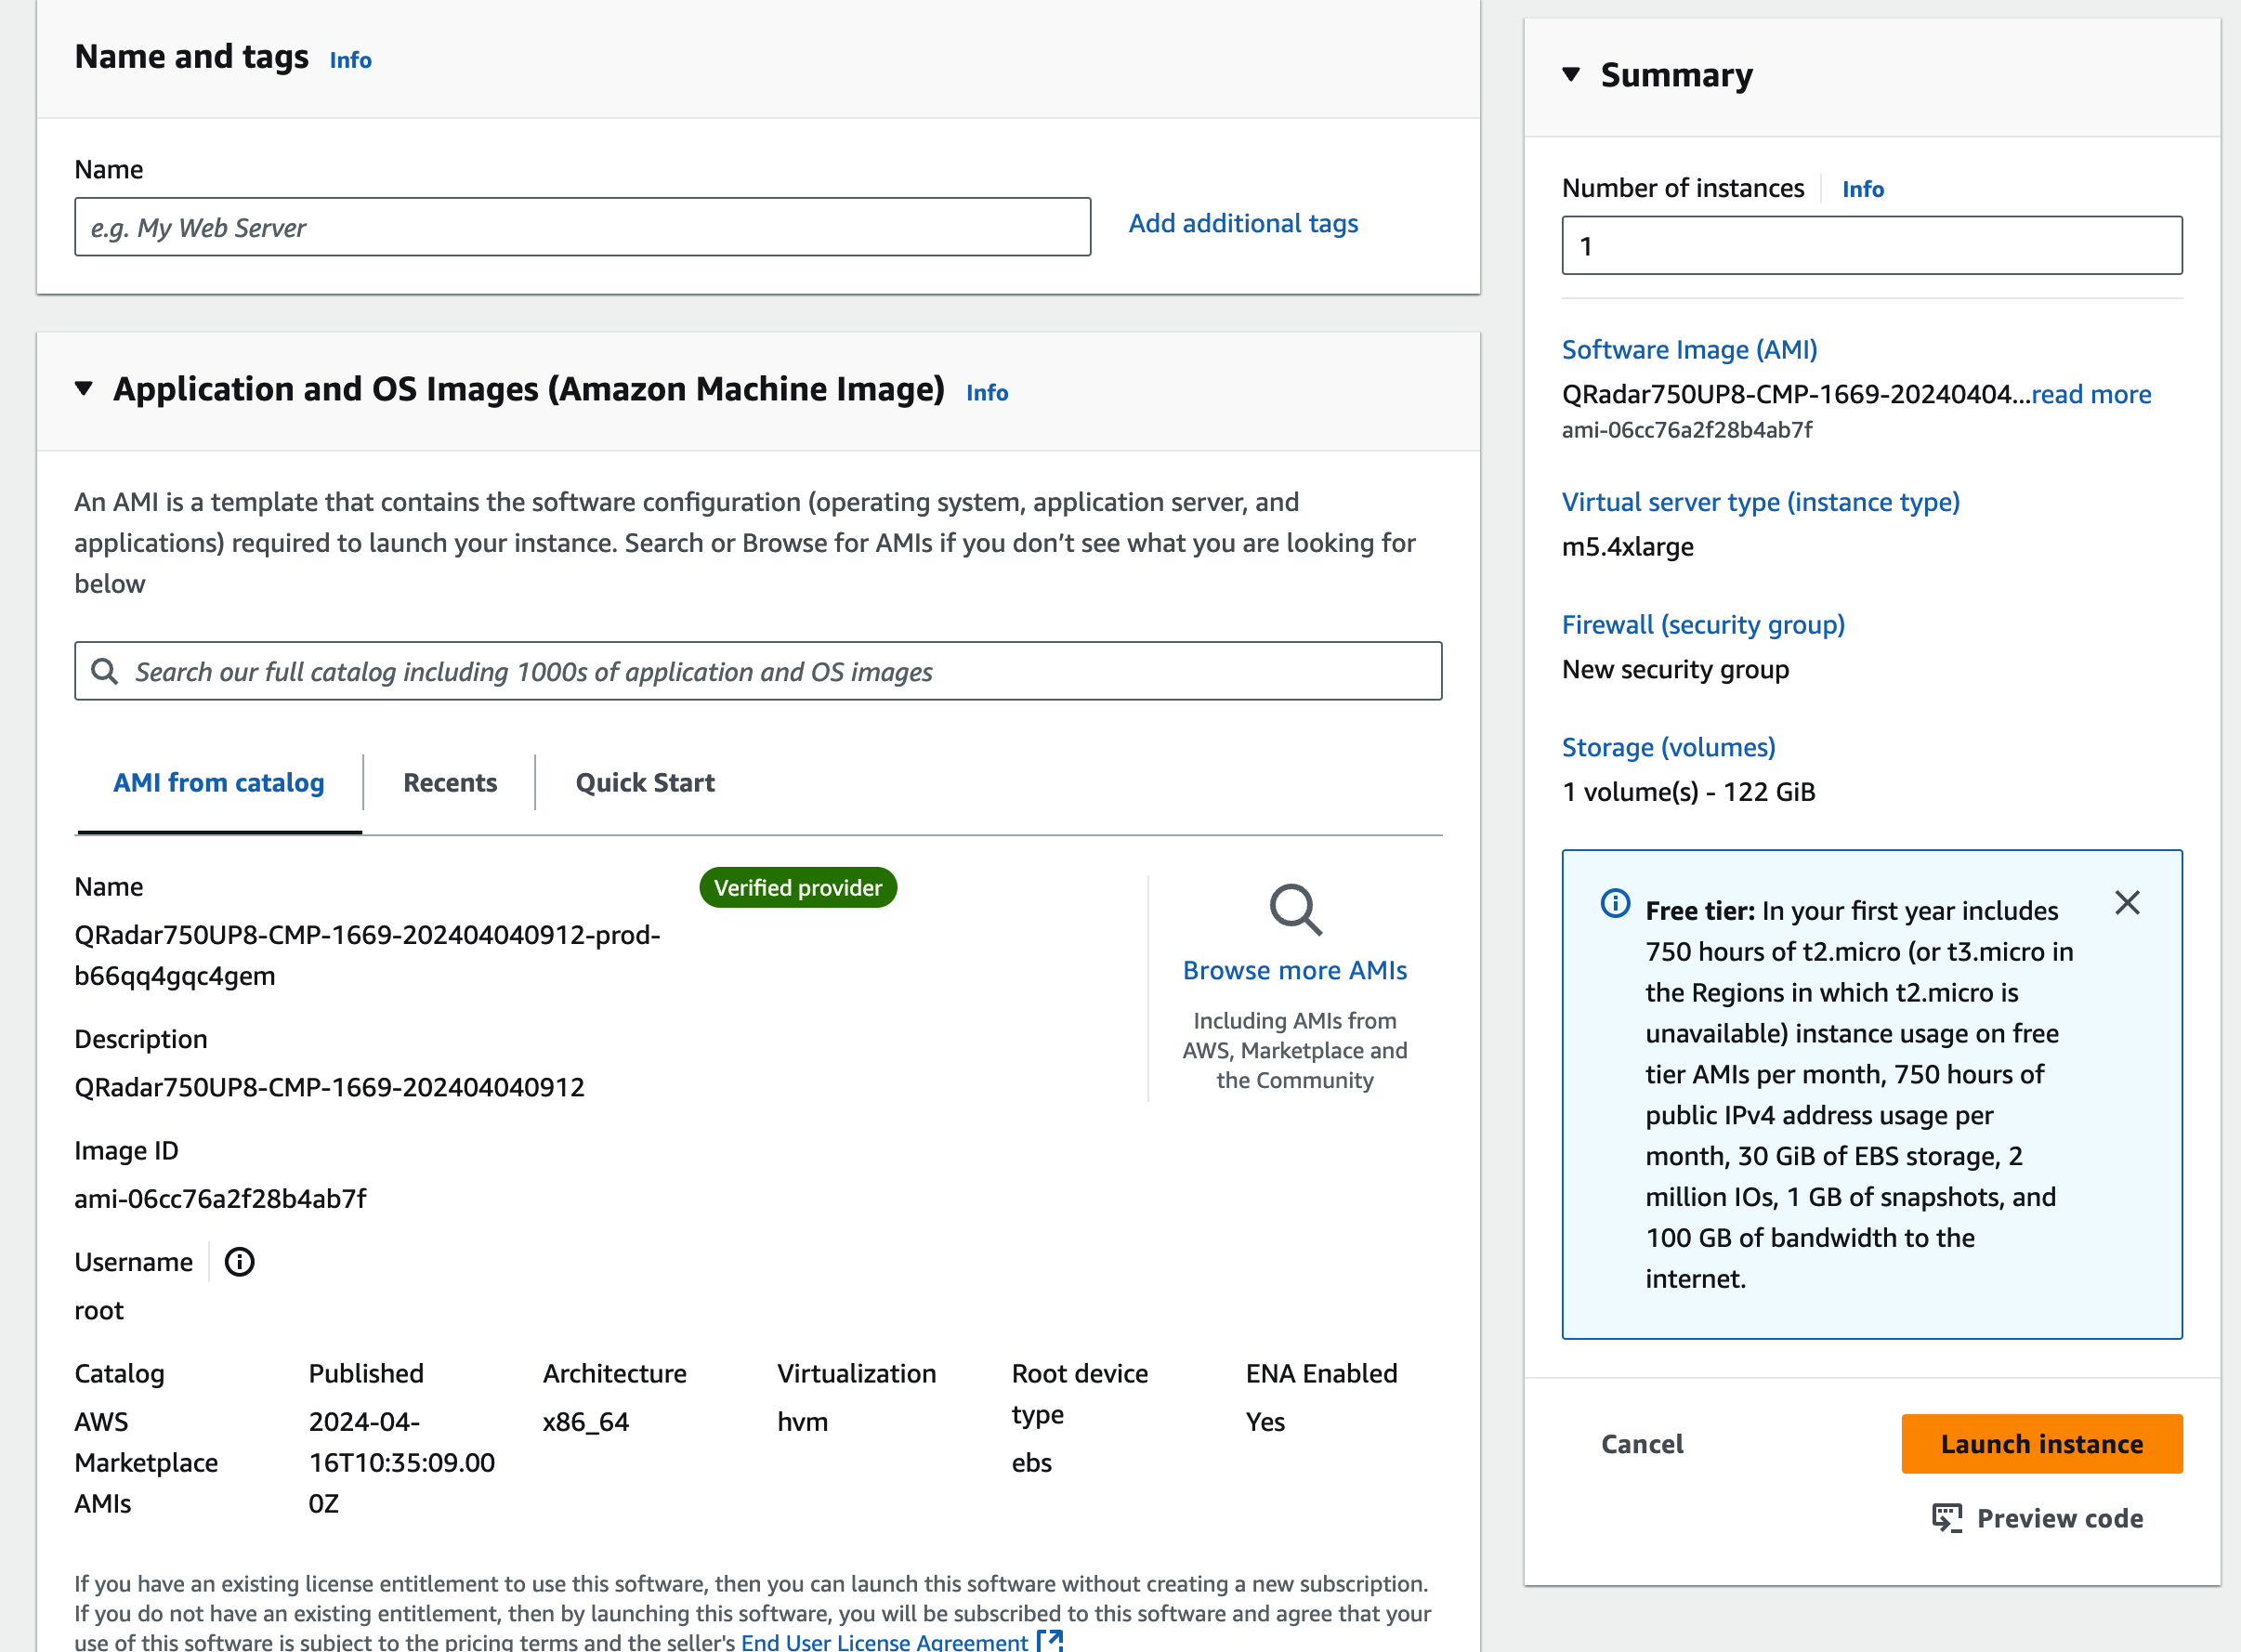
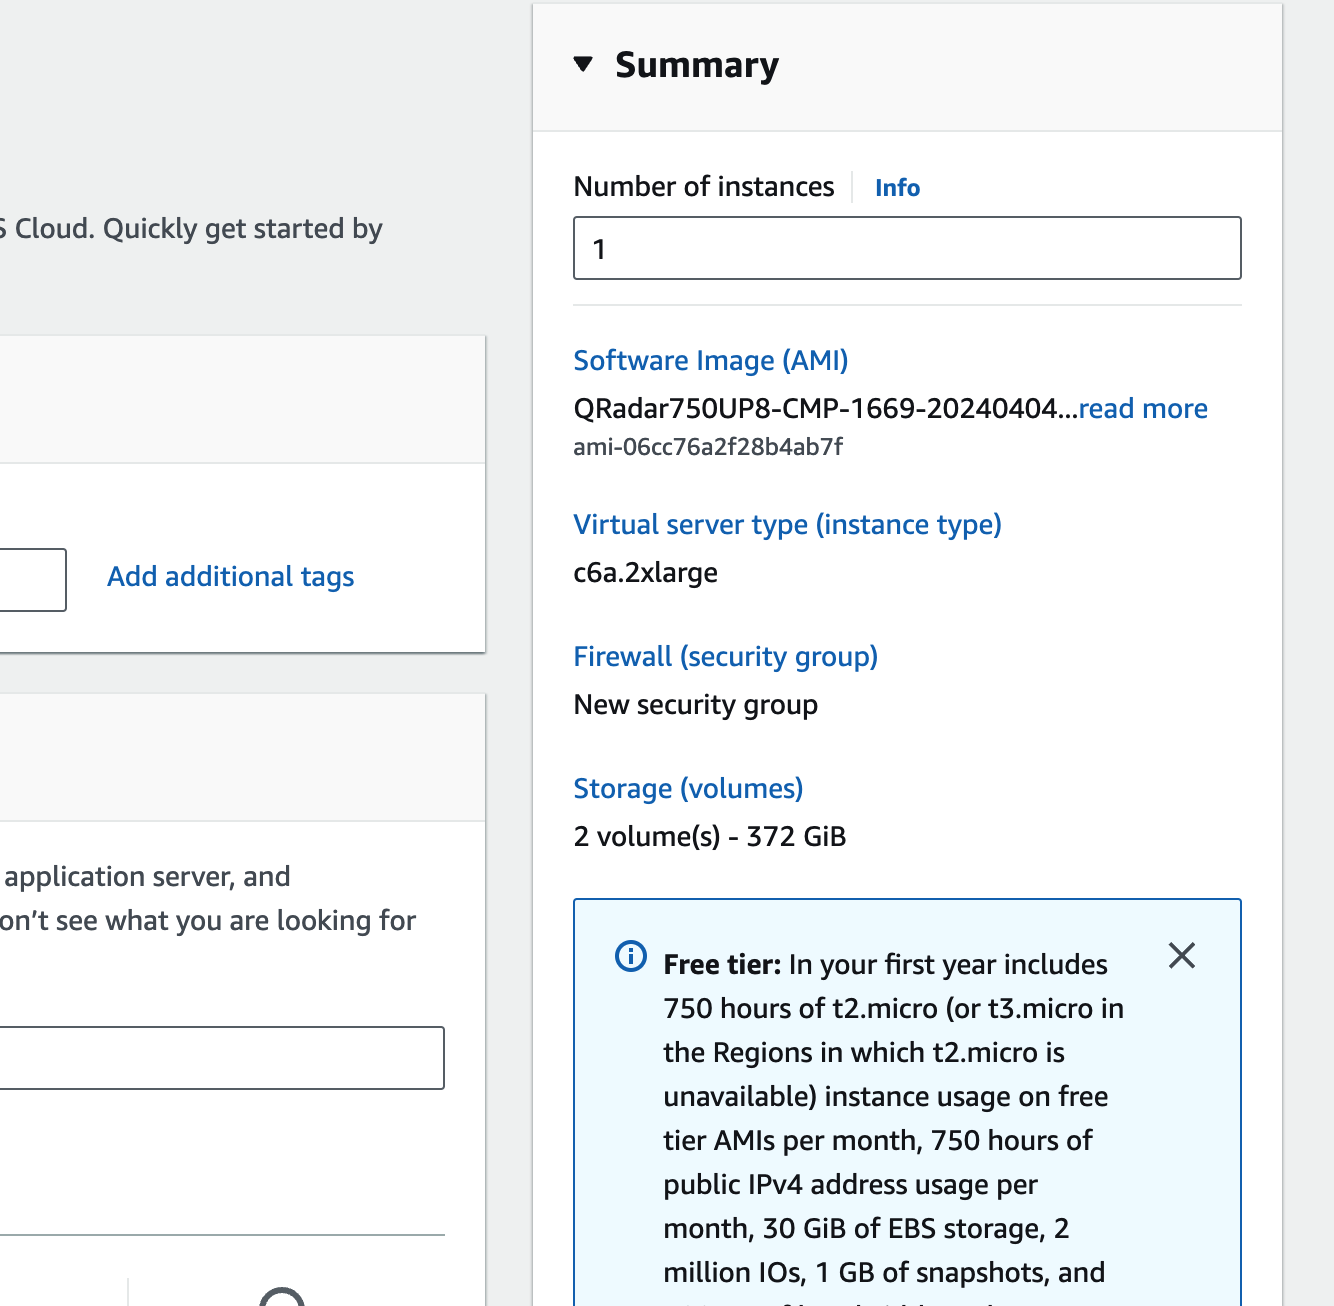
As you can see image is automatically selected, and choose the key pair, and choose your instance type,. by default m5.4x large selected, u can feel free to choose whichever you want as per considering budget everything,. in my case i chose c6a.2x large, which gives 8vcpu and 16GB Memory, which i feel efficient for my usage.
on next step select key pair if u have any, if not create new one and keep it safe
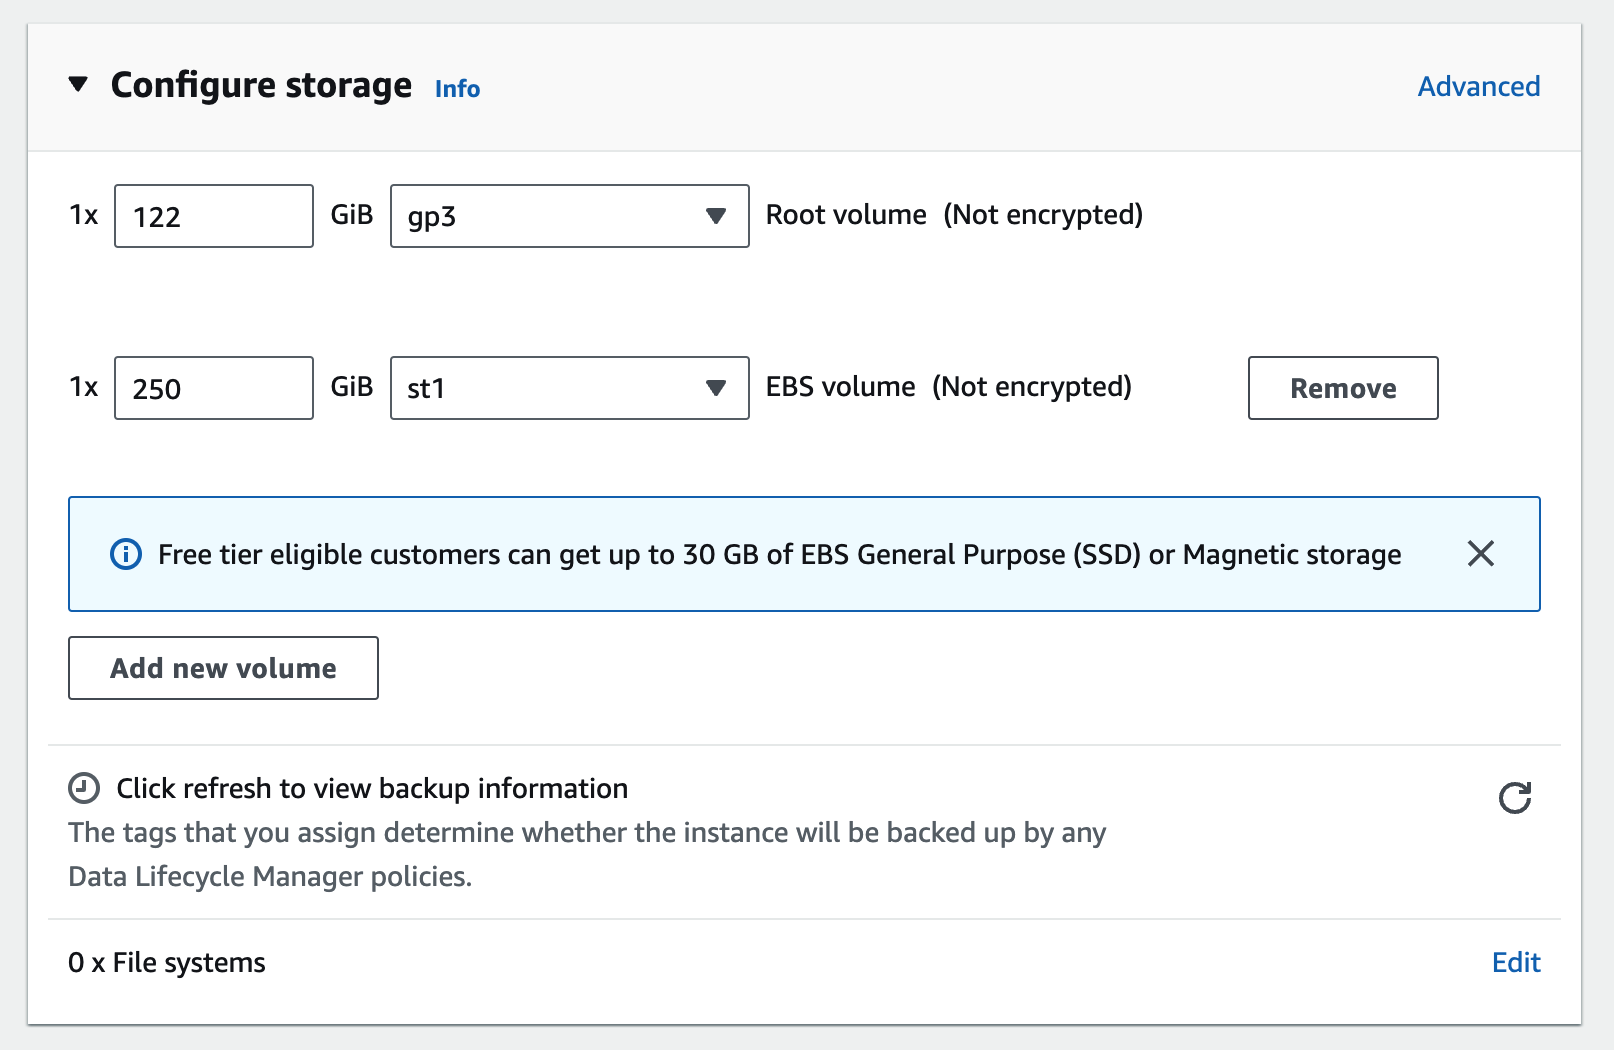
by default one disk is added as root volume 125 GB, as per IBM documentation it needs second disk minimum storage of 250 GB as /store partitiion.
u r feel free to chose any storage type, gp3 or gp2, in my case i chose st1, which i feel budget friendly and wont cost much and performance was optimal.
Note: next step is optional, if you are installing AppHost to host your apps
In this step, you can add number of instances, add one more for AppHost.
then click launch instance, Thats it,
Then assign Elastic IP to your instances to do SSH
After SSH with private key you downloaded, follow the steps from IBM documentation we clicked earlier in usage instructions
in that simple jus 2 commands have to enter,
SSH to you instances using
1
ssh -i <key.pem> ec2-user@<public_IP_address>
Then follow this command
1
sudo /root/setup <appliance_id>
Here appliance ID is for Console 3199, for AppHost 4000
refer below the Appliance ID and its type
- 1299 Flow Collector
- 1400 Data Node
- 1599 Event Collector
- 1699 Event Processor
- 1799 Flow Processor
- 1899 Event and Flow Processor
- 3199 QRadar SIEM All-in-One (QRadar Console)
- 4000 App host appliance
- 6500 QRadar Network Insights
- 7000 Data Gateway appliance
In our case we are installing Qradar SIEM All-in-One 3199, and AppHost 4000,
Example for console
1
sudo /root/setup 3199
next login to the apphost instance and type
1
sudo /root/setup 4000
Installation will begin shortly. both instances will install their own simultaneously,
After this some configurations are there that we will discuss in upcoming blog, like how to connect Console and AppHost, kind of off topics are there. will see later
Installation on VMware:
Installing in Local VM, using VMware workstation or virtual box,
steps are different but simple,
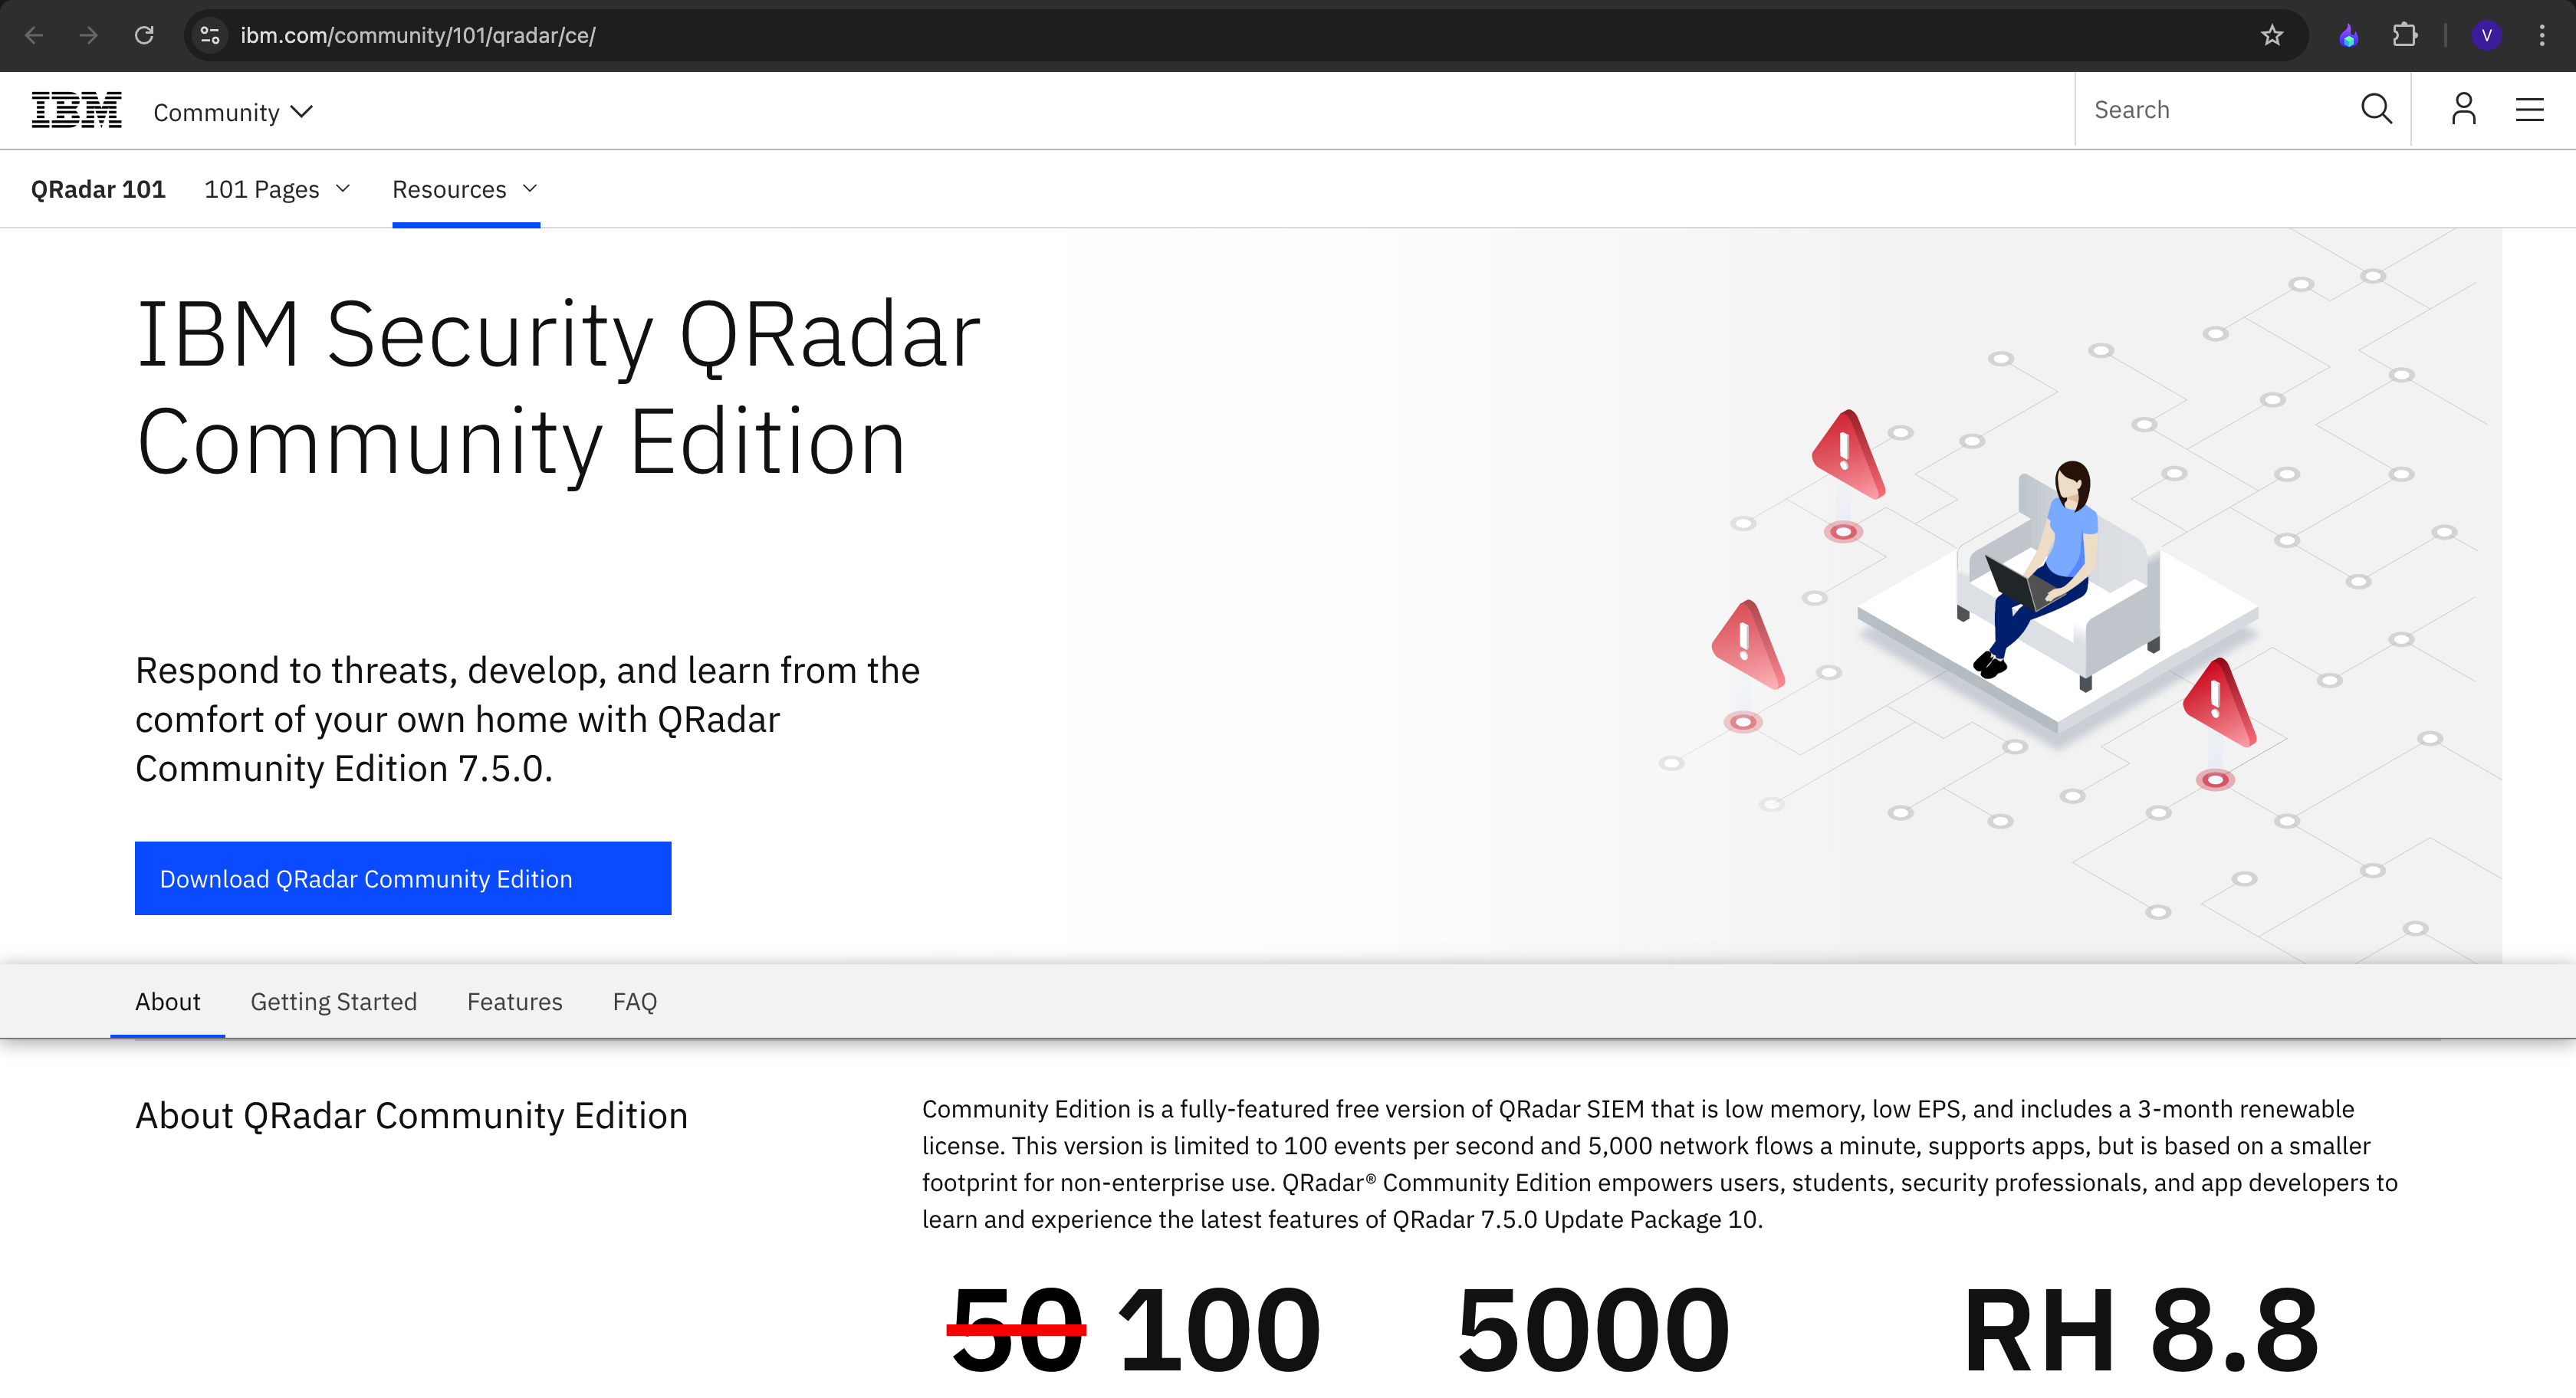
At first, Go to IBM page to download the iso, to do that simply search in Google IBM Community Edition, and go to IBM page,
You need to create account in order to download iso
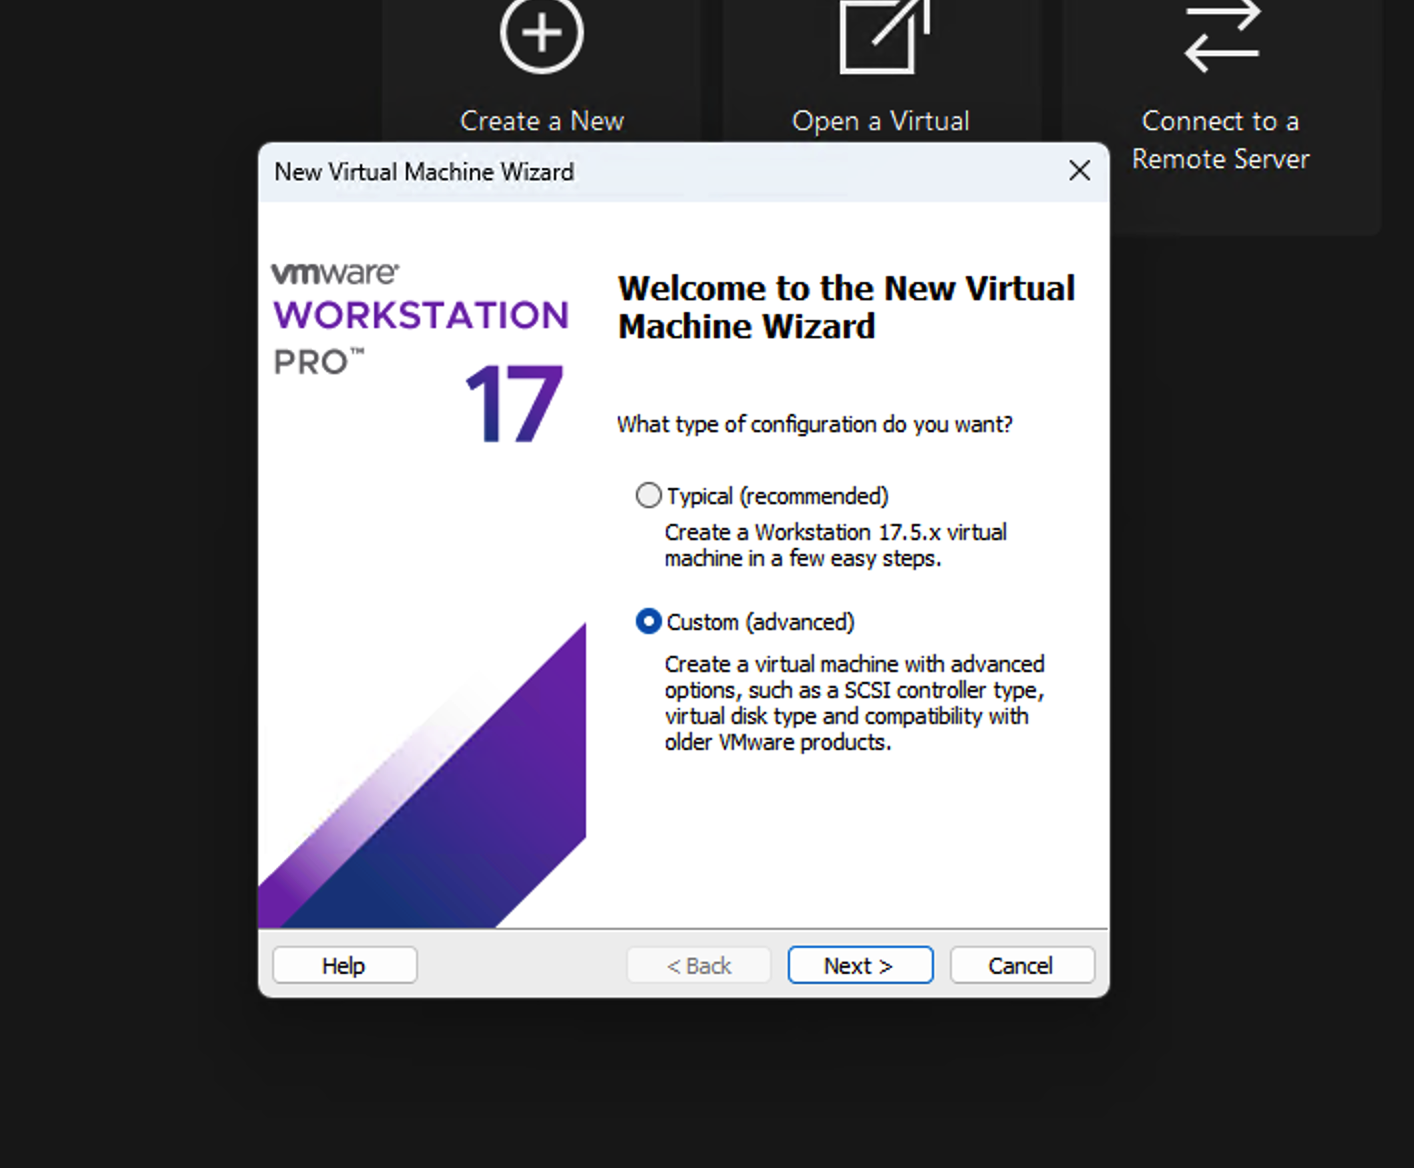
after downloading iso, open VMware and click create new VM
Click custom (advanced)
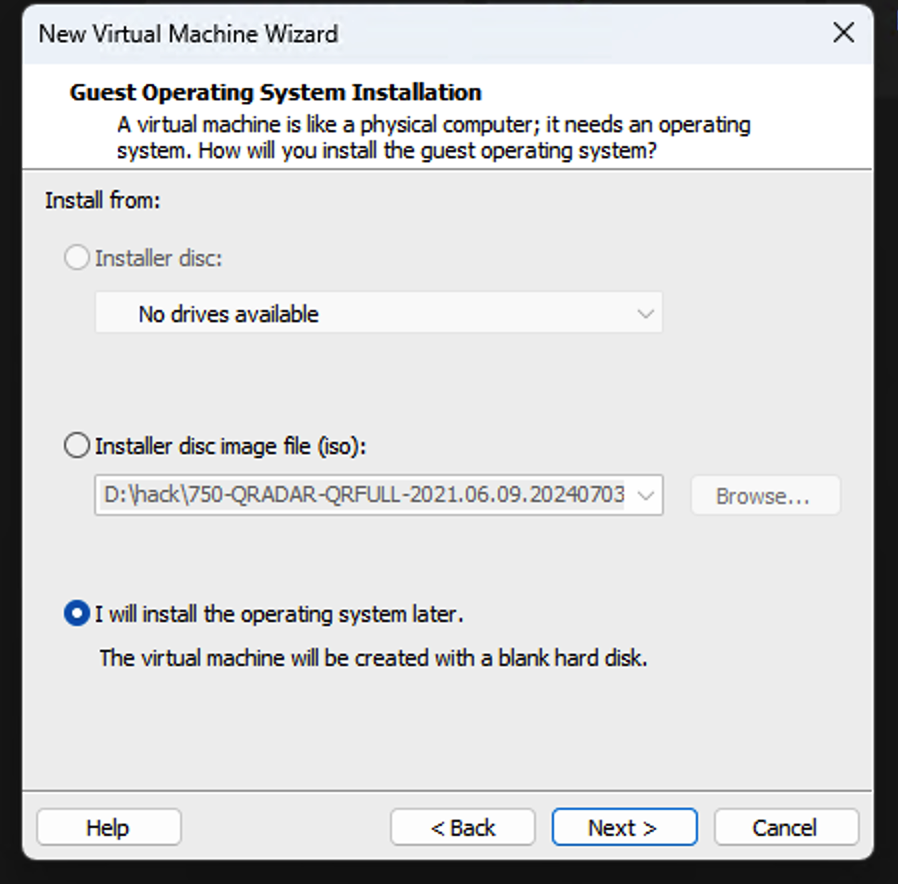
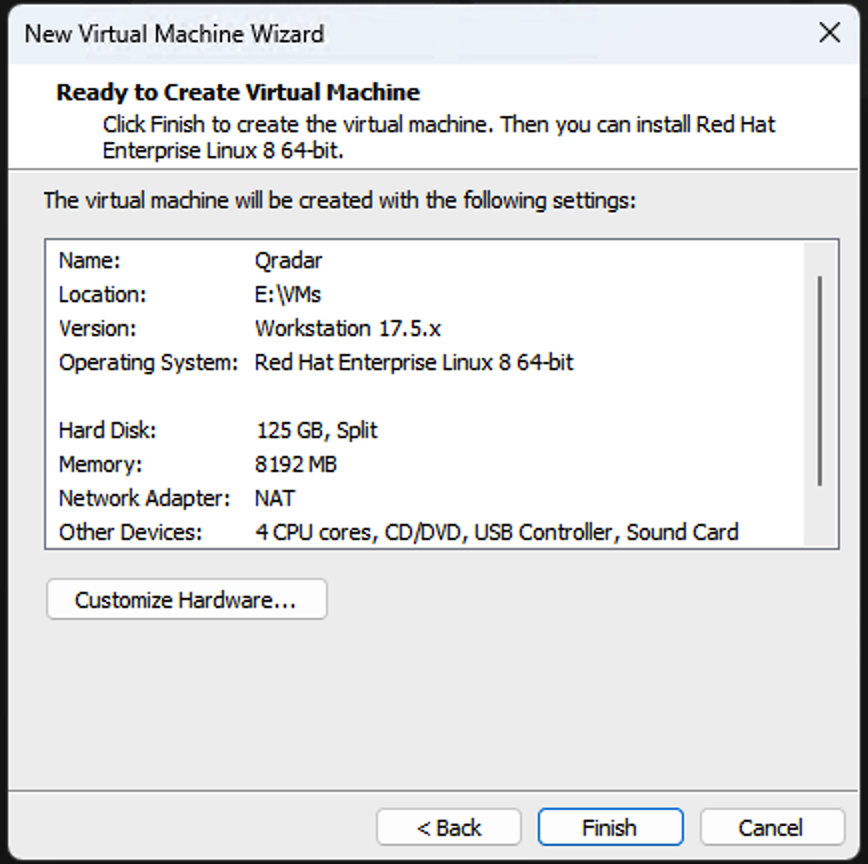
Click Next, until u see this screen,
in this you have to select I will install the OS later, if u chose disc image, it will auto detect the OS and promt for user settings, that we dont need as of now
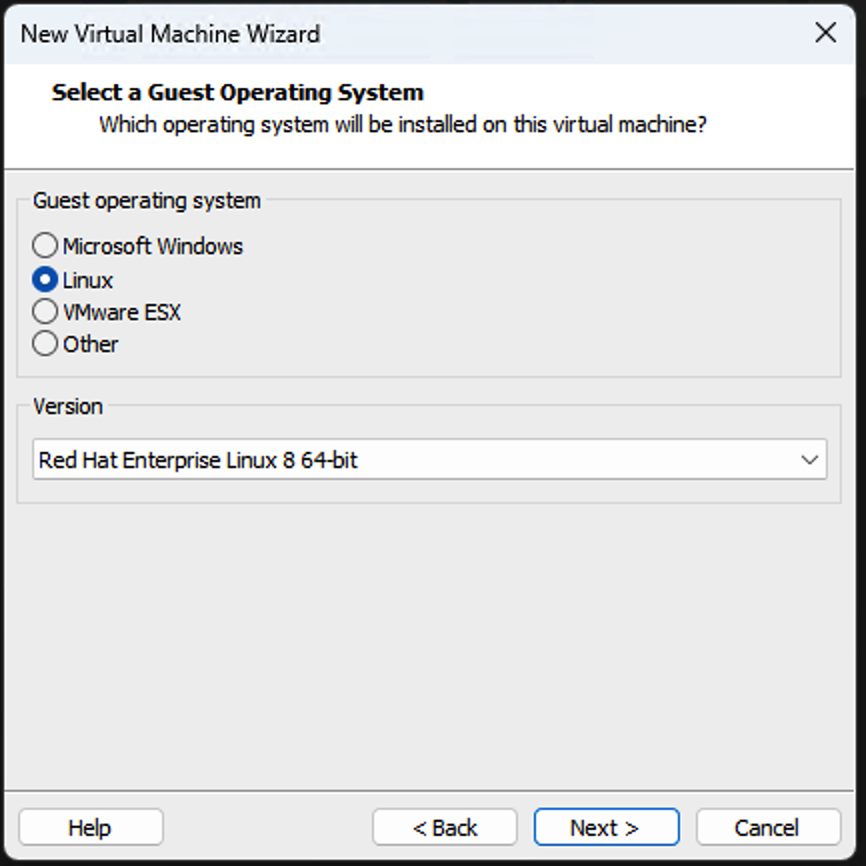
Choose Linux and select RHEL latest
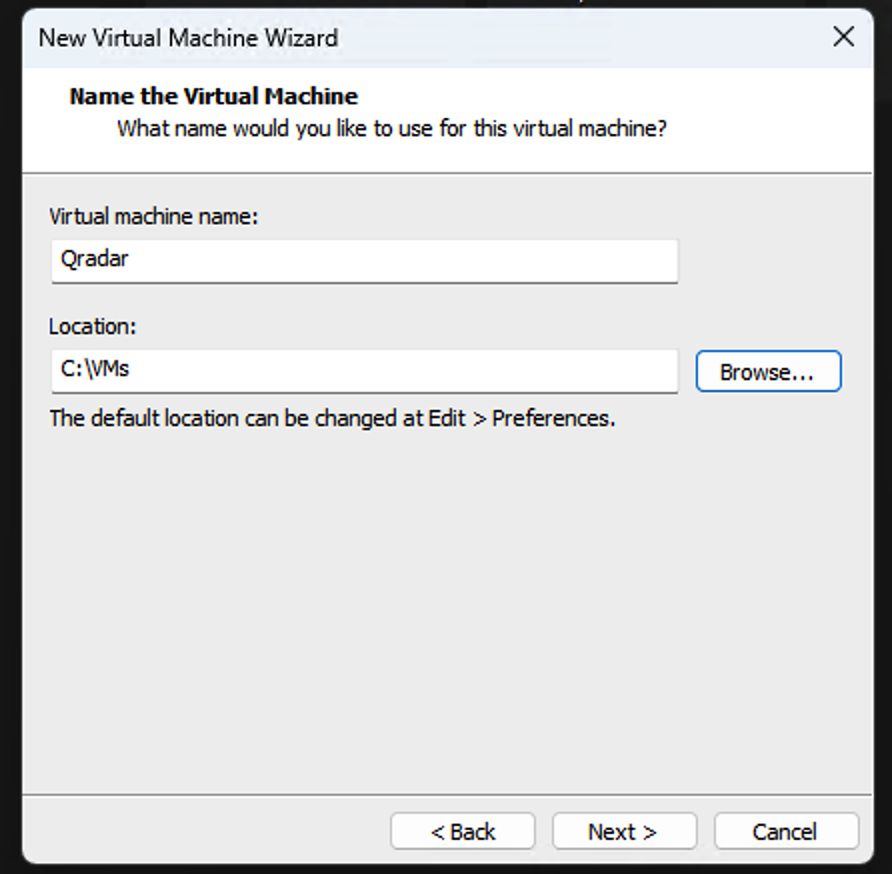 Provide name of you VM, and choose the location where want to save files,
in my case i gave C:\VMs folder, to avoid default one drive folder in documents
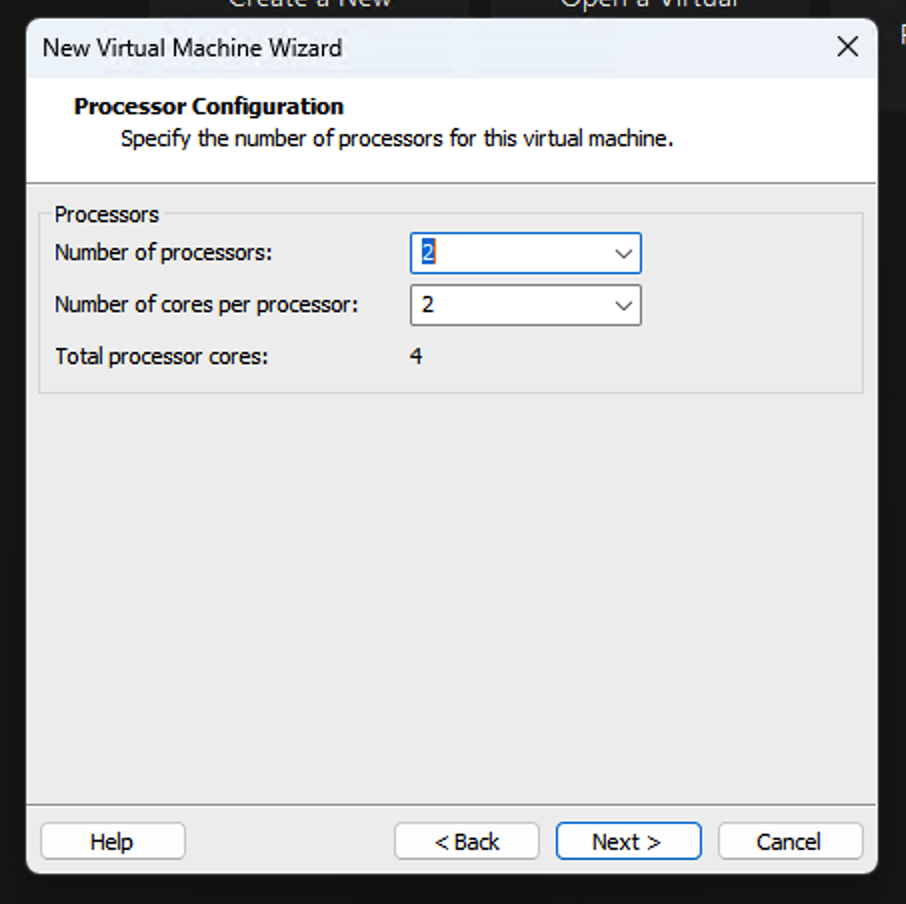 Select Processors, in my case i gave 2 and 2 which is fine
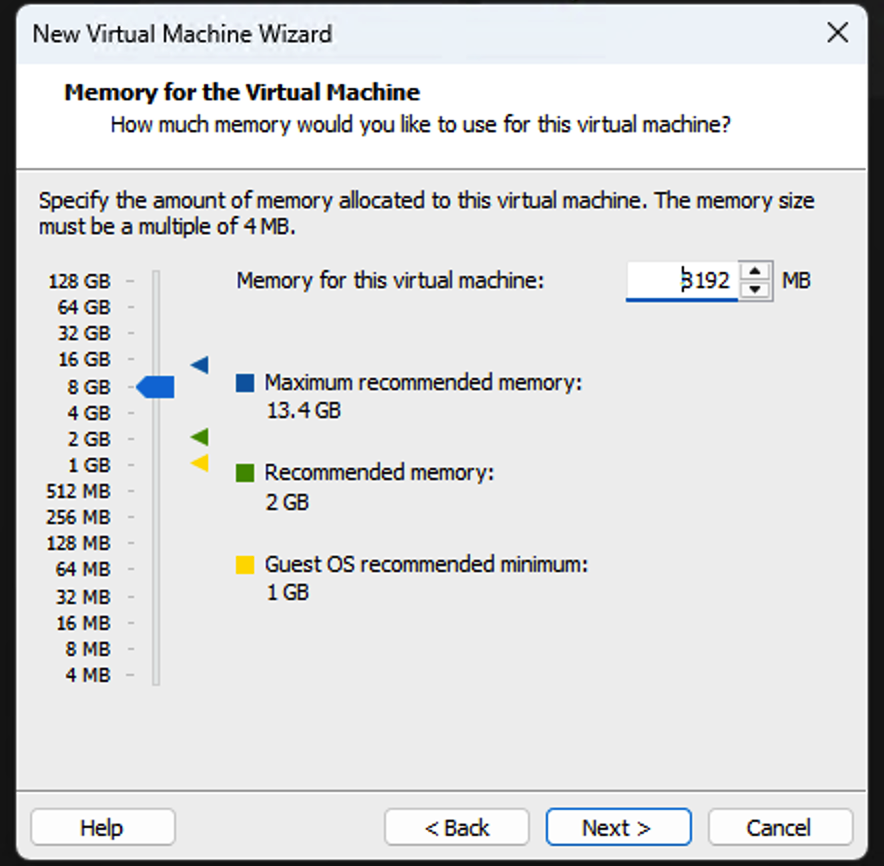 Select RAM, in my case i chose 8GB to run smooth
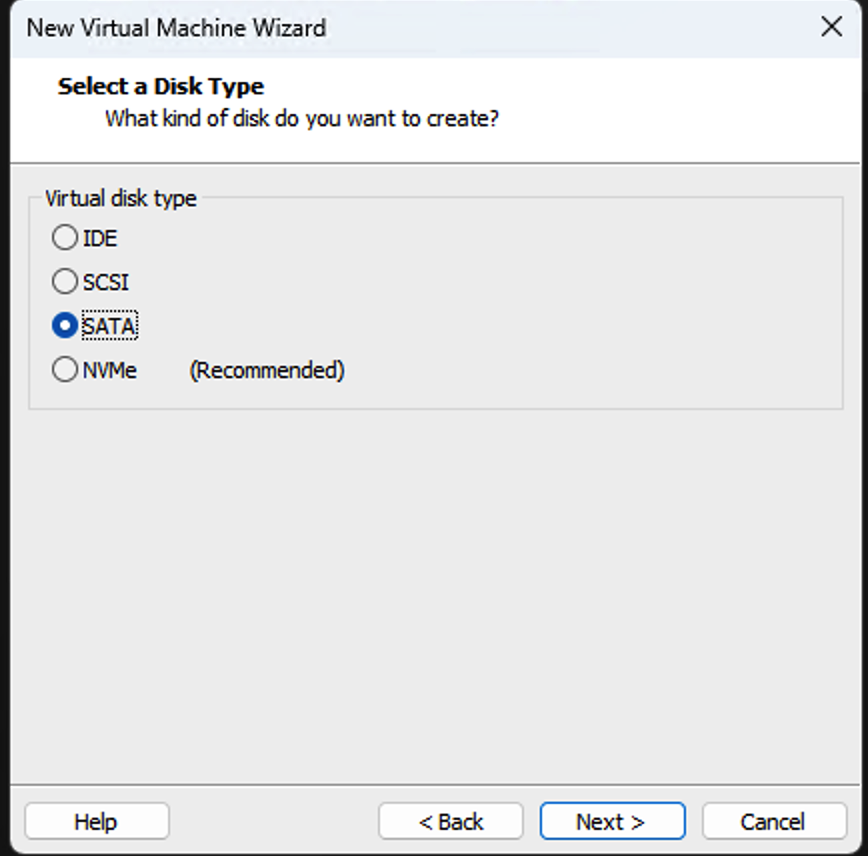 Here is the crucial thing, you have to select SATA, Qradar dont support NVME as per my experience i tried installing,
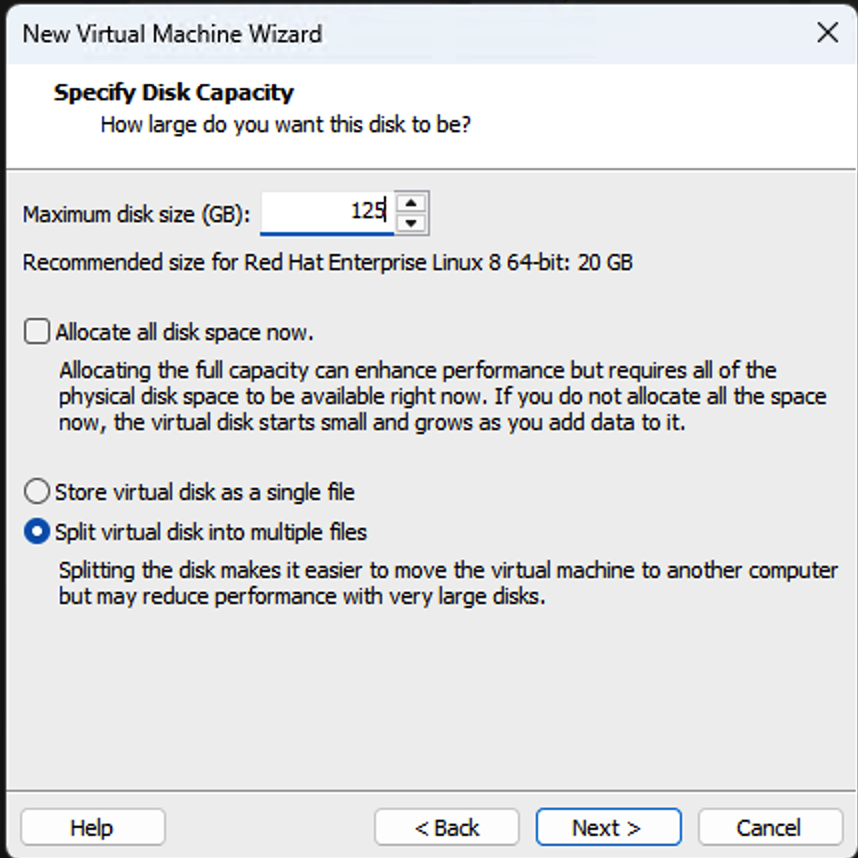
select SATA, and create NEW disk with size 125 GB, no issue its a virtual disk it wont allocate space at first itself, until u select the box allocate all disk space now.
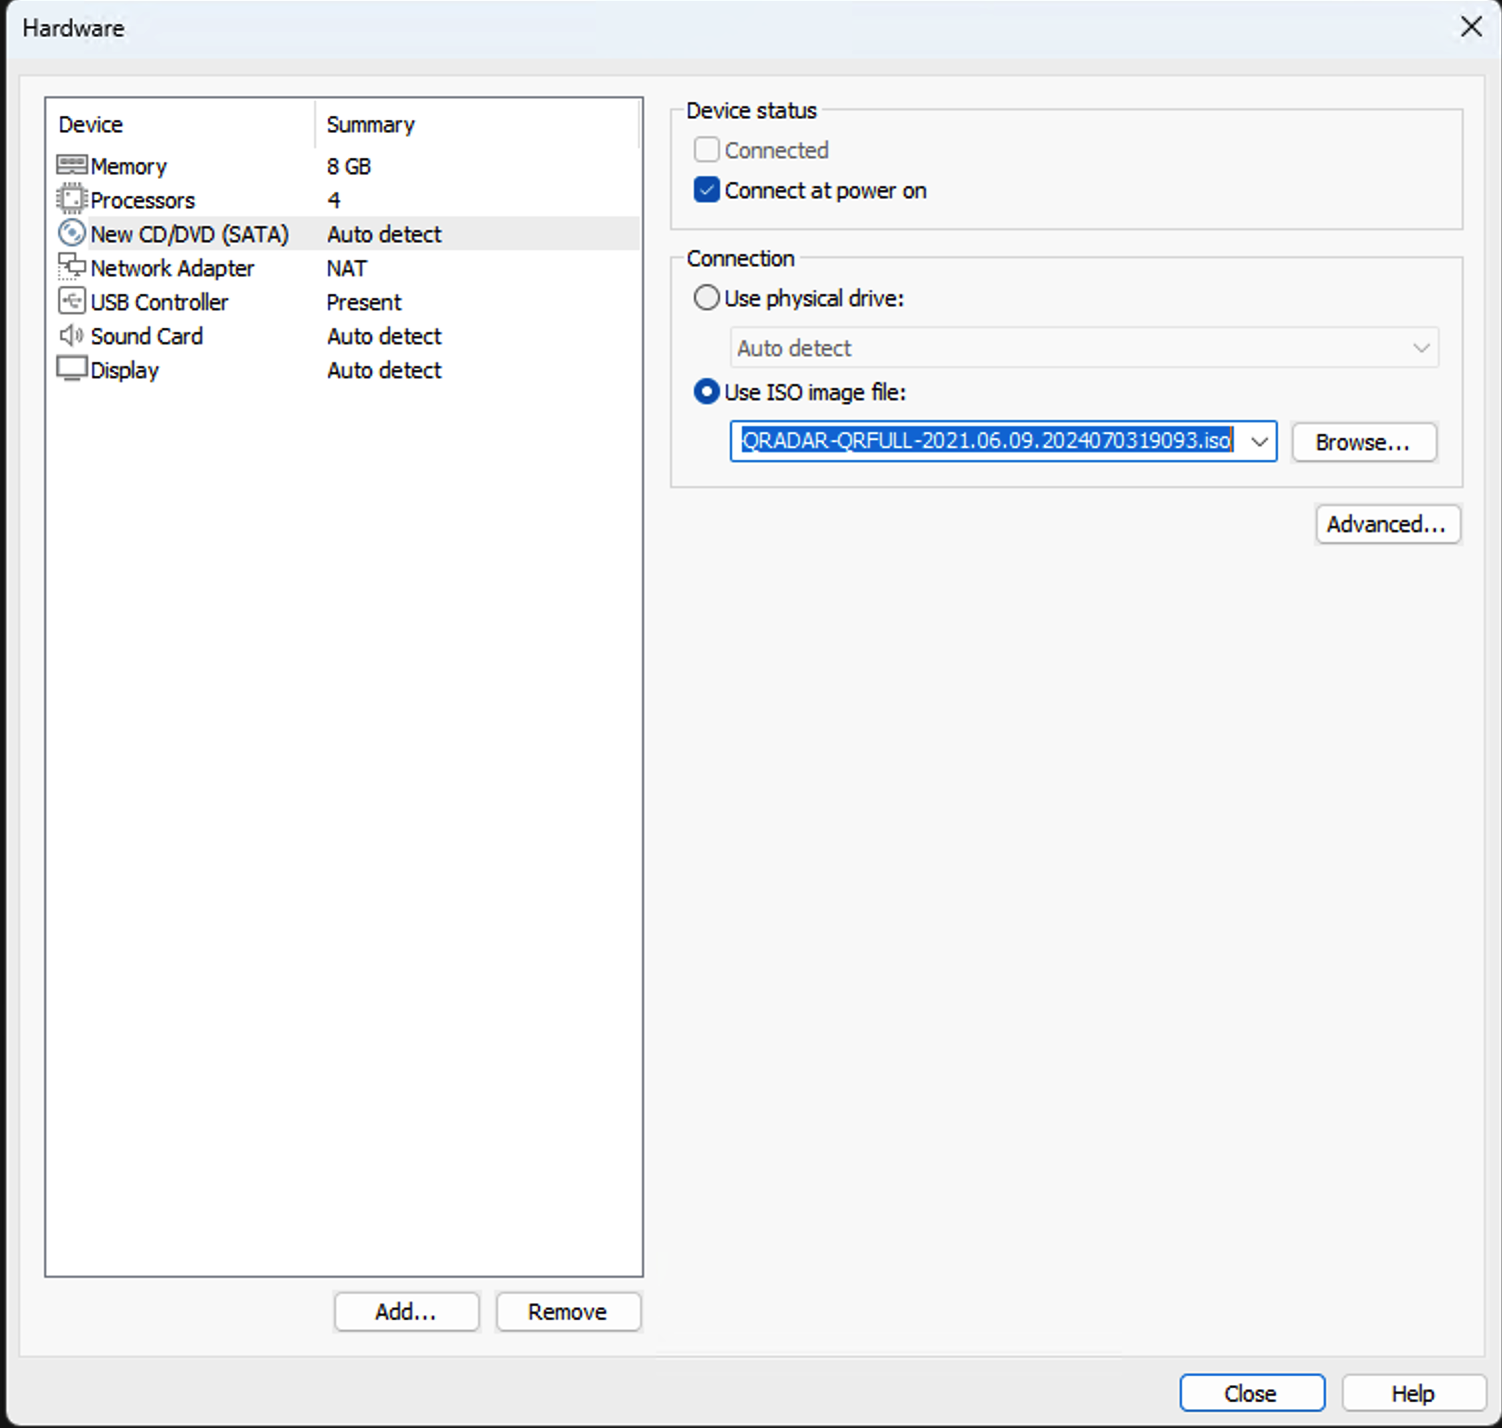
In this page click customize hardware,
then select CD/DVD and give your ISO which we downloaded earlier
and click finish, donot turn ON the VM, until u add second drive,
go to VM settings and add second disk 250GB SATA, and close
Then try turning ON the VM,
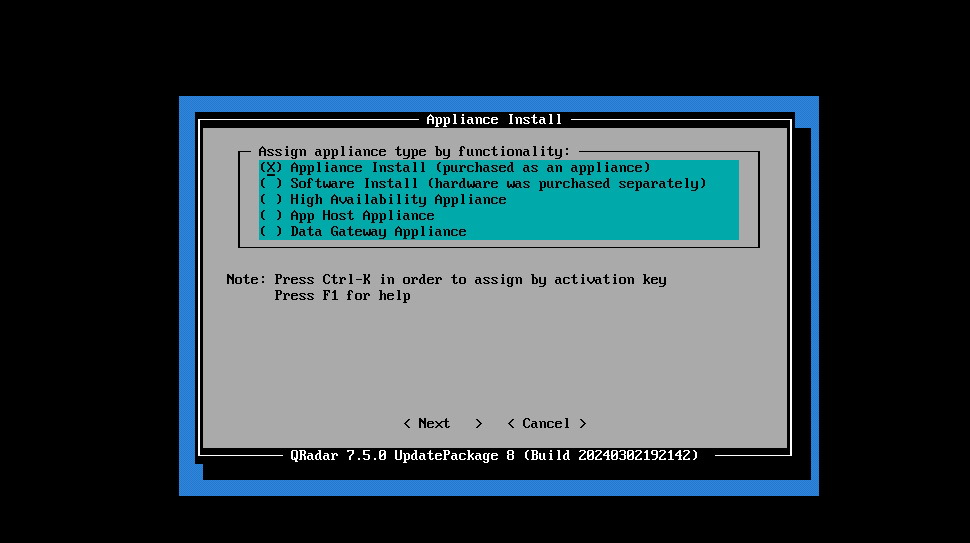
After Turning on follow the instructions as per screen, in one stage you will come to know which one to choose
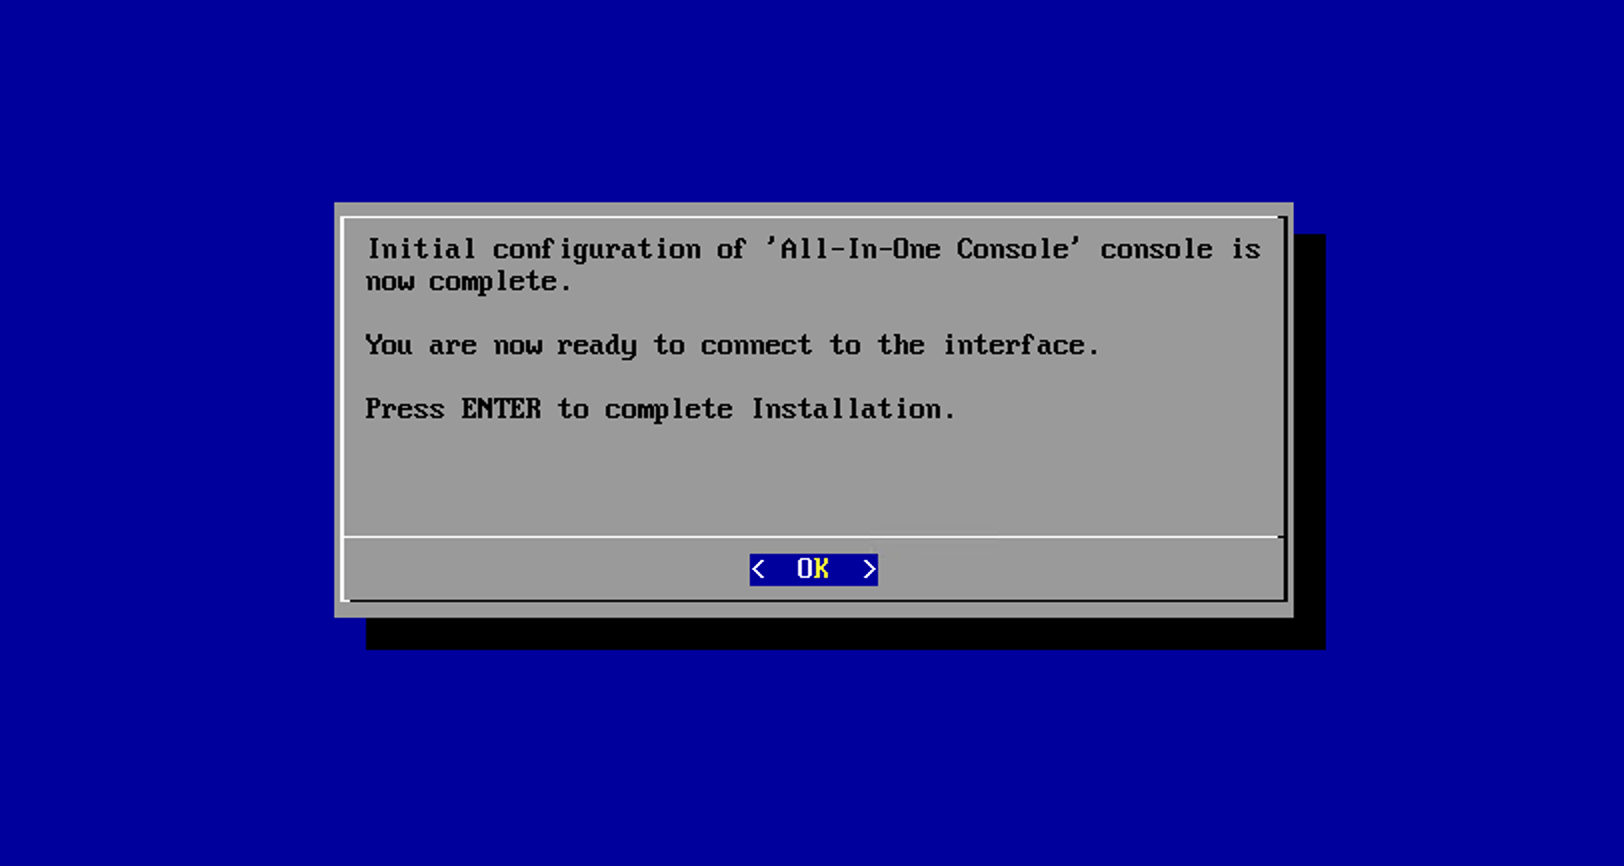
Here Select Software Install, and choose All in one console, similar to AWS installation, but here IBM showing GUI kind of in Bootloader itself, Thats it, if you want to install AppHost, same steps have to follow
Now lets the installation will complete.
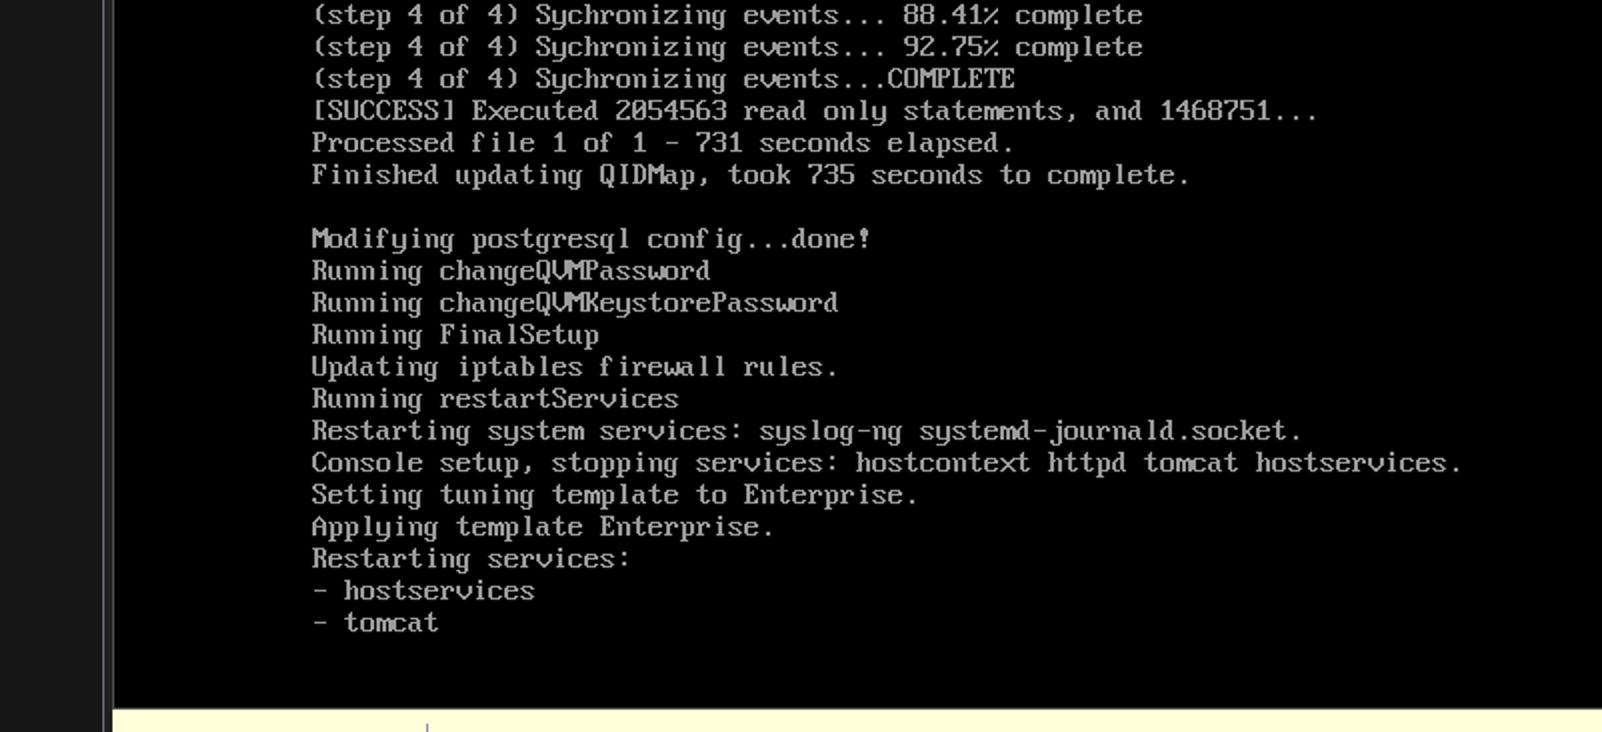
Once you see this restarting services, thats it, installation about to complete, it may take roughtly 30 to 40 min depends on your configurations you gave, mainly tomcat will take much time to turn on at first.
And Yes installation Complete.
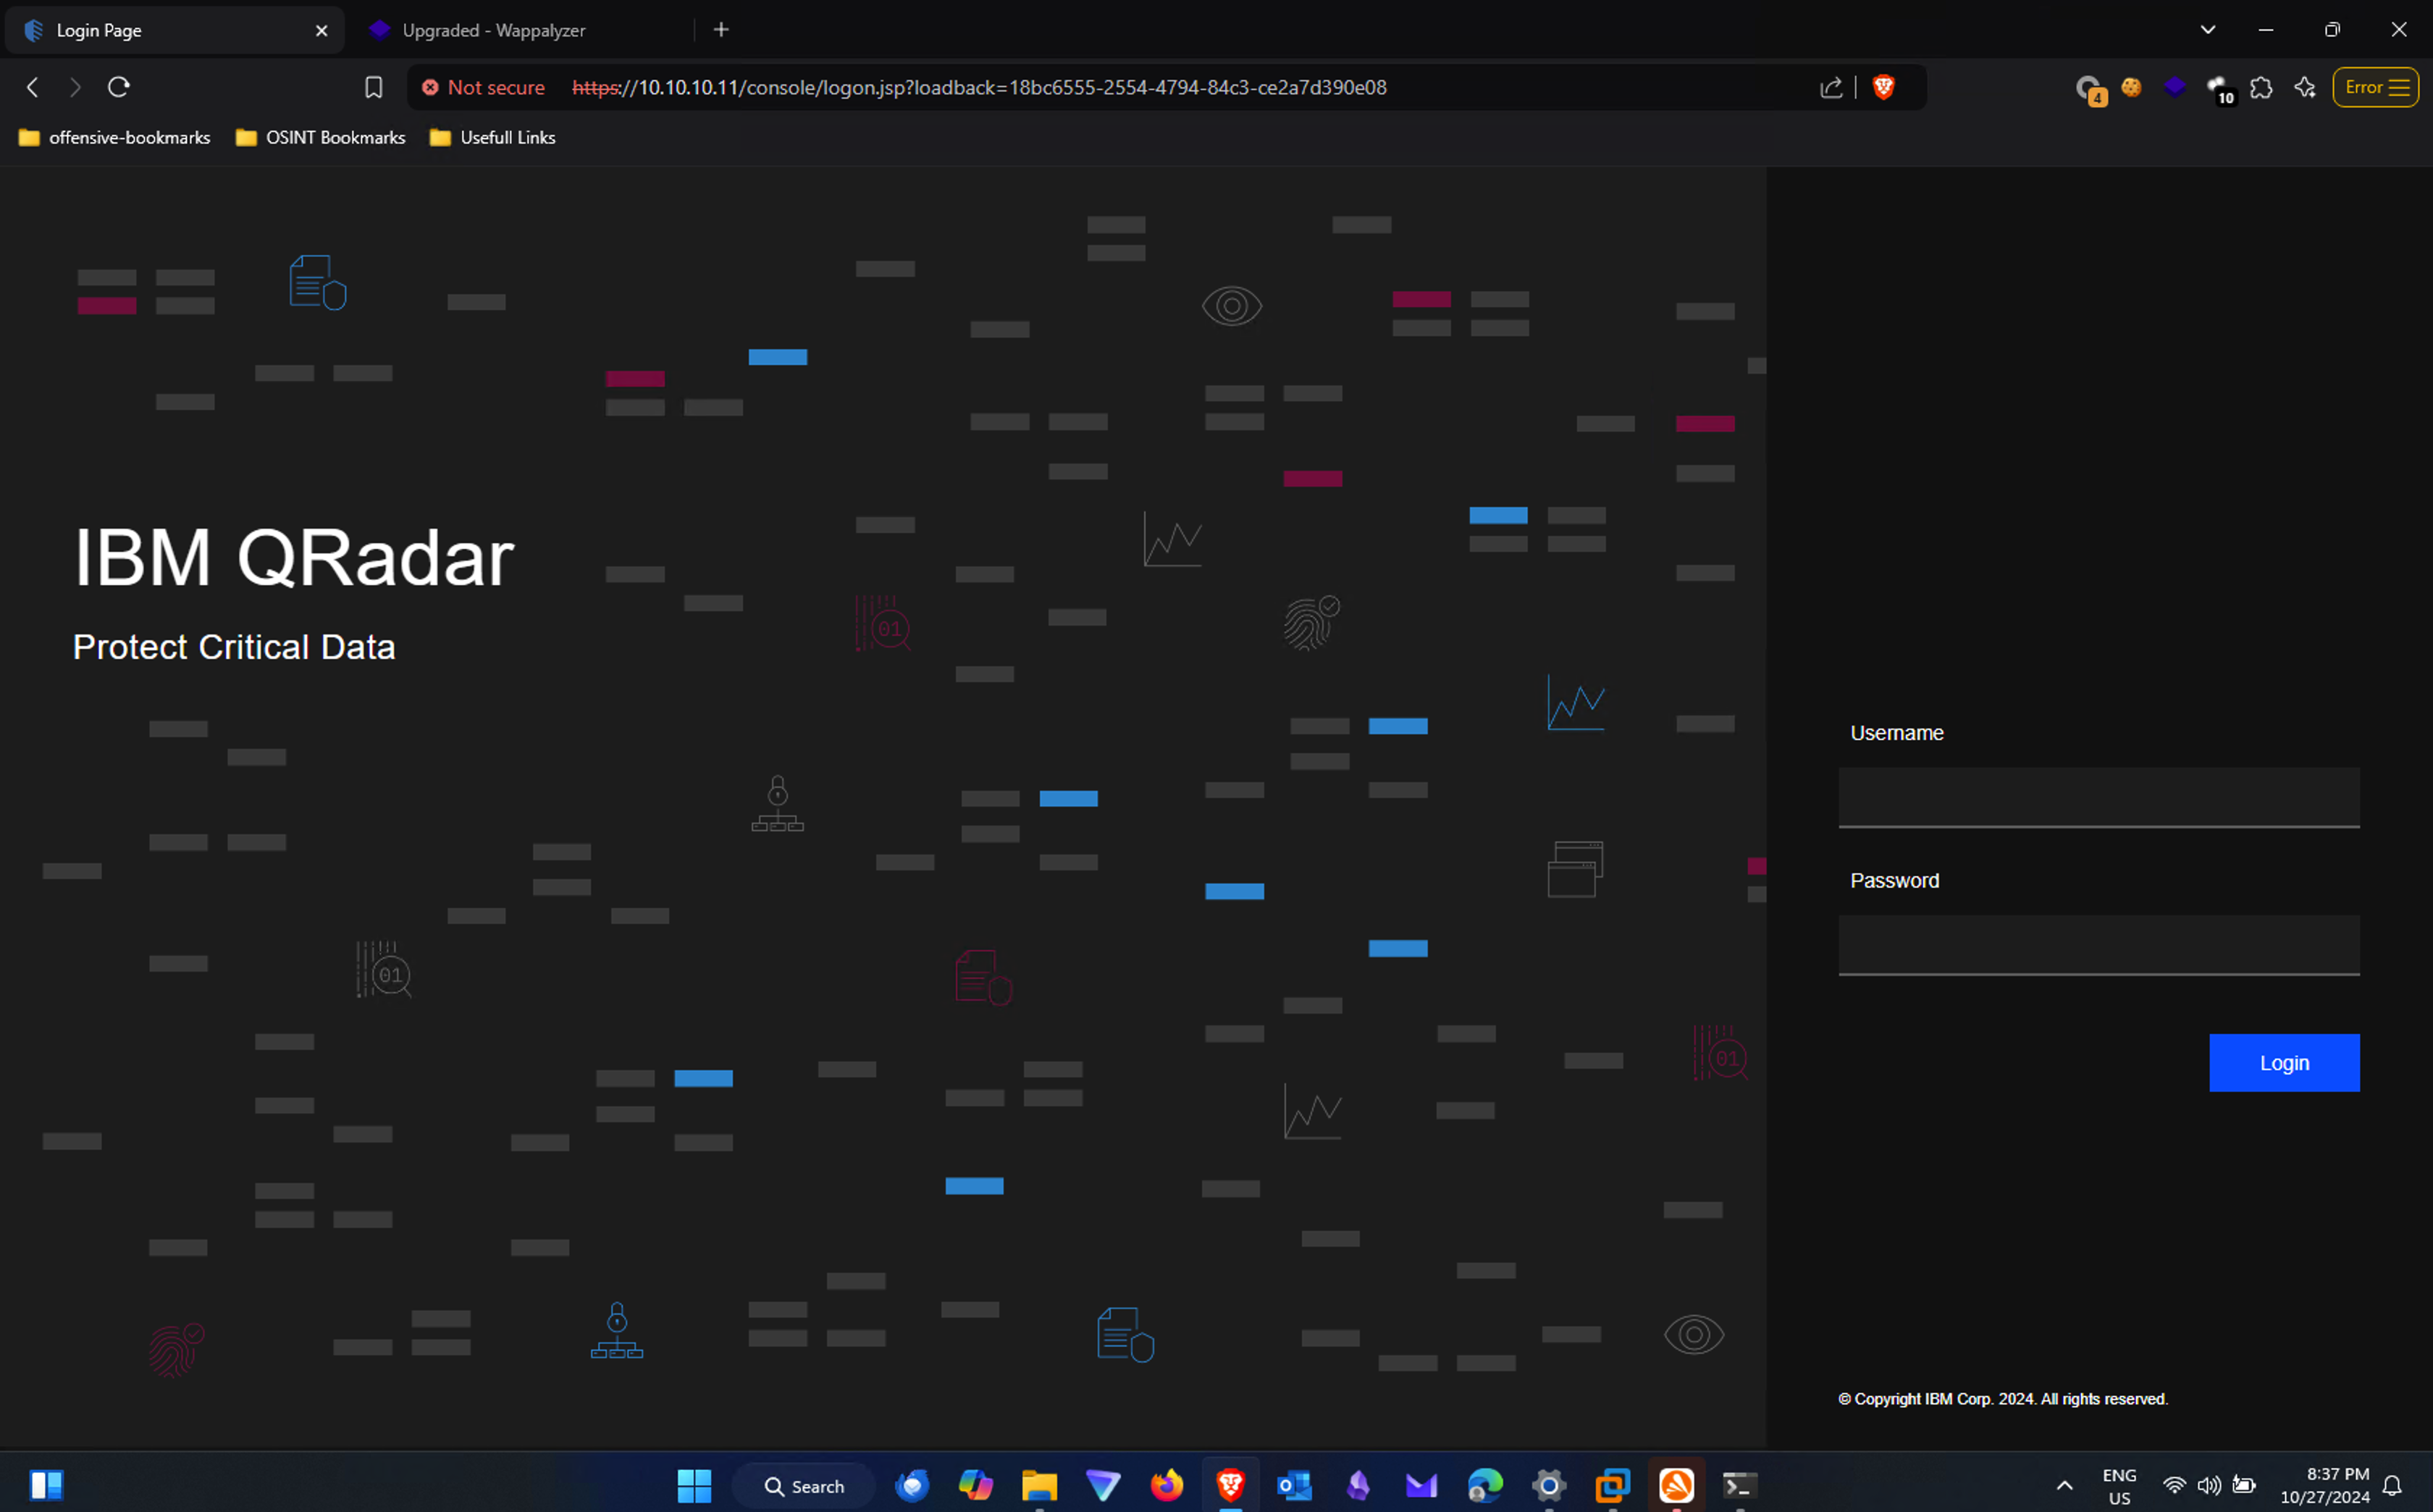
Then you can access to qradar IP, by going https://{QradarIP}
Login to Qradar and accept the terms and continue using.
Note:
If you cant able to access Qradar VM,. try enabling icmp by following this IBM Documentation
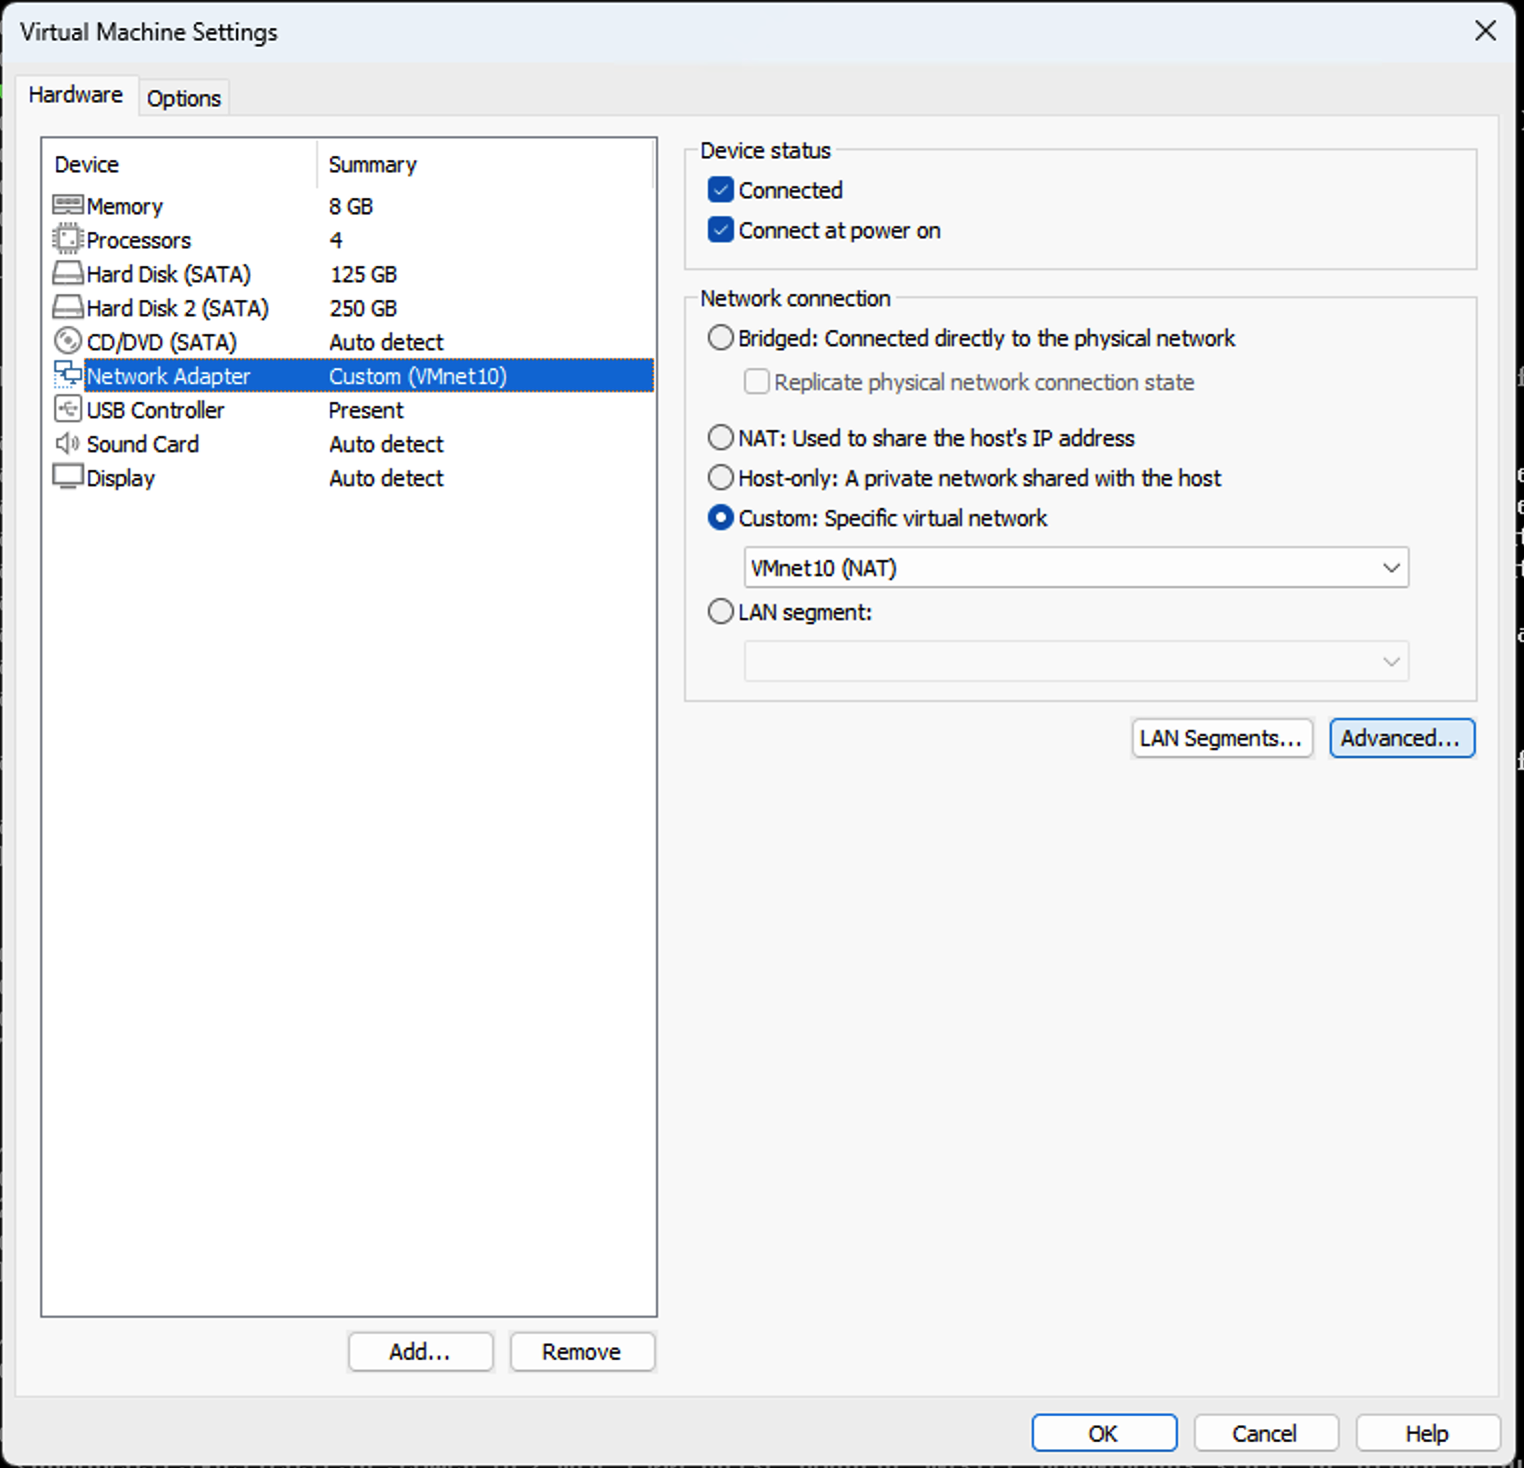
And after that shutdown the VM, and go to VM settings,
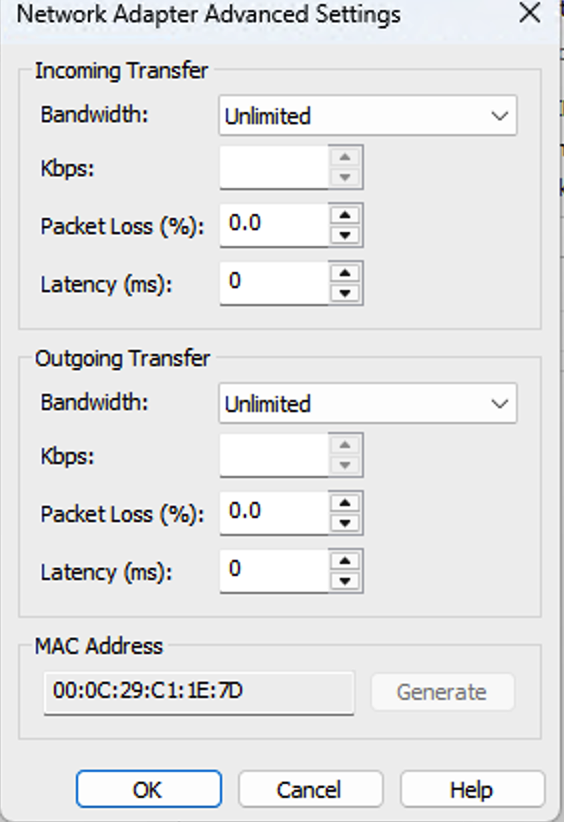
Click Advanced, and copy the mac Address
Then Go to “C:\ProgramData\VMware” and open “vmnetdhcp.conf” in notepad
and append at end of file as follows
1
2
3
4
5
#Qradar
host VMnet8 {
hardware ethernet 00:0C:29:C1:1E:7D;
fixed-address 10.10.10.11;
}
in this edit you Mac Address and IP you gave while installation.
Then turn on the VM and wait for 5 min to services up, and Try accessing Qradar IP, you can able to.
If you feel slowness, try increasing RAM and core processor count. Simple
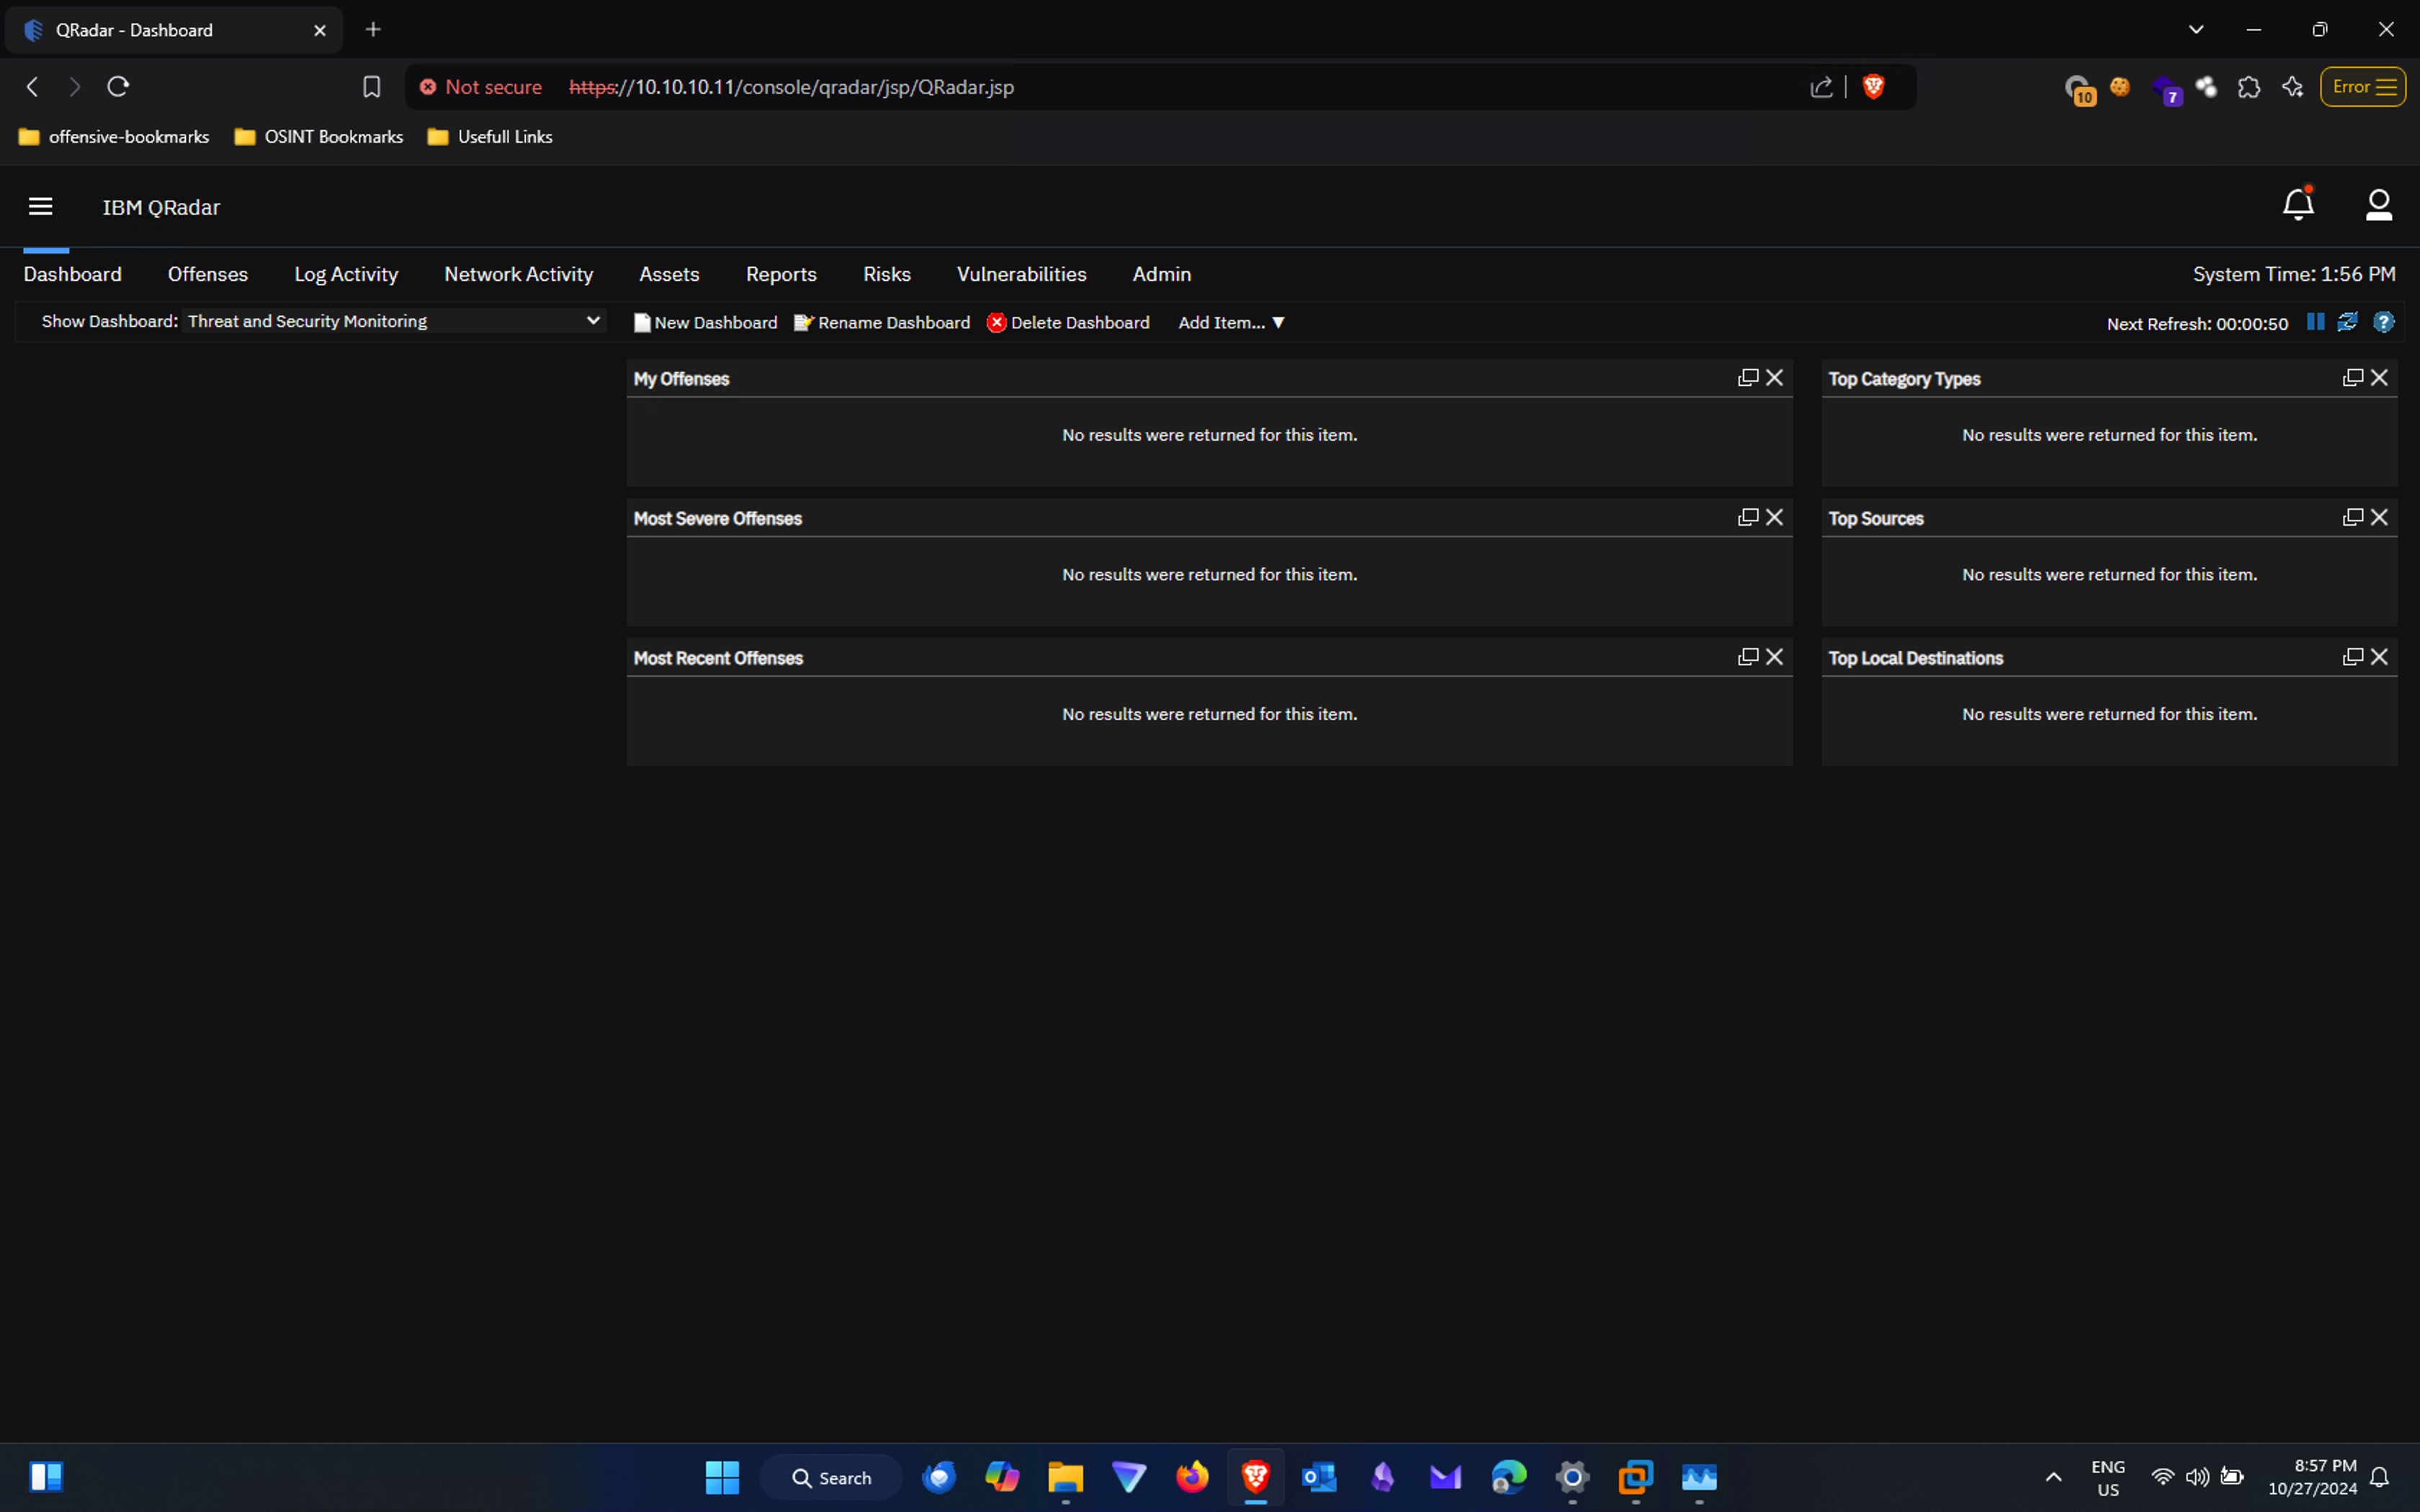
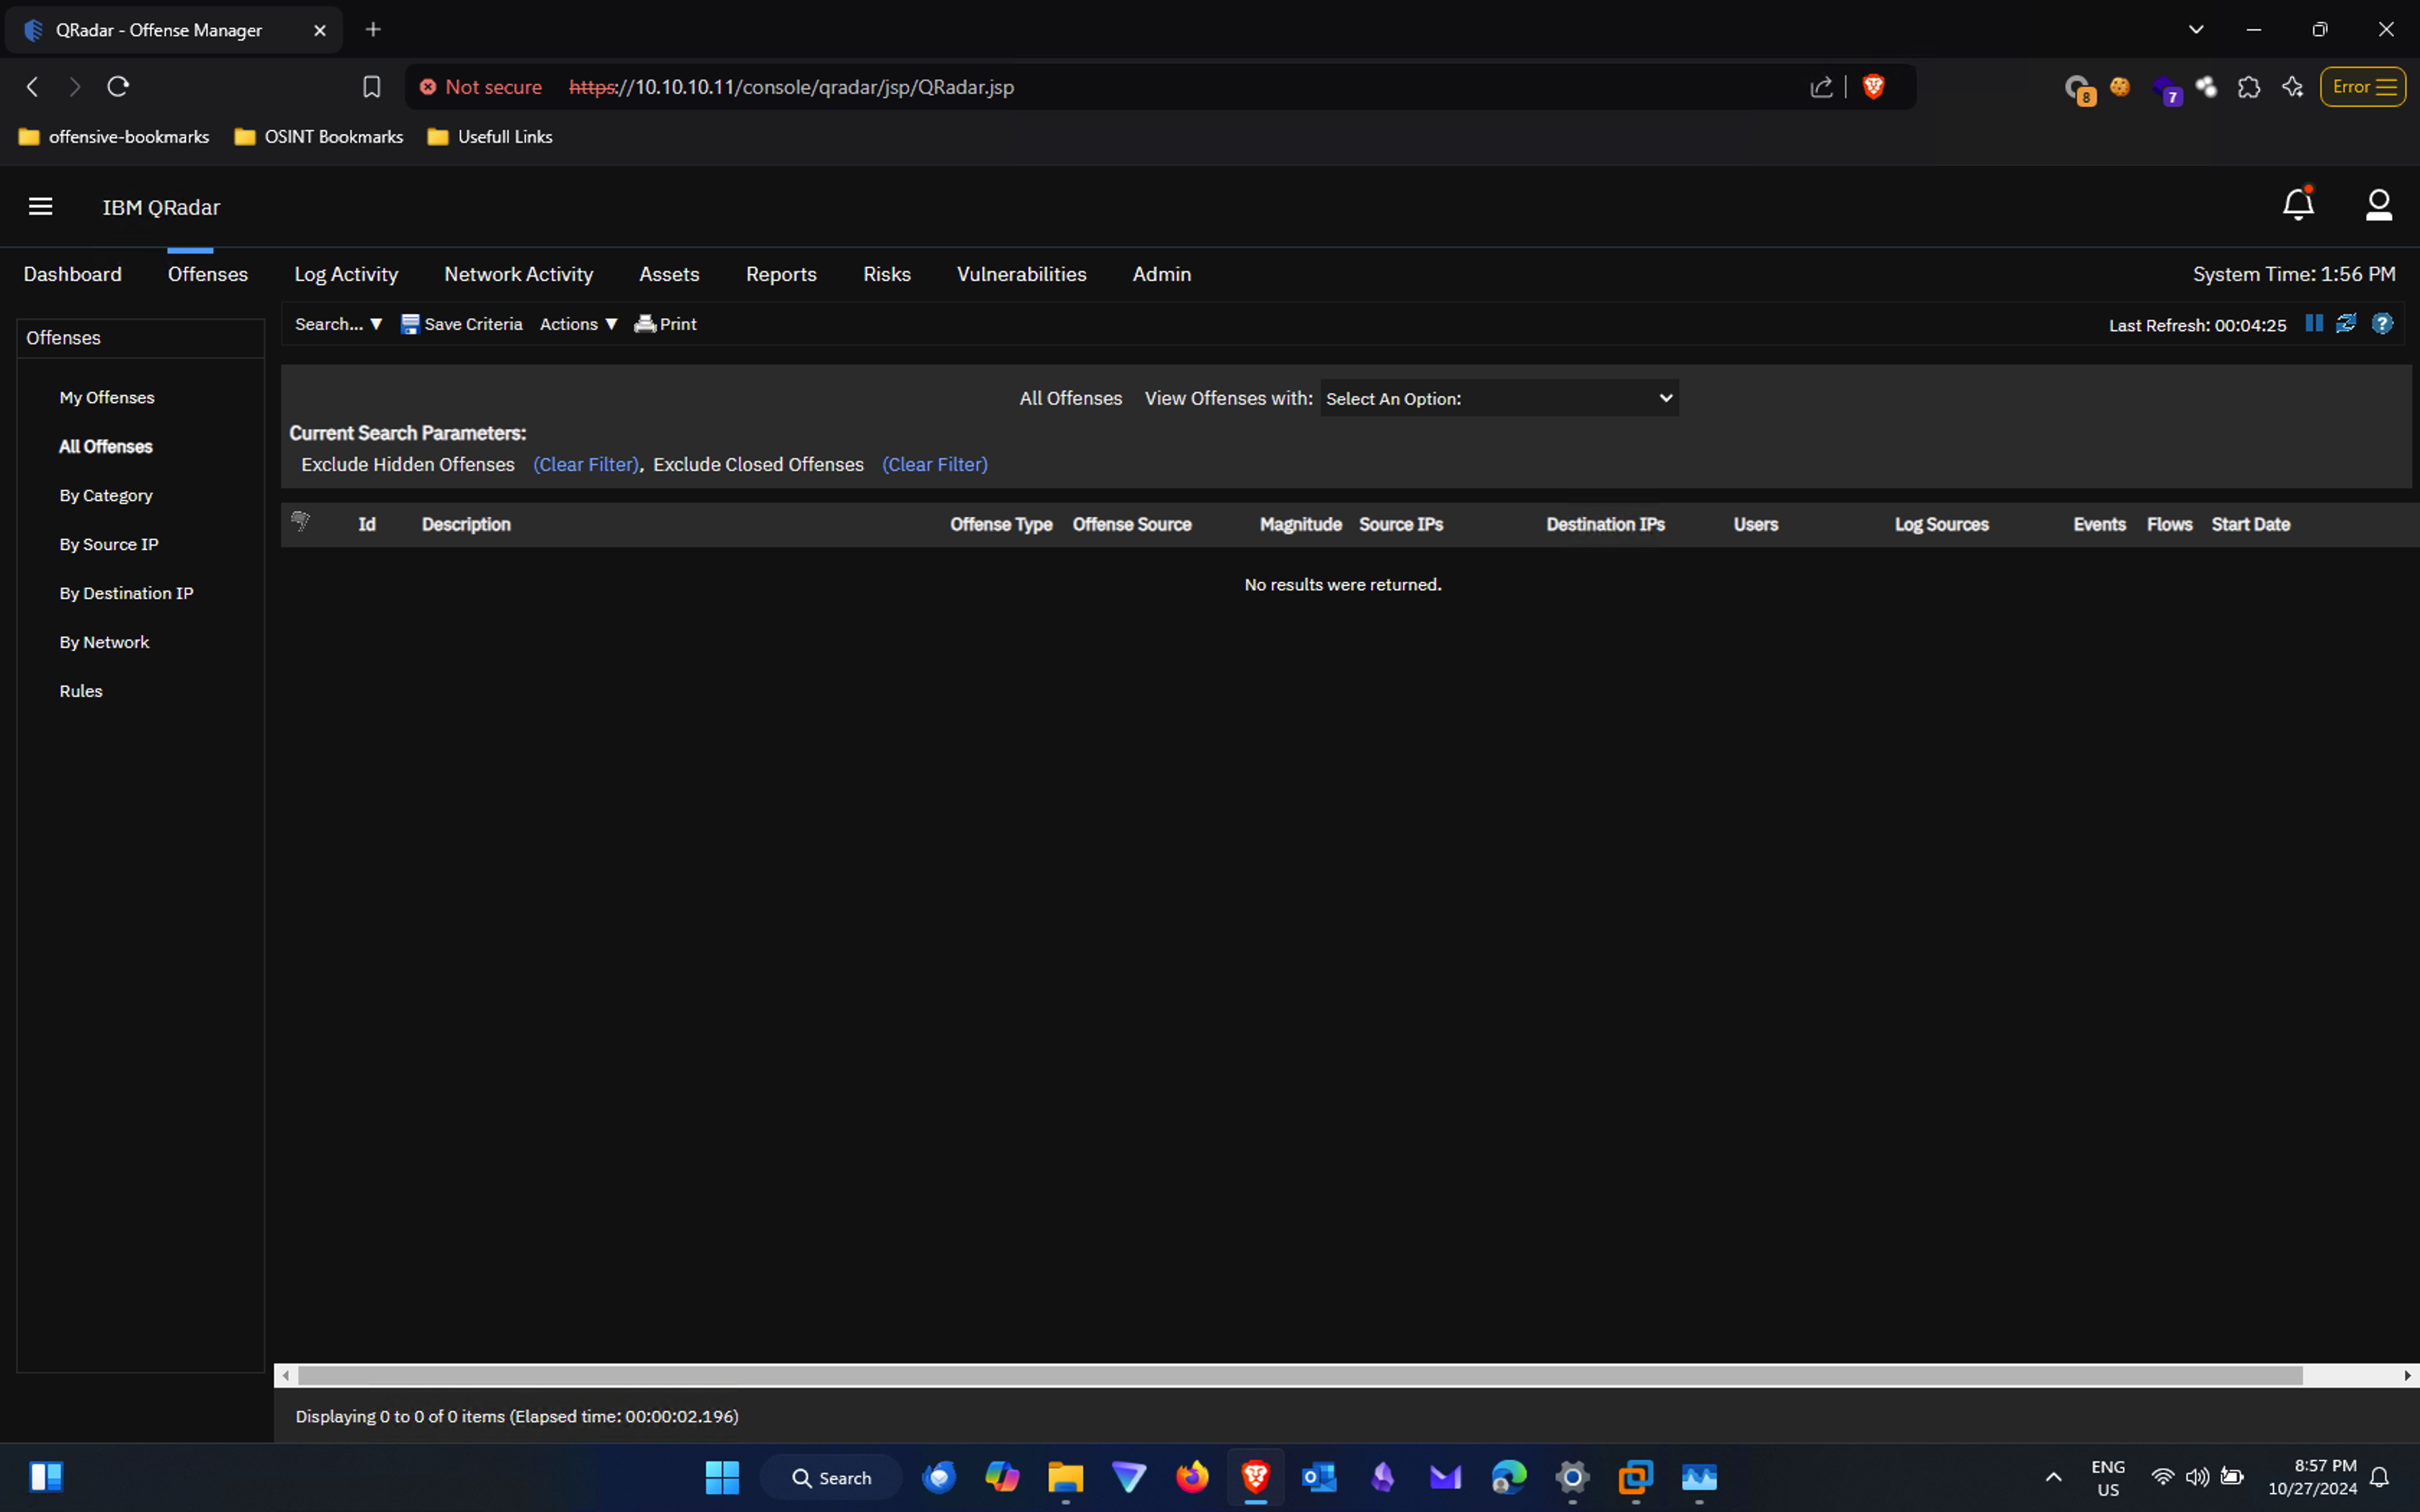
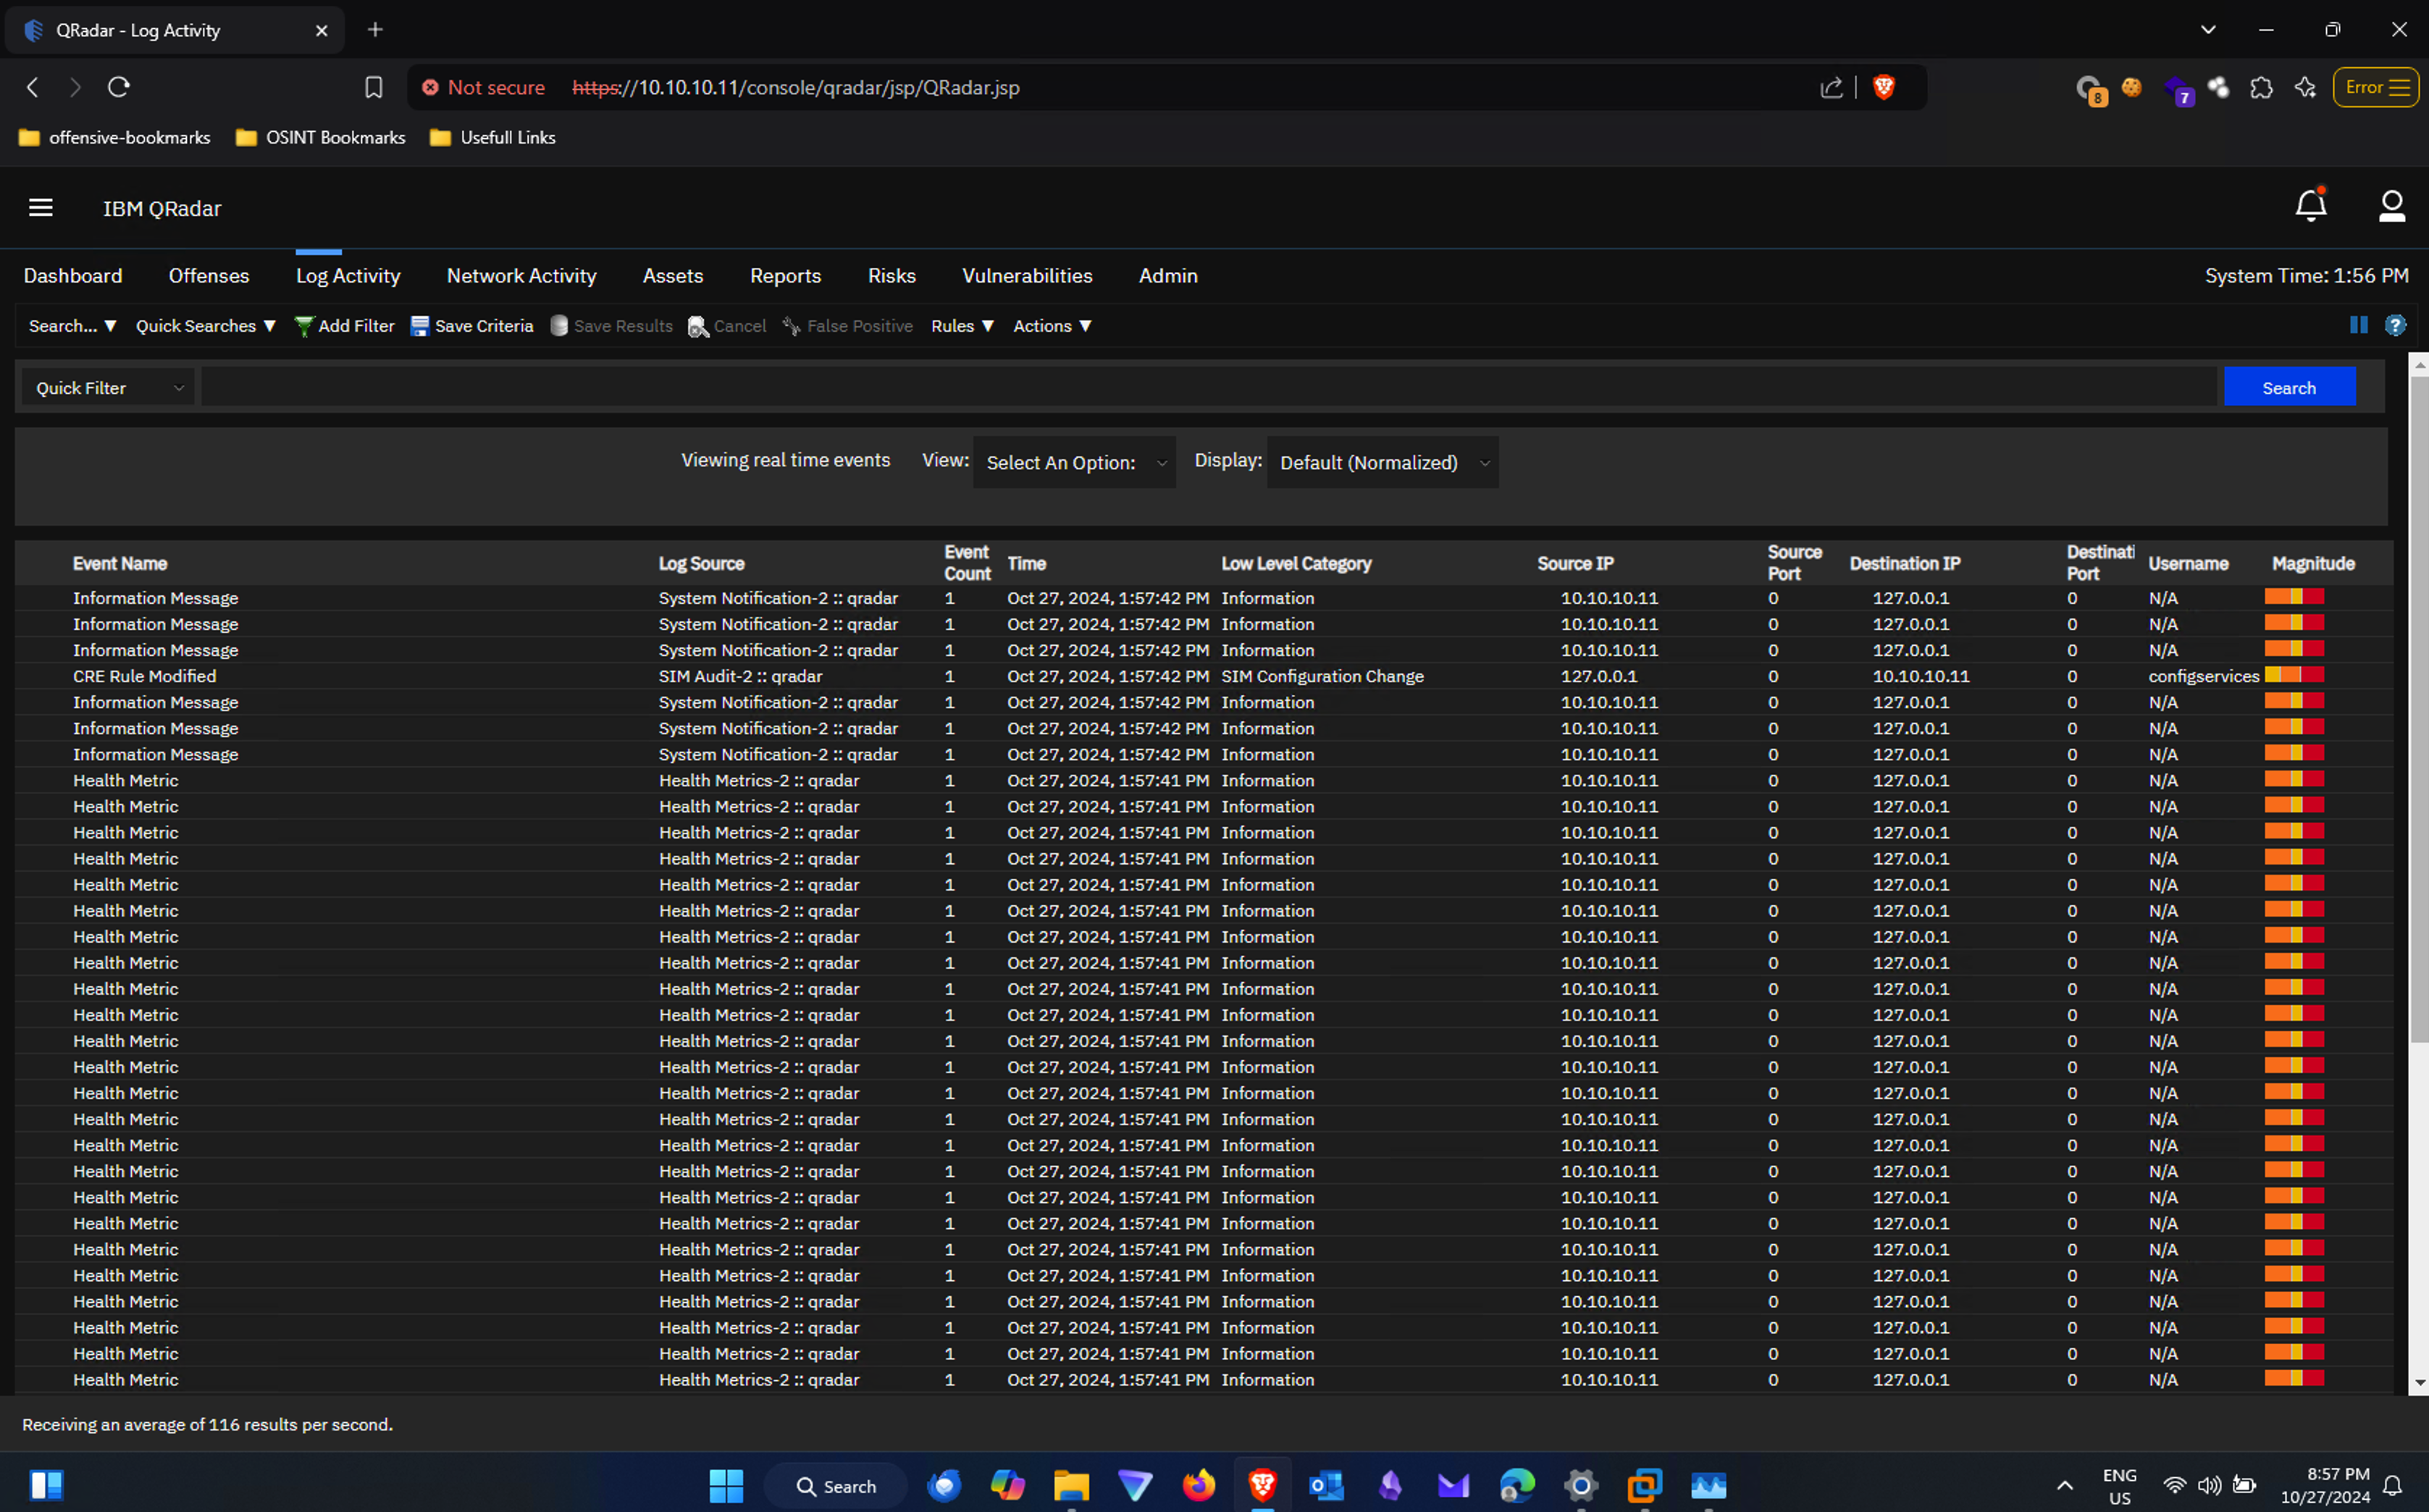
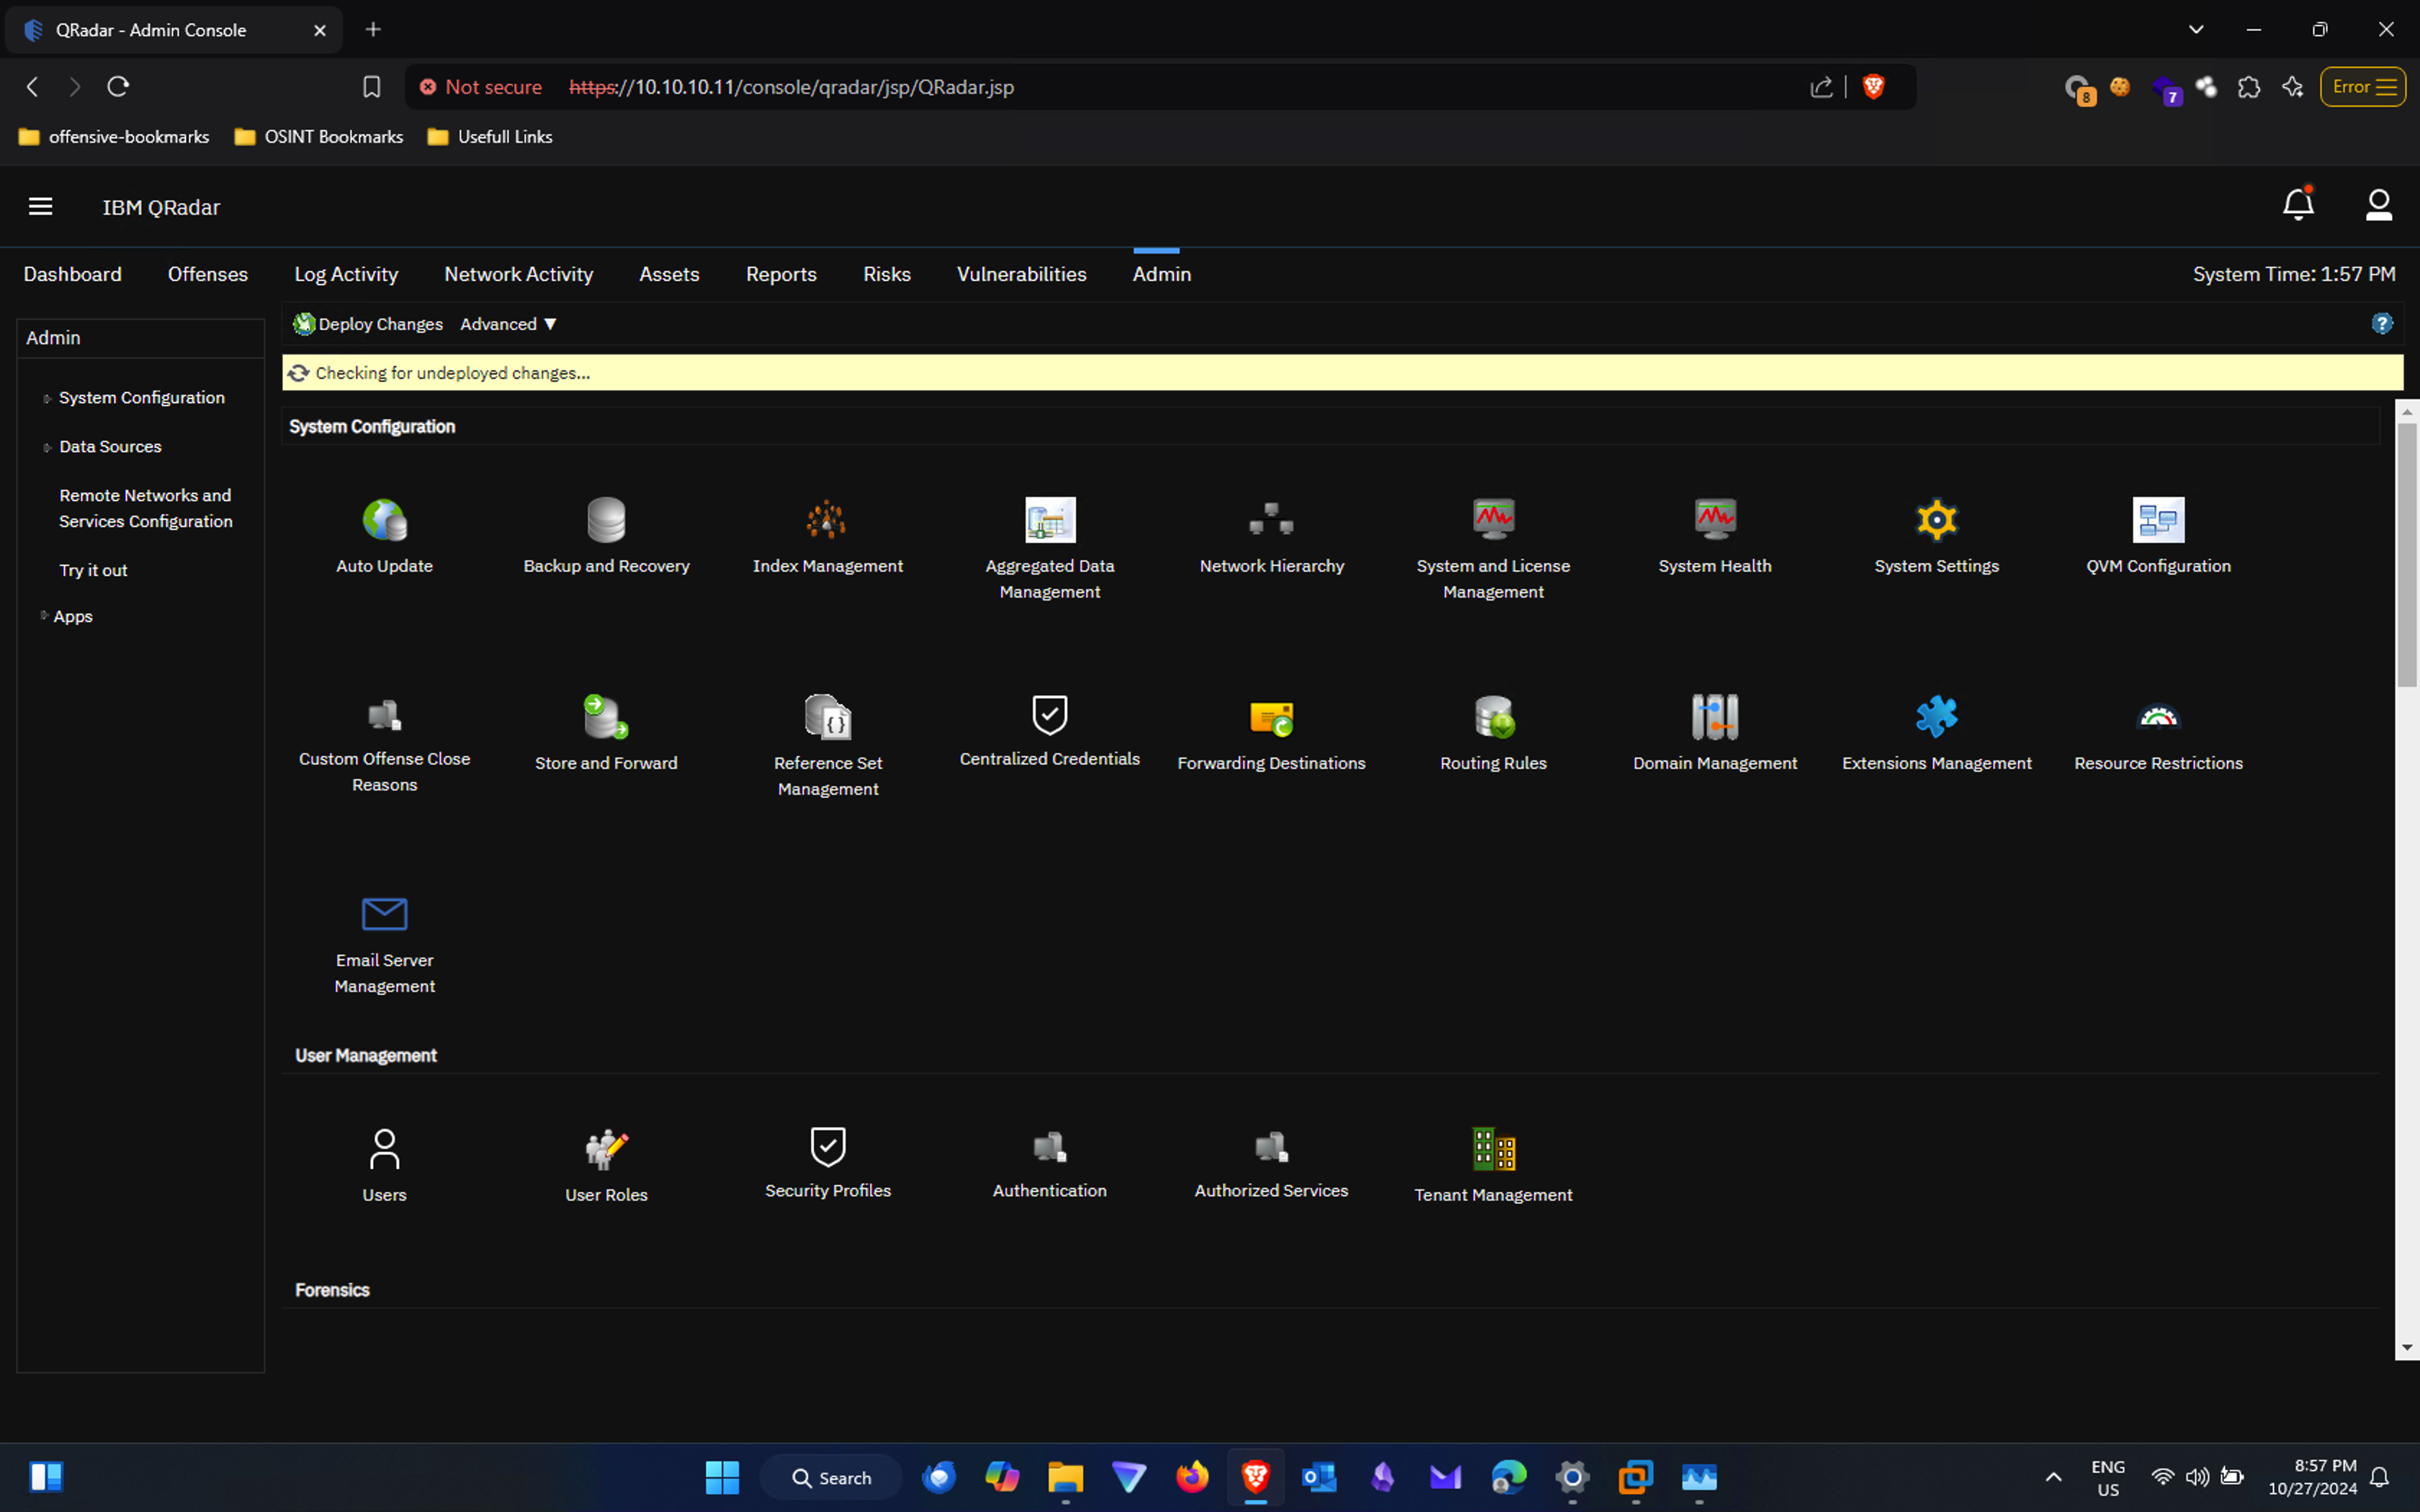
Screenshots
Here are the sample screenshots UI of IBM QRadar SIEM
Thanks for the time and will see you in Next Blog
