Setting up your own Private ChatGPT
In this blog we going to deploy our own ChatGPT like Assistant, using Ollama
Ever heard of Ollama?
Ollama is a software platform designed to simplify the deployment and management of AI models on local machines. It allows users to run, manage, and fine-tune large language models (LLMs) directly on their own hardware instead of relying on cloud-based solutions
Whats the use of running AI locally?
- Local control, No Third party involvement
- No api costs, one time investment
- Full control over your model
- can choose different open-source models that best fit your needs.
- Local deployments make it easier to automate tasks, integrate into custom environments, or use scripting for tailored interactions.
Installation on linux
Run the following command to install Ollama on linux box
1
curl -fsSL https://ollama.com/install.sh | sh
Installation on windows
Go to Ollama website Ollama
Click download to get Ollama setup file for Windows
As usual normal installation, double click the setup file which downloaded and follow the steps
Installation on mac
Go to Ollama website Ollama
Click download for mac, once the zip file downloaded, double click to extract the zip
after extracting the zip file, double click to open
click move to application and click install to finish the setup.
Once installed ollama can be accessible in respective consoles, cmd/terminals
type ollama to see the commands
1
ollama
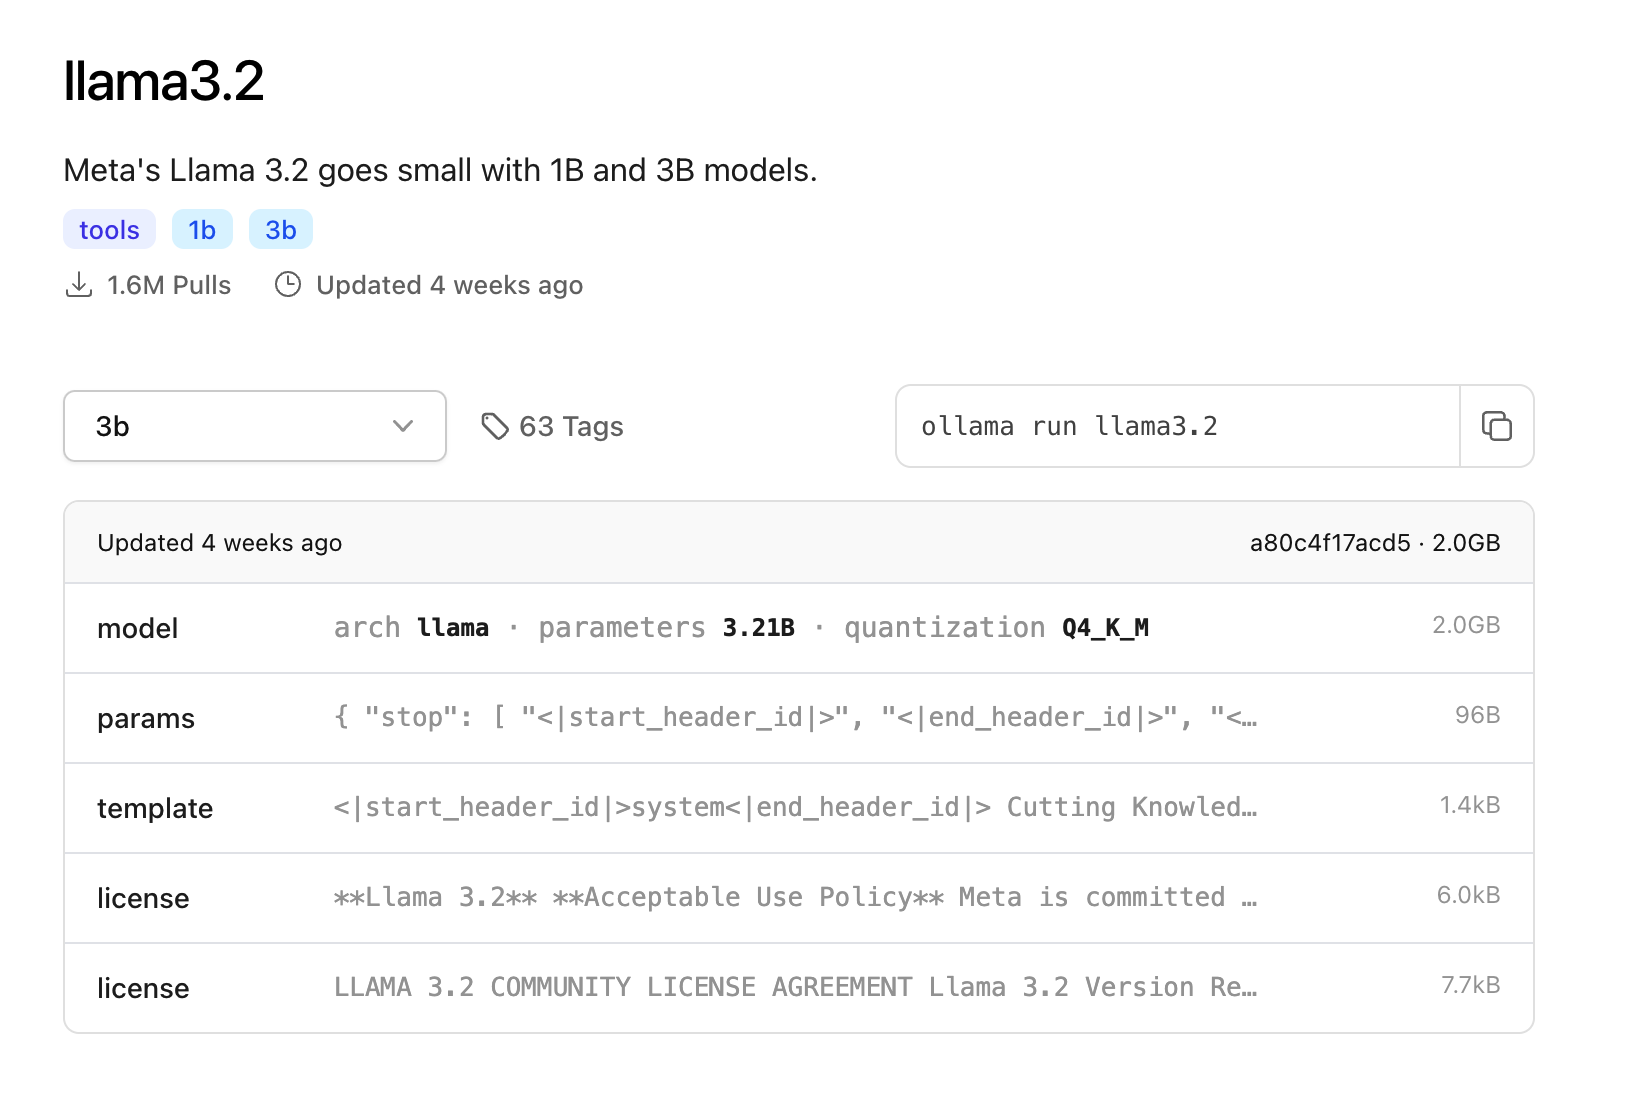
We will be running the latest model llama3.2 in our demo, llama is open source model by Meta
to run this model, type the following command to pull the model. you’re free to choose any model as per ur wish in ollama library
1
ollama run llama3.2
to list out models available in our machine, type
1
ollama ls
To run specific model, type
1
ollama run <model name>
example
1
ollama run llama3.2:3b
As shown in below screenshot, we can ask anything with it in console itself
To make it more chatGPT like experience, we can deploy OpenWebUI
clone the repo
1
git clone https://github.com/open-webui/open-webui.git
Installation via Python pip 🐍
Open WebUI can be installed using pip, the Python package installer. Before proceeding, ensure you’re using Python 3.11 to avoid compatibility issues.
- Install Open WebUI: Open your terminal and run the following command to install Open WebUI:
1
pip install open-webui
- Running Open WebUI: After installation, you can start Open WebUI by executing:
1
open-webui serve
Installation via Docker
If Ollama is on your computer, use this command:
1
docker run -d -p 3000:8080 --add-host=host.docker.internal:host-gateway -v open-webui:/app/backend/data --name open-webui --restart always ghcr.io/open-webui/open-webui:main
If Ollama is on a Different Server, use this command:
To connect to Ollama on another server, change the OLLAMA_BASE_URL to the server’s URL:
1
docker run -d -p 3000:8080 -e OLLAMA_BASE_URL=https://example.com -v open-webui:/app/backend/data --name open-webui --restart always ghcr.io/open-webui/open-webui:main
To run Open WebUI with Nvidia GPU support, use this command:
1
docker run -d -p 3000:8080 --gpus all --add-host=host.docker.internal:host-gateway -v open-webui:/app/backend/data --name open-webui --restart always ghcr.io/open-webui/open-webui:cuda
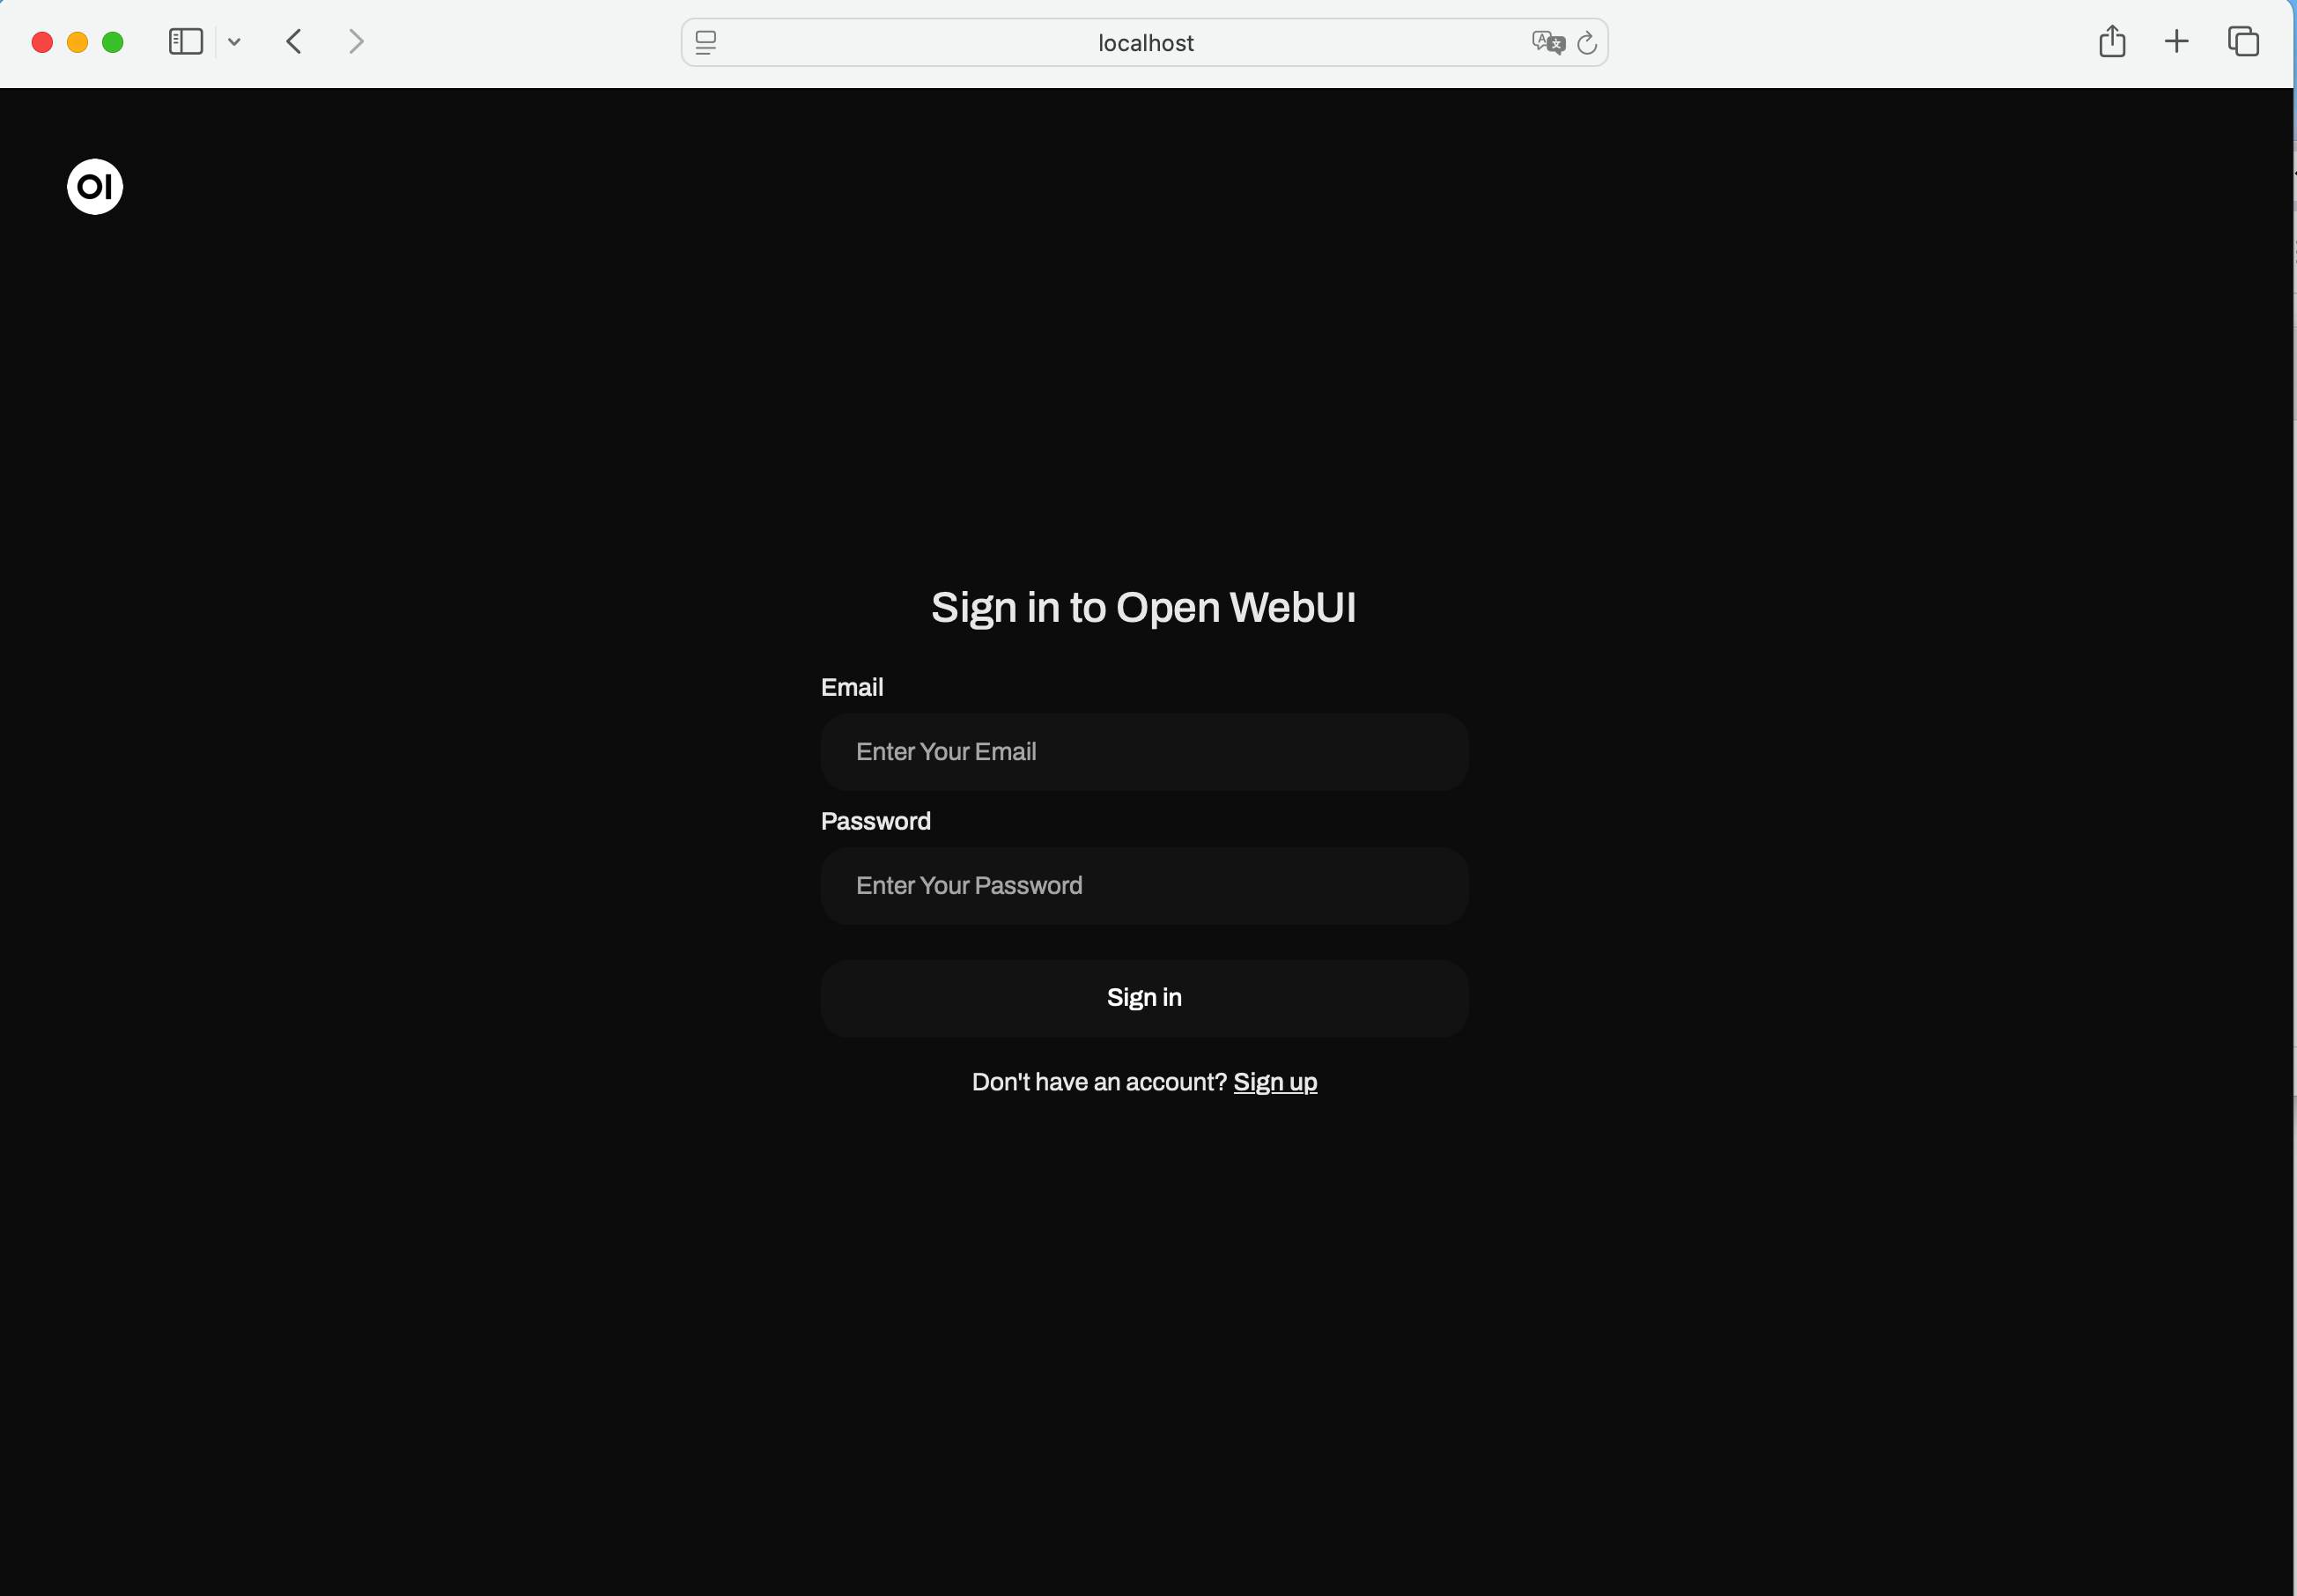
After Installation we can able to access in localhost via port 3000, as shown below
First account registering with this will be considered as admin account.
click signup, do register and login, once logged in you will able to see this UI similar to chatGPT
to interact with the model, select the model first at top left corner.
Feel free to play with the options available in OpenWebUI
on next we will learn how to connect SearXNG and Ollama to deploy like Perplexity AI
Thanks for the time


